
Part one of a continuing project log of my 40k Tau army and their efforts to retain control of the United Systems of Atreidia, against the gradual uprising posed by my buddy Enrico’s Terran and Chaos forces.
The Story So Far:
Some people ask what the spark was that started the Atreidia revolt. Certainly the initial seeds were planted eleven cycles ago when the Tau first arrived and made their compacts with the system to provide technology and improvements in exchange for military presence in their expansion. However, a much closer flash point moment happened recently when a Tau Fire Caste patrol got into trouble, and one death led to many more.

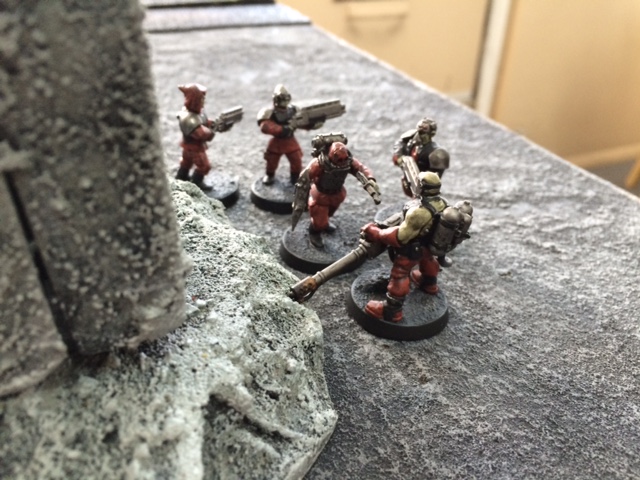
Tau patrol 271-R was working with a local Terran interpreter to help root out some local gang activity. The Shas’ui was assigned four other Fire Warriors to the patrol, along with two Gun Drones for security and monitoring purposes. At a busy intersection in the part of the city where an acid typhoon had rotted away some buildings, creating the perfect slum conditions where gangs could hide, they conducted their interviews of the working people who passed through the area.

Sadly, a young child and his sister were out in the street nearby. According to eyewitness accounts, the boy had a small street cleaning device and was attempting to scrape a subsistence wage through community beautification “shovel-ready” projects. A passing Tau Drone registered the cleaning device incorrectly, and security protocols were initiated incorrectly. Security film footage later released on the Atreidia News Network shows the Drone bleating a warning out twice, but the noise of the cleaning device may have made the child miss the warning. As the child turned toward the Drone, the hostility matrix was triggered and the Drone fired. The child died instantly, with his sister watching on and mother nearby.

The Shas’ui recognized the malfunction of the Drone, and endeavored to apologize to the mother and child and promise both improved revision of the Drone protocol as well as full restitution from the Tau government for both loss of life and grieving. The mother, a poor scrap-cleaner from the ruined area, was inconsolable. Also, the excessively legalistic way of the Tau language was poorly translated by the fresh Terran interpreter, making the mother wail all the more.
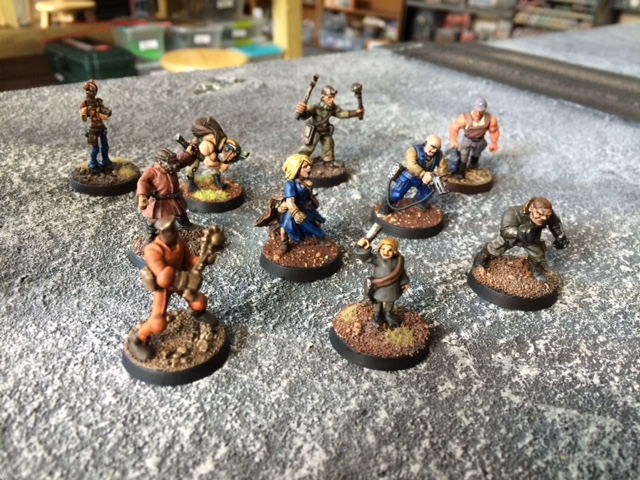
A group of local laborers were nearby and not only saw the shooting but also heard the mother’s crying. This particular group had recently been threatened with reduced work hours at the manufactorium where they worked because a contingent of Vespid workers, who needed less sleep cycles, were inbound from the neighboring system–which made them all the more incensed at the Tau and the young child’s death. One of their number started the chaos by approaching the Terran interpreter and starting a shoving match with him.
Meanwhile, one of the Terrans-first hate groups that had organized as a gang was nearby. Their leaders had been preaching a story of anger and rage against the Tau, and this armed group was ready to act. The shoving match, and seeing the Tau Drones responding with further security protocol warnings, gave them the opening they needed to embrace their anger and attack.

The rest of Tau patrol 271-R was trying to get back to their Shas’ui when the armed gang of angered citizens struck. Opening up with shotguns and autoguns, bullets flew at the outnumbered Tau patrol. The Fire Warriors’ instincts kicked in, and their return fire with pulse rifles hit with deadly accuracy against the unarmored rabble. The noise of shooting and the sight of Tau firing their weapons at Terrans caused the situation to escalate quickly. One of the Tau was killed by a gout of fire from a flamer carried by one of the gang members.
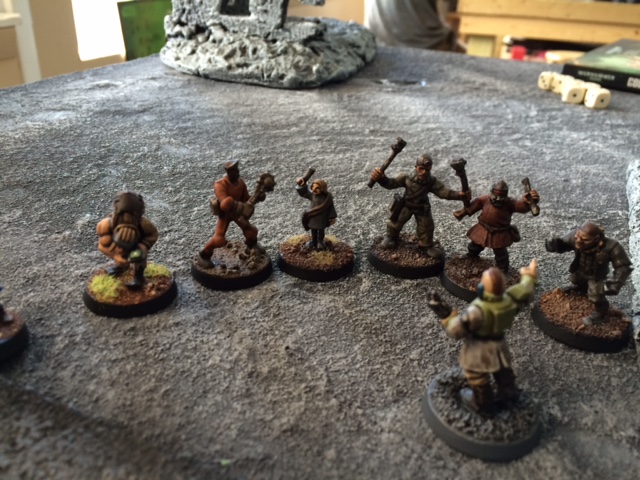
The group of Terran workers turned into an angry mob instantly. The Terran interpreter was beaten senseless at their hands. They seemed enraged at his collaboration with the xenos who had killed the child, and now were firing on people they took as citizens.
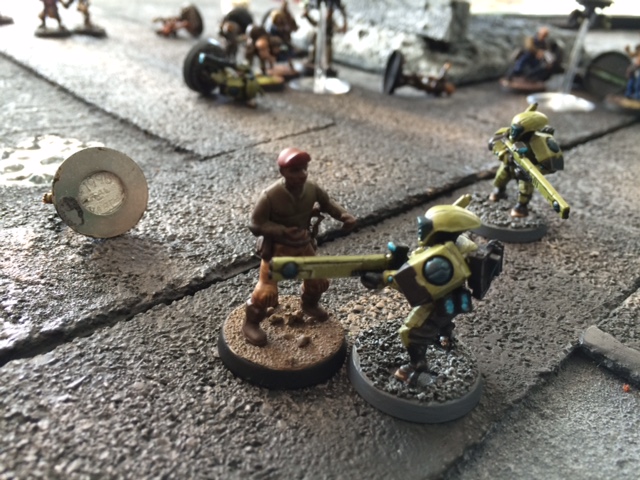
It devolved into chaos in the streets, with the sheer numbers of Terran citizens being too much for the small patrol of Tau to handle. With wrenches, tools, and servo-assisted work fists, the Fire Warriors were beaten and killed by the rampaging mob. With the images broadcasted on the news network across the system, resentment and anger began building among the populace. Meanwhile, the Tau had lost five Fire Warriors themselves, and had a brewing bout of anti-colonial resistance on their hands.
Looking back at all the bloodshed and war that came through the Atredian campaign, this little moment of spark was what set everything in motion in the years to come.
Tau Project Log

In addition to finishing the Terran interpreter model (seen in pictures above), I settled on a color scheme for my Tau and got a first unit of Troops finished up. Five members of a Fire Warrior Strike Squad, with two Gun Drones. The Shas’ui has a Pulse Carbine with markerlight and target lock. I’m pretty happy with the color scheme, inspired somewhat by the N’dras paint color suggestion GW had on the back of the Stealth Suit box. It was just enough to run our small mission above.
The mission was pretty simple, and used classic Combat Patrol rules where each model activated independently. For the interpreter and the Terrans, we used the stats of Chaos Cultists but armed only with hand weapons. Working people were weapon skill 2 however, and the few children models (manufactorium apprentices) were additionally strength 2 and toughness 2. The gangers were simply Chaos Cultists unmarked. We placed the citizens in groups around the board, and each group did leadership tests to “hear” the situation, and would activate accordingly. The Tau waited to fire weapons or fight until the Terrans acted first, and the Shas’ui spent time using leadership tests to try and order the bereaved woman and her child to flee the area of danger when things started to get out of hand.
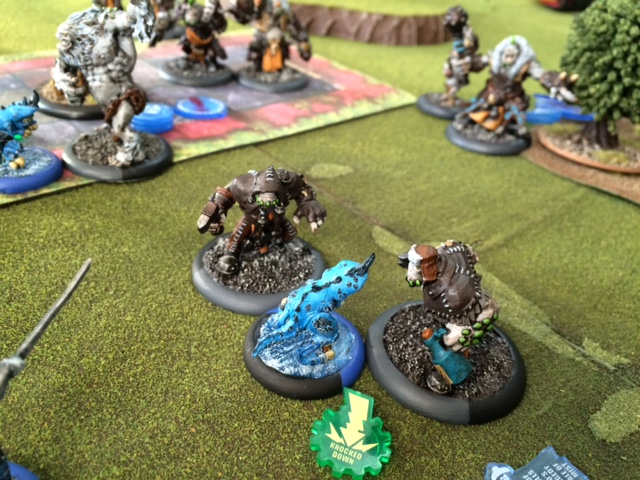
 Here are the offending Trollkin Scouts, complete with hog underarm, tooth and tail trophies, spyglass, moonshine mug, and of course: whelp banjo player. This was the most complex Trollblood unit I’ve painted in terms of everything going on with them, so it was a lot of fun to work on even though it took a bit of time.
 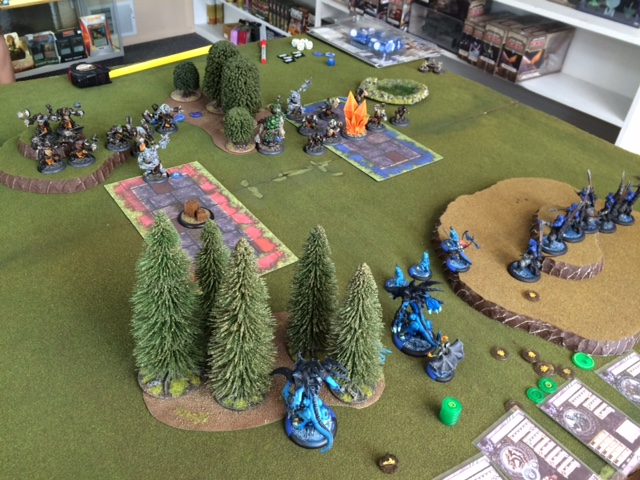 Ryan’s growing Legion of Everblight force was commanded by Vayl2, and featured a Carnivean, a Scythean, a Shredder, a full unit of Warspears plus their Chieftan, and a Beast Mistress with three additional Shredders. We faced off and I got the first turn, so my forces rushed forward to contest the zones.
  The newly-painted Trollkin Scouts performed admirably, as they can hit pretty well with their gang ability, and under Borka’s Mosh Pit spell effect, that makes their strikes all the more destructive.
 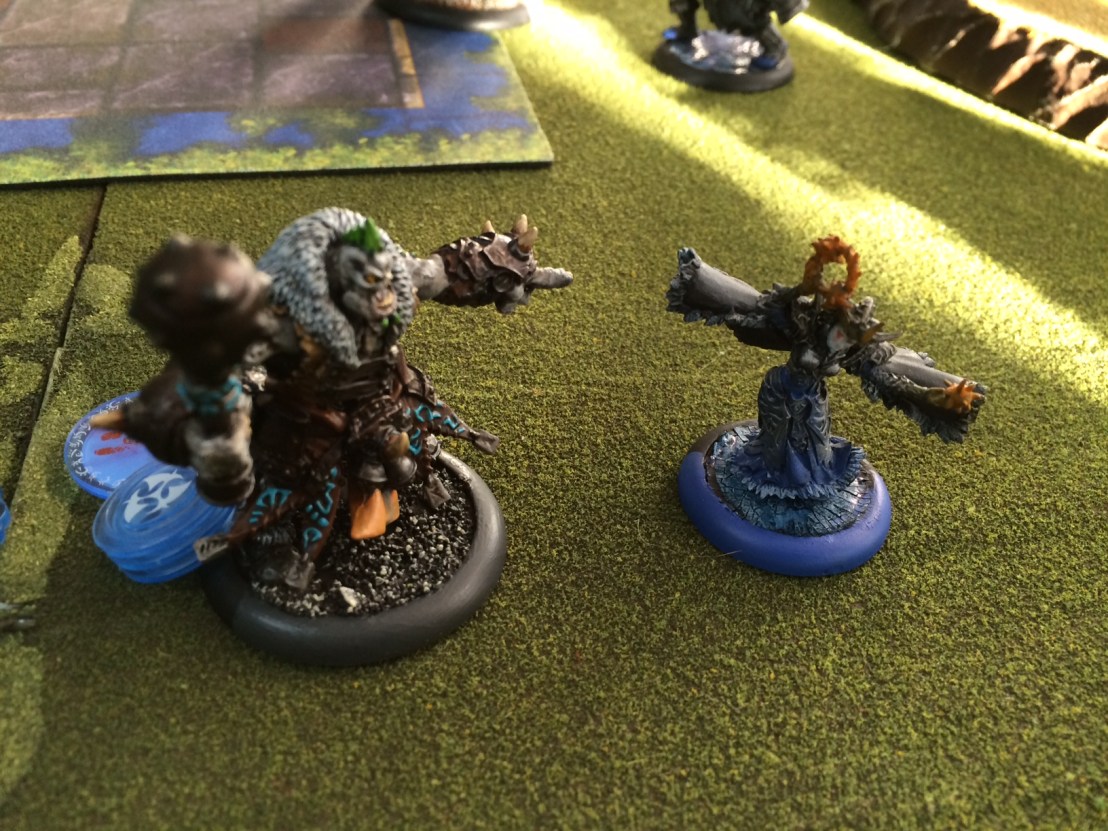 Borka did as Borka does, managing to survive a frontal assault from a Carnivean as a trap to lure the nastiest heavy close to my lines. Once the rest of his force finished off all of Vayl’s beasts, Vayl had no choice but try and spell-blast her way to victory, but came up short. Borka wandered up and finished Vayl off with a few melee strikes. A fun game as always against a great opponent.
 Skaldi Bonehammer and a Stone Scribe Chronicler. I forgot to finish the base of the Stone Scribe in this shot, and I did a few more highlights on his face, but they’re basically finished. I’m very pleased with how Skaldi turned out.
 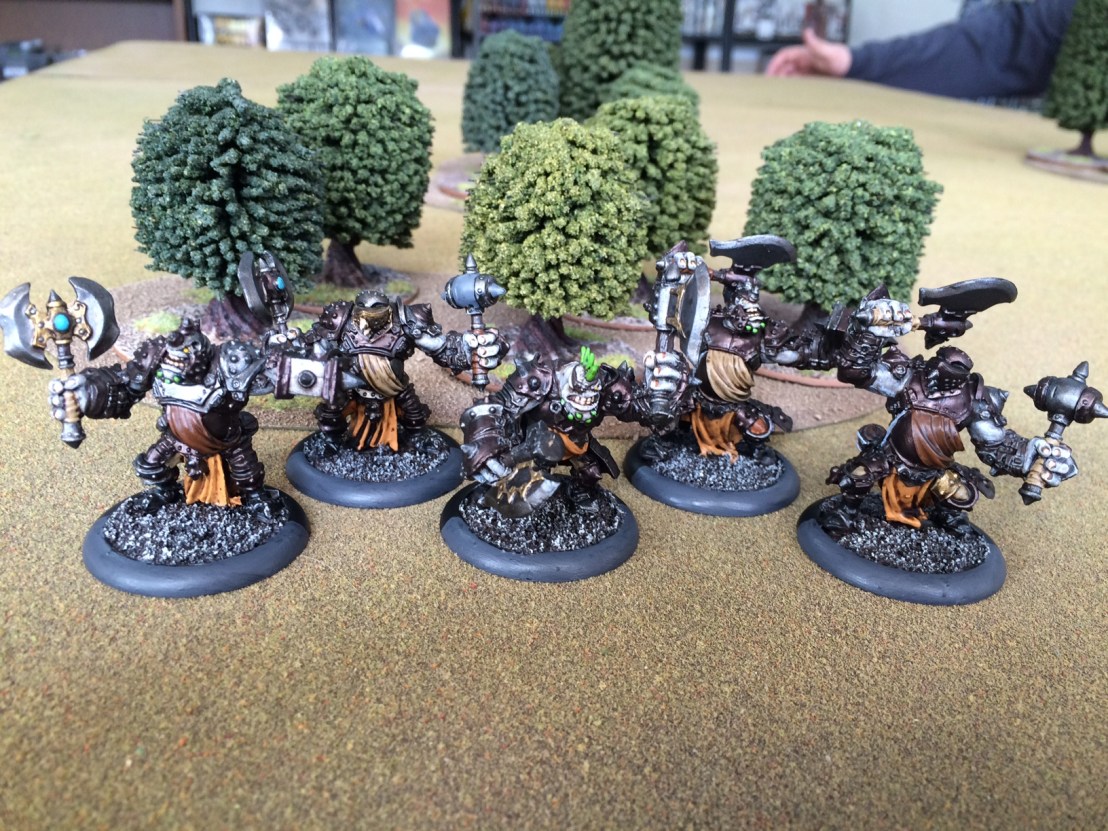 Also finished a unit of Trollkin Champions to go along with Skaldi. I’m really liking the mostly dark armor with mixed lighter bits. Felt like they have a nasty look to them that way.
 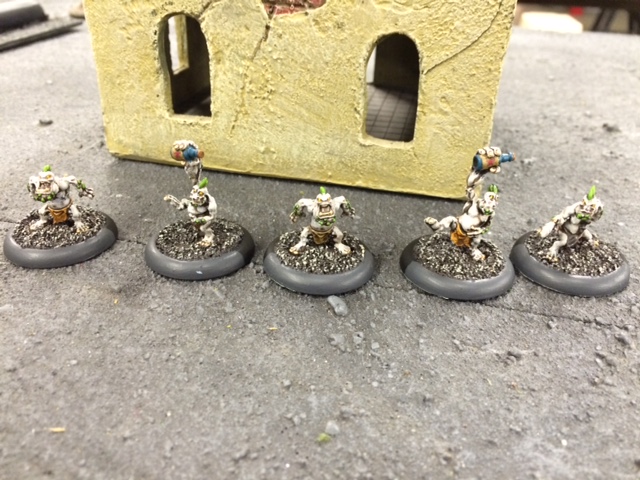 And finally, I finished a second unit of Troll Whelps. That makes two blocks of five total, so I’ve got about as much fury management as I can possibly fit in (it also helps me toward a different tier list goal).
 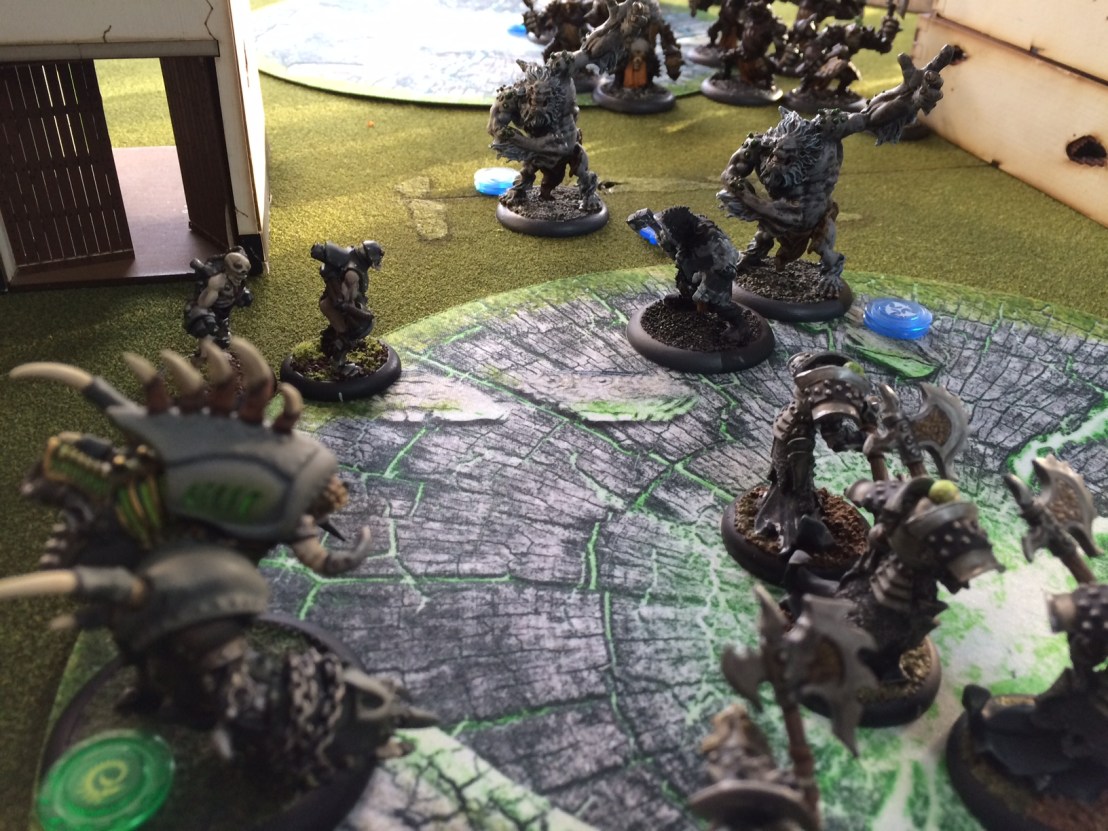 The first Thursday game was against Terry’s Cryx, led by Skarre. The game was 35 points, and I fielded by Borka Drunk and Disorderly tier in the game. We played Outflank, the Steamroller scenario with the two big circular zones. Because there were two big obstructions (two houses) that kind of split the board (in the pic above you can see the gap between the zones), the game ran pretty fast… I managed to clear the zone on the side I went for first, so I got a lead in scenario points and the Cryx couldn’t keep up. A fun game, as Terry is a great player to play against–especially because he has some amazingly gorgeous paint jobs (the image above doesn’t do them justice).
  The second Thursday game I got in a smaller points match-up (25) against Roger’s great fox-colored Circle Orboros army. I ran Grissel just for a change of pace. I managed to survive a pretty nasty assassination run from Kaya and a Feral Warpwolf, thanks to good old Tough. Then Grissel finished the job herself the following turn. Definitely a fun match-up.
 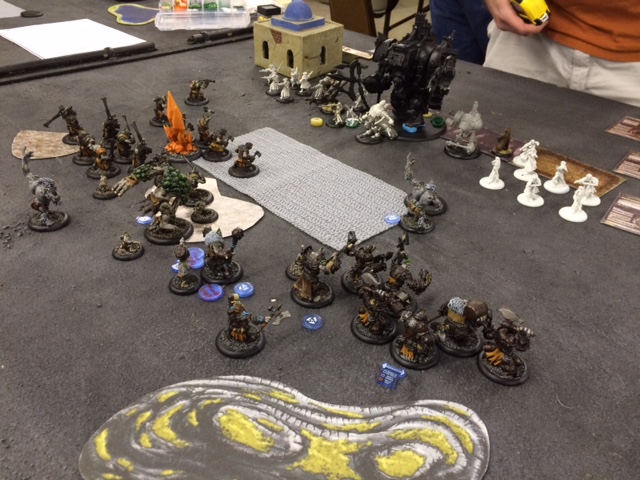 For the game on Sunday, I brought my 50 point Borka Drunk and Disorderly tier 4 list. Almost completely painted–just needed a bit more work and touching up of the Trollkin Scouts. I faced off against my opponent Savage’s Ashlynn Mercenaries list that was a Galleon and stacked with Gun Mages and other shooting threats. I managed to weather the storm of her feat turn fairly well, and the grind got to the point where Borka’s sheer defensiveness was becoming a problem. My opponent went for the assassination, managing to get the pieces in place to “lock” Borka down and not stumble away. Ashlynn did her best to kill him personally, but came up just short. And then the Freezer animus from a nearby Winter Troll left her stationary. It looked like Borka and crew would easily finish her off, but one activation remained. Savage took a shot with his Mule Warjack, targeting his own caster in the back. He managed to hit her (stationary and back strike but in combat), and the shot didn’t kill her. But the AOE damage rolled just enough to finish Borka off and a Tough roll didn’t save him. It was a great game, and the way he won the game was super-memorable. I was laughing pretty hard at the absurdity of it. Great fun.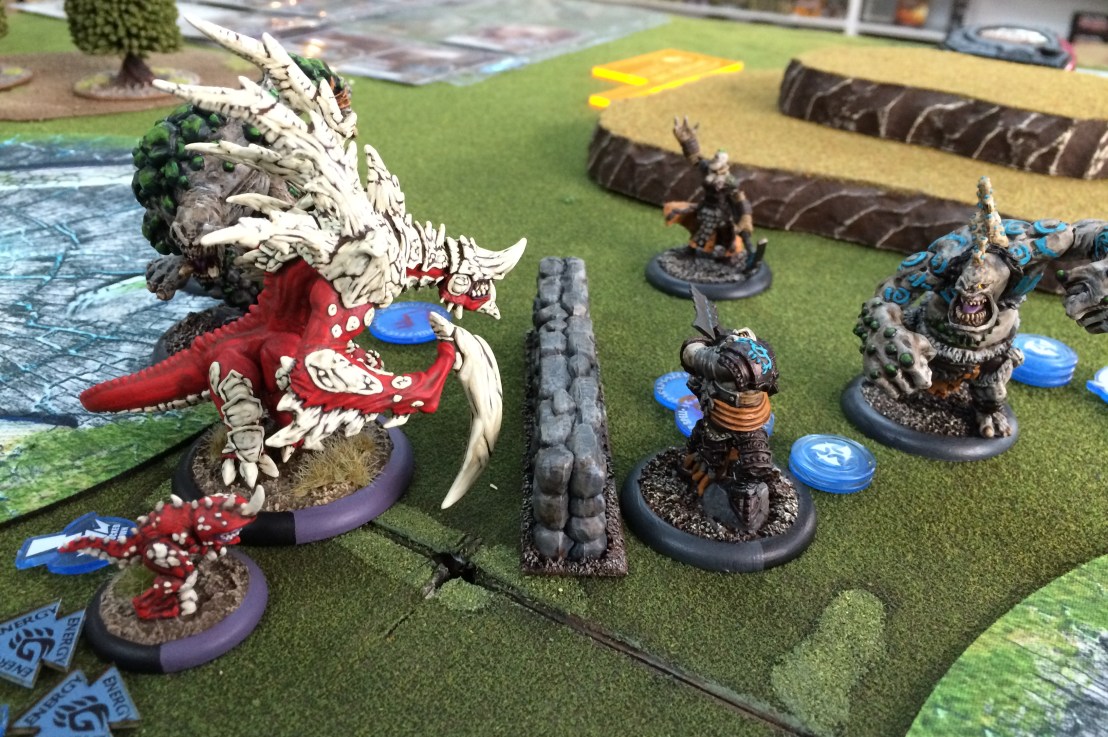
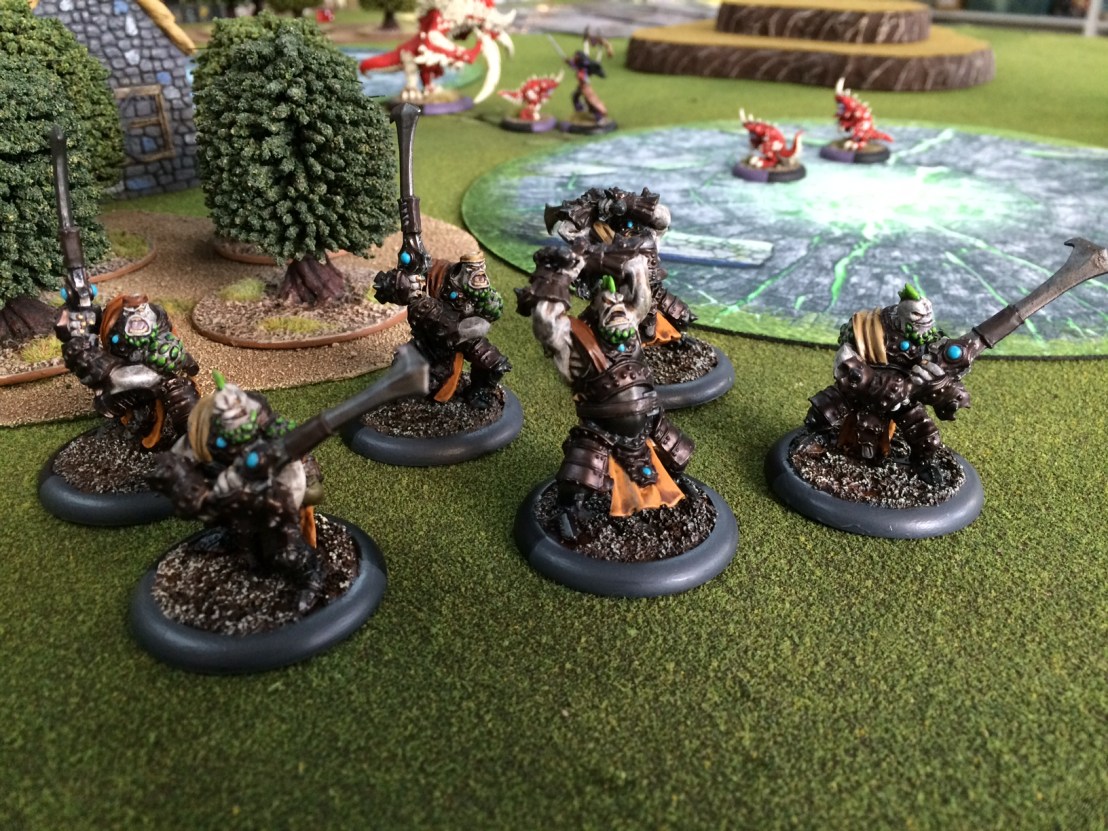 I finished a minimum unit of Trollkin Fennblades. Painting units is always the big challenge in Warmachine and Hordes, so I’m proud of getting them done. They add 5 more points to my painted model total.
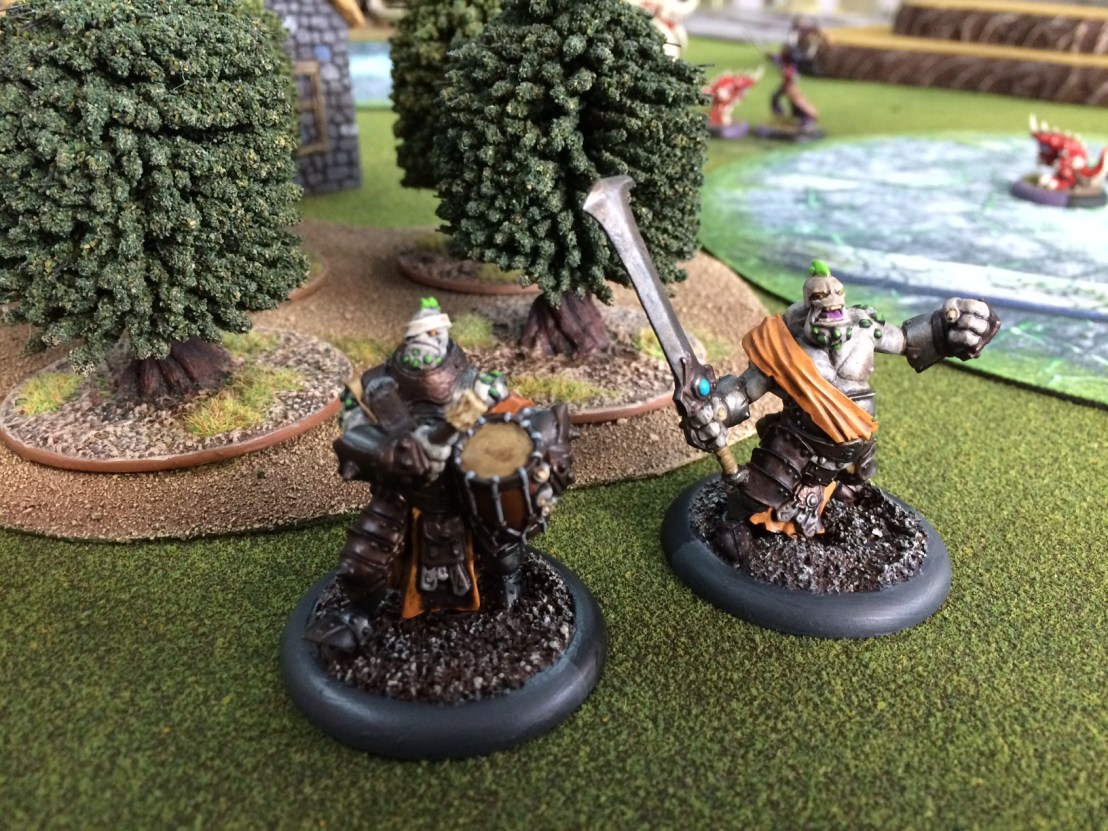 I also finished the Drummer model of the Fennblades Officer and Drummer unit attachment. I’ll give myself half points for him (+1), as the Fennblade Officer was one of the first models I painted up to test my Trollbloods scheme (in
 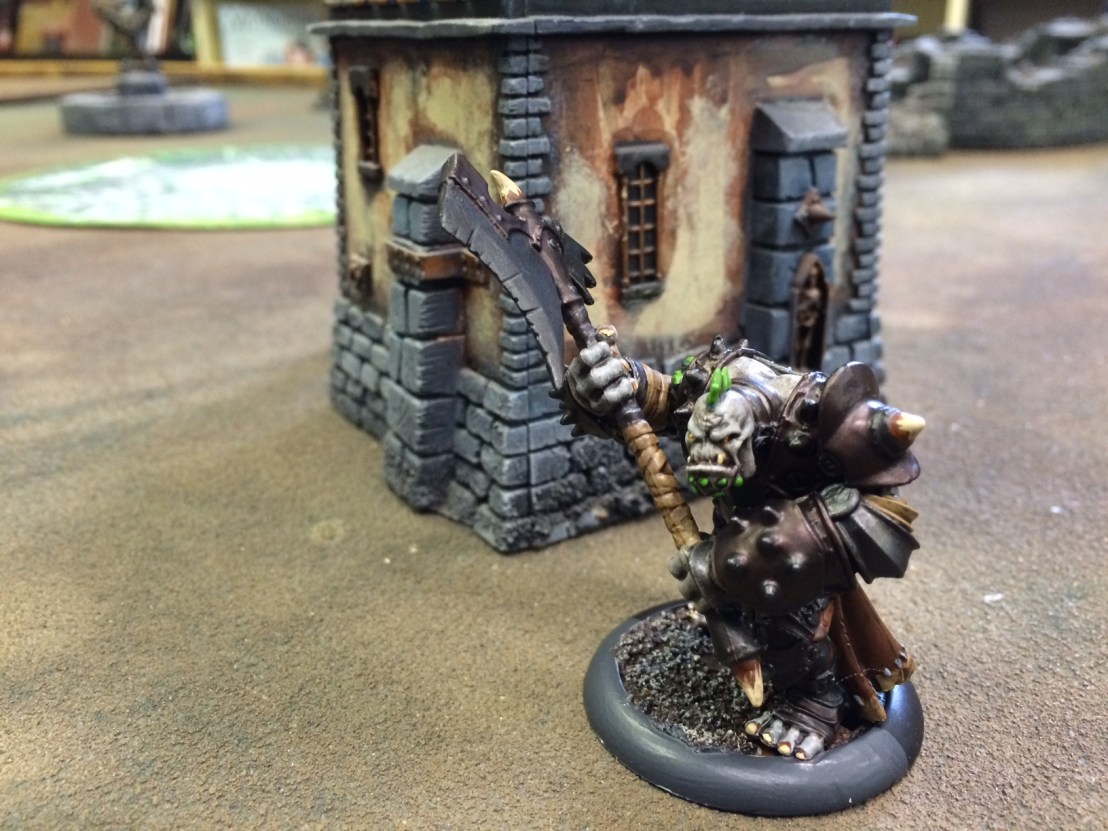 I also completed a Troll Axer, for another six points painted. I’m really pleased with how he turned out. Despite all my Trollbloods play, I have never fielded this model until today. Odd, given how much I use my Titan Gladiator to pass out the Rush animus to my Skorne forces.
 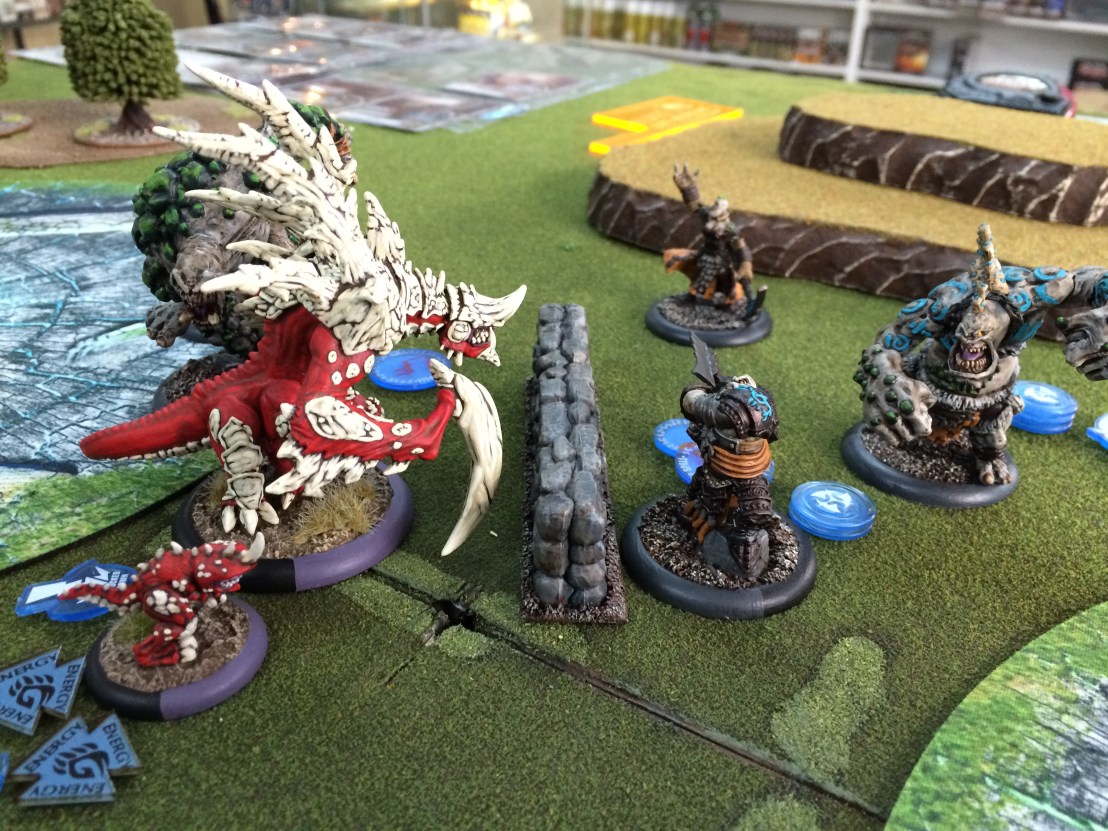 The more I play Madrak2, the more I believe I simply do not get him as a caster. I had a good game against Rico, clearing a lot of his stuff and playing defensive to try and get points. But eventually he whittled through my defenses enough to get to Madrak, finishing him with a Scythean. I think I need to run him with troop spam, and just get right up into my opponent’s face and dare them to take him out. Dunno, not my style.
 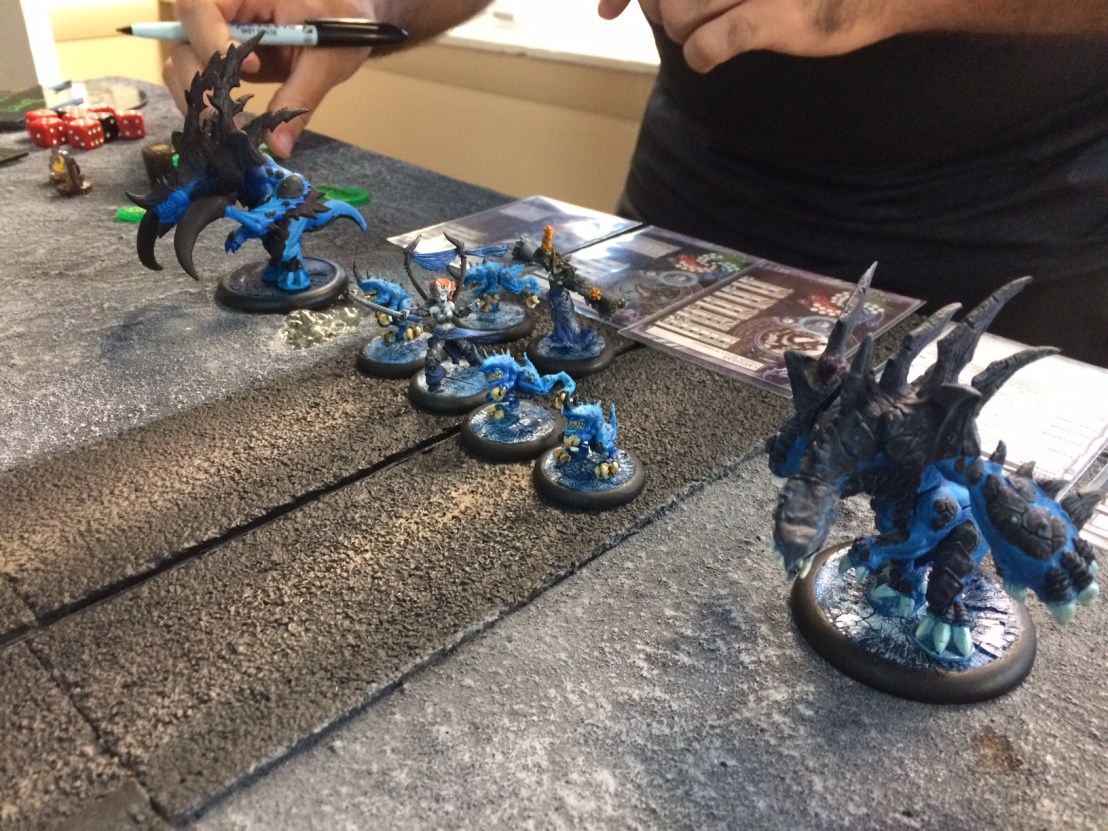 I played my second game against Ryan’s Vayl2 force, which he is doing in a great blue color with some yellow/orange elements. It really pops nicely on the table. For this game I fielded Jarl Skuld, who is much more my style than Madrak2. He plays cautiously, takes out selected pieces to enable a favorable match up to end the game. I finished Vayl2 off with some heroics from Janissa Stonetide’s Rock Hammer spell and Jarl finishing the knocked-down Vayl2 with a charge.
 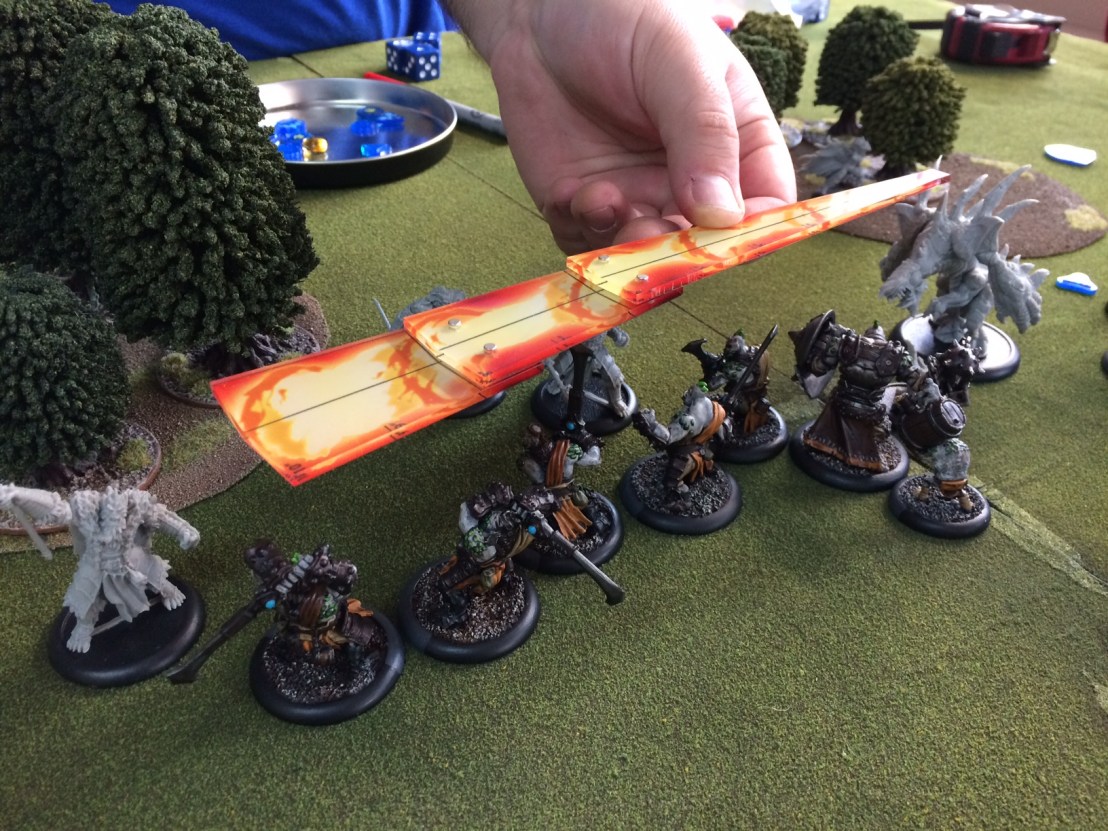 The next day I snuck in a game against Brandon’s Lylyth force. We took our time, as he is a Cygnar player who is just starting to explore Hordes and Legion of Everblight through the campaign. I took Borka, who proved to be too much for the Carnivean to handle. His high defense when he puts Iron Flesh on himself, and then becomes Stumbling Drunk, is just too good. The one shining moment for Legion was when a Shredder’s attack caused Borka to stumble directly backward toward my table edge, leaving the Carnivean out of melee and with a perfect shot down the line of my Troll Bouncer and the full group of Fennblades. While I took some pretty brutal casualties from that, the Earthborn on the opposite side finally made range on Lylyth and finished her off.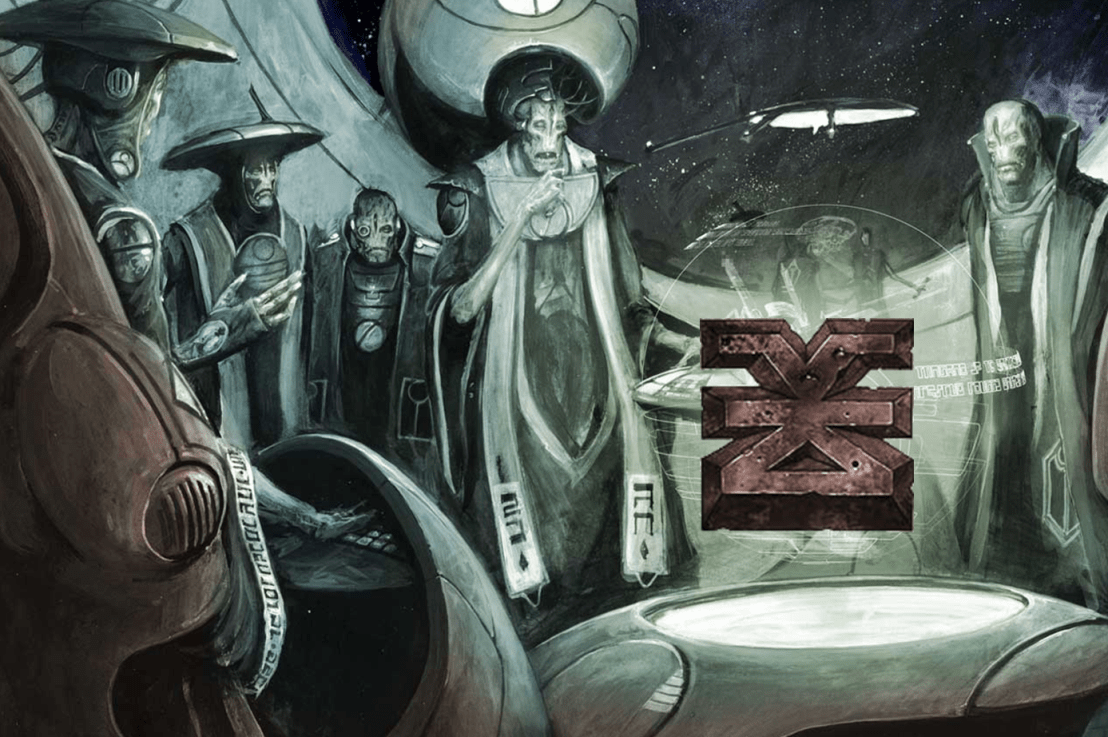
 The story so far:
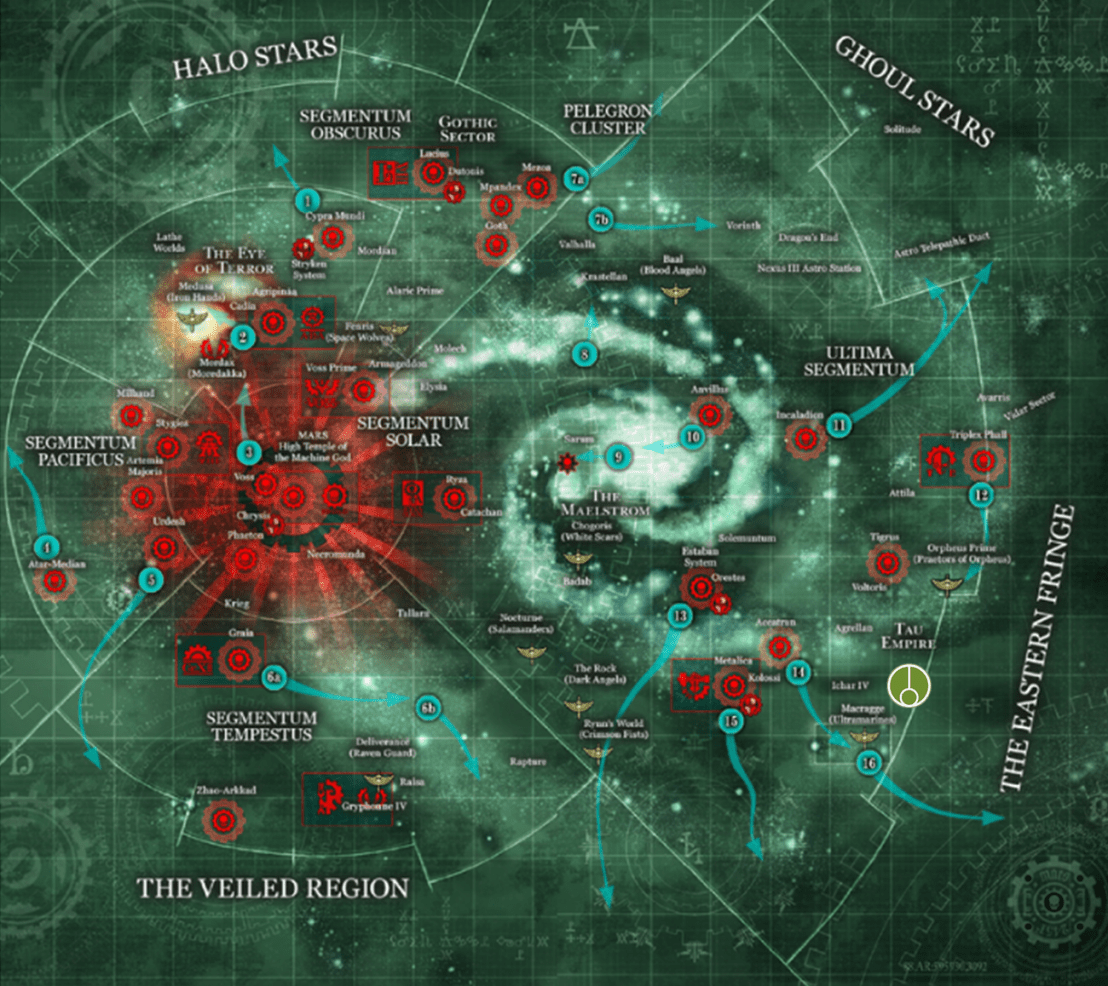 Imperial star charts map the United Systems of Atreidia where the green N’dras sept marker rests in the lower right.
 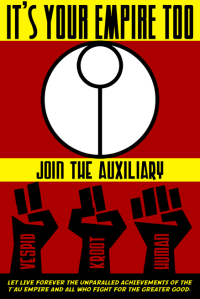 Now, a movement has started underground to violently resist the Tau oppression. Rumors tell of a charismatic, angry leader that is spreading the word of a new set of goals and leadership for the people of the United Systems of Atreidia. The slogan “Make Atreidia Great Again” has been appearing on graffiti across the planets. Those who are closer to the movement speak of the quasi-religious overtones being adopted by the human resistance. They speak of something buried in the race-memory of man and of ancient practices that are unique to mankind’s culture and unknown by the Tau. The more citizens connect with these ideas, the more unbridled rage and anger seems to suffuse their speeches and their actions. To identify each other, adherents have been crafting symbols of their affiliation: small wooden or brass carvings dyed red.
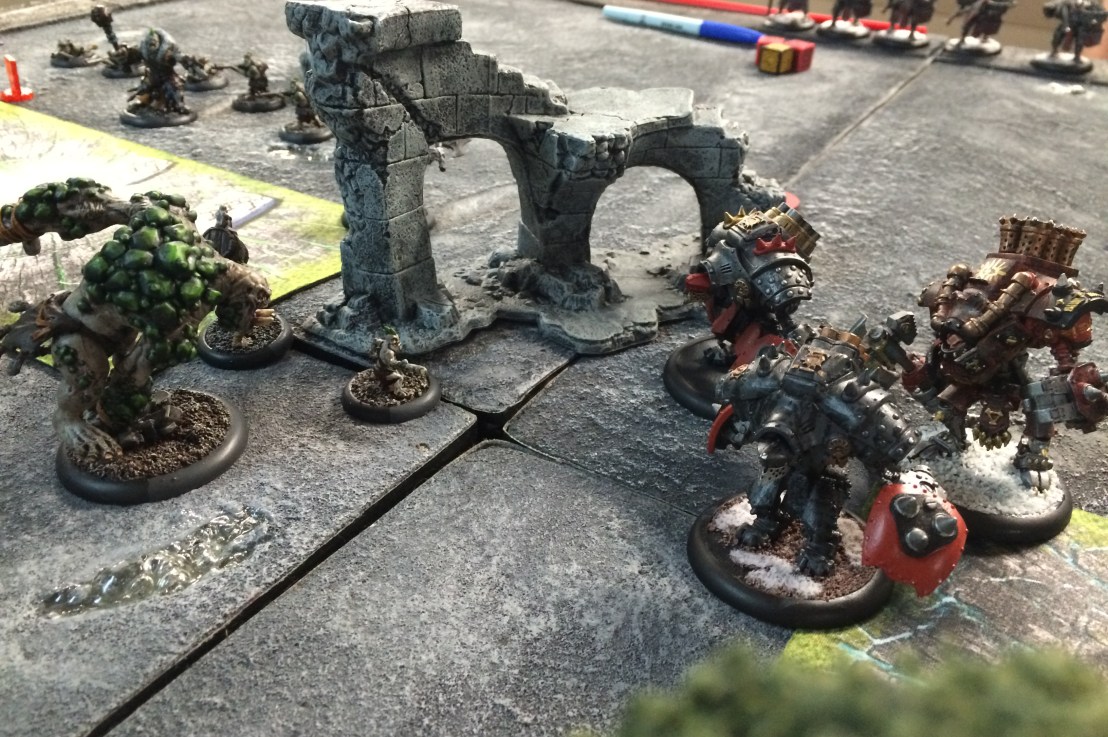
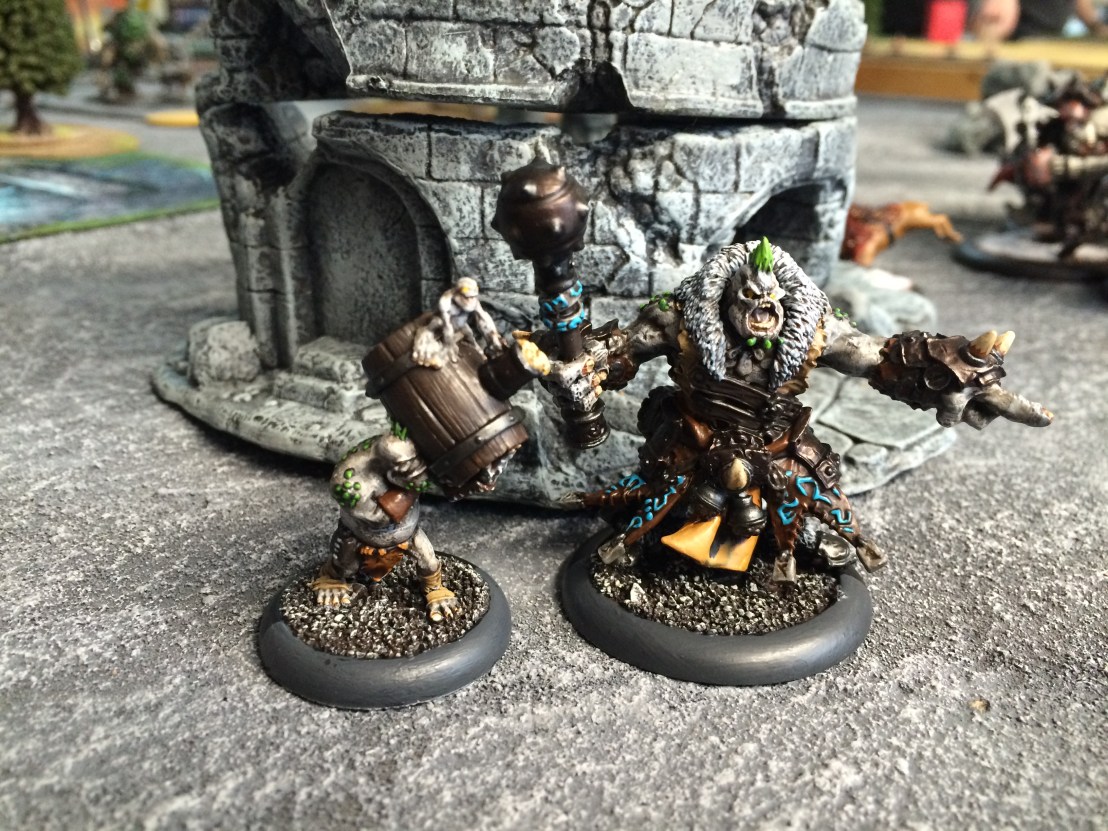 I’m really pleased with how the model turned out. I’m not the best painter, but I’m proud of what I worked out for my Trollbloods. Finishing Borka and the Pyg Keg Carrier also gets me to 133 points of models painted this year!
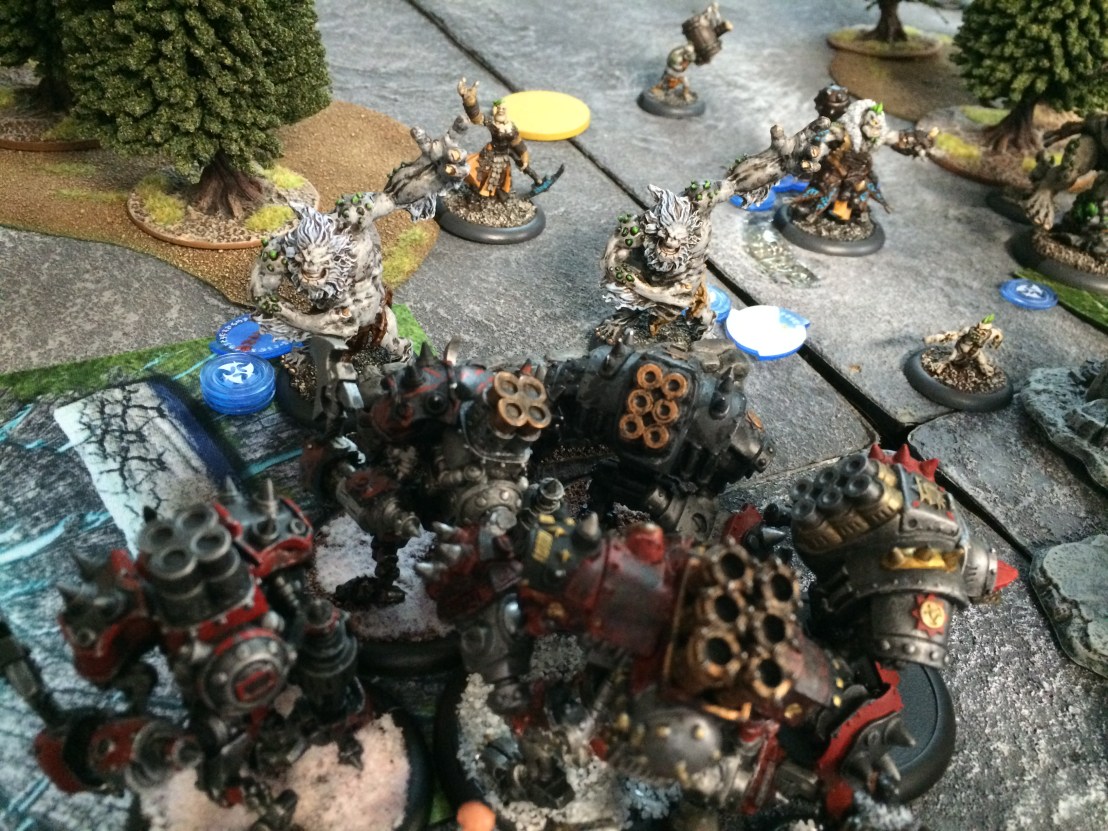 The Winter Trolls took the brunt of the Karchev Warjack bundle. The Freezer animus helped somewhat, leaving two of the advancing jacks who ran up into my face stationary. But that didn’t save the Winter Trolls the following turn, as they were pretty easily cut down after an ineffective turn of spraying his models hoping for more stationary effects.
  On the other side, I was doing much better. There was a large obstacle that split the battlefield in half. Because of my shooting, the Man-o-Wars advanced slowly in shield wall, which let me get into my opponent’s zone quickly and sneak some early points. The Swamp Troll proved to be a fantastic ally to the Pyg Bushwhackers. He pulled Man-o-Wars out of formation with his drag, leaving the other isolated ones to be shot down without the benefit of shield wall. Then the Slip Away order for the Bushwhackers UA allowed them to drop out of combat without free strikes and do it all over.
 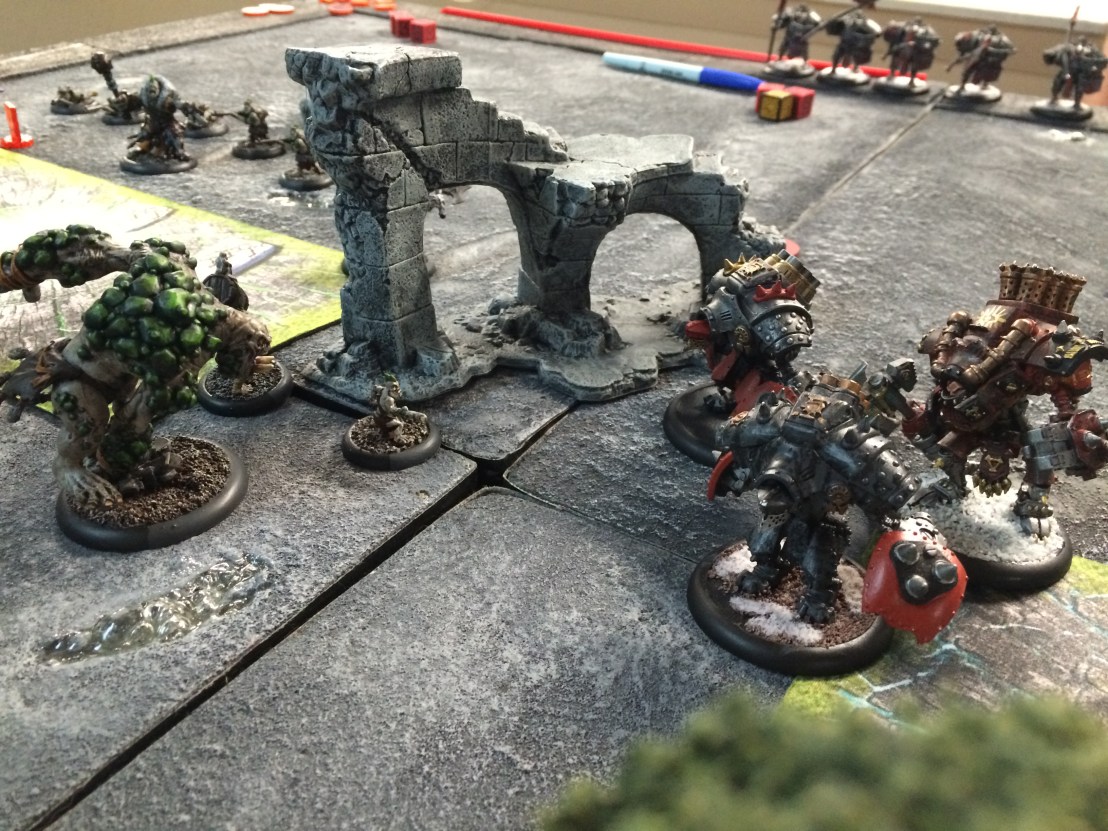 While Karchev managed to dominate my zone eventually, that early turn of getting a quick point paid off. I managed to clear the last of the Man-o-Wars in his zone with a charge from Borka, leaving the Swamp Troll controlling that zone. Scored me my fifth control point on the same turn when Karchev dominated a second time (giving Colton four). It was a really close match, and if I hadn’t grabbed that early turn point with the Pyg Bushwhackers he would have definitely won the match.
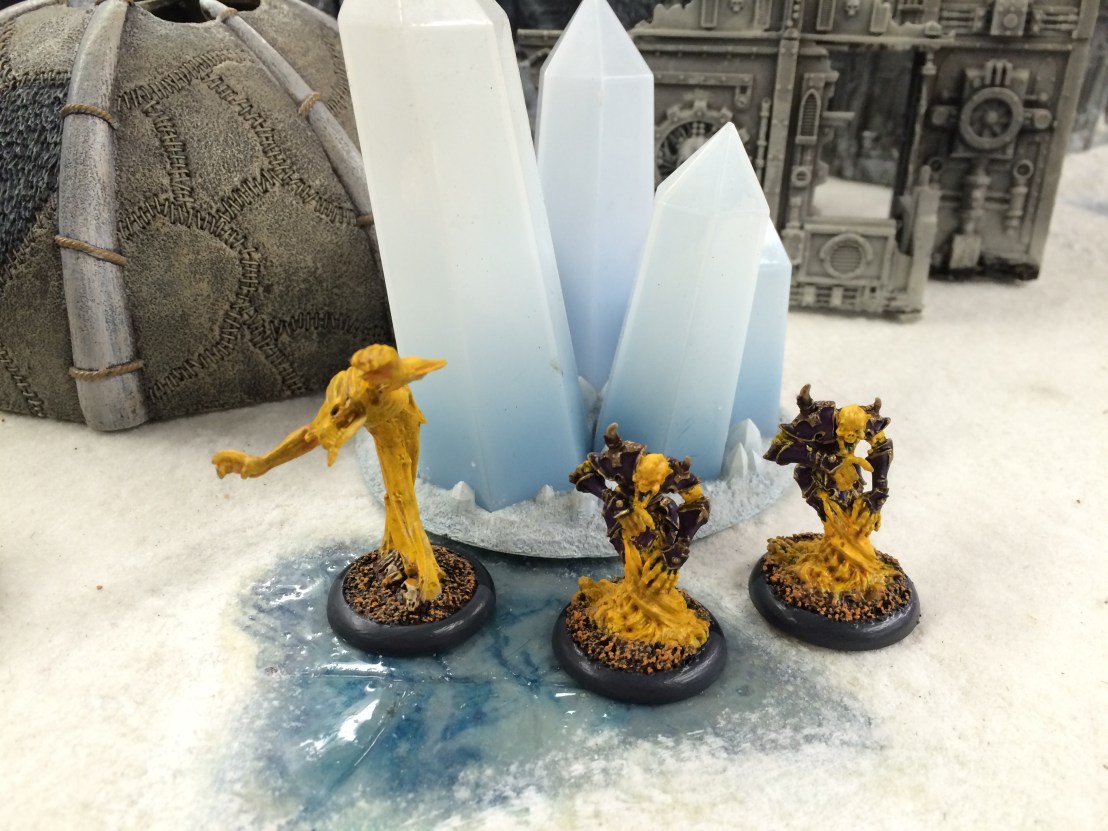 A Feralgeist and two more Void Spirits added 5 points to my painting total, taking me to 127/366 for my one-point-per-day painting challenge.
 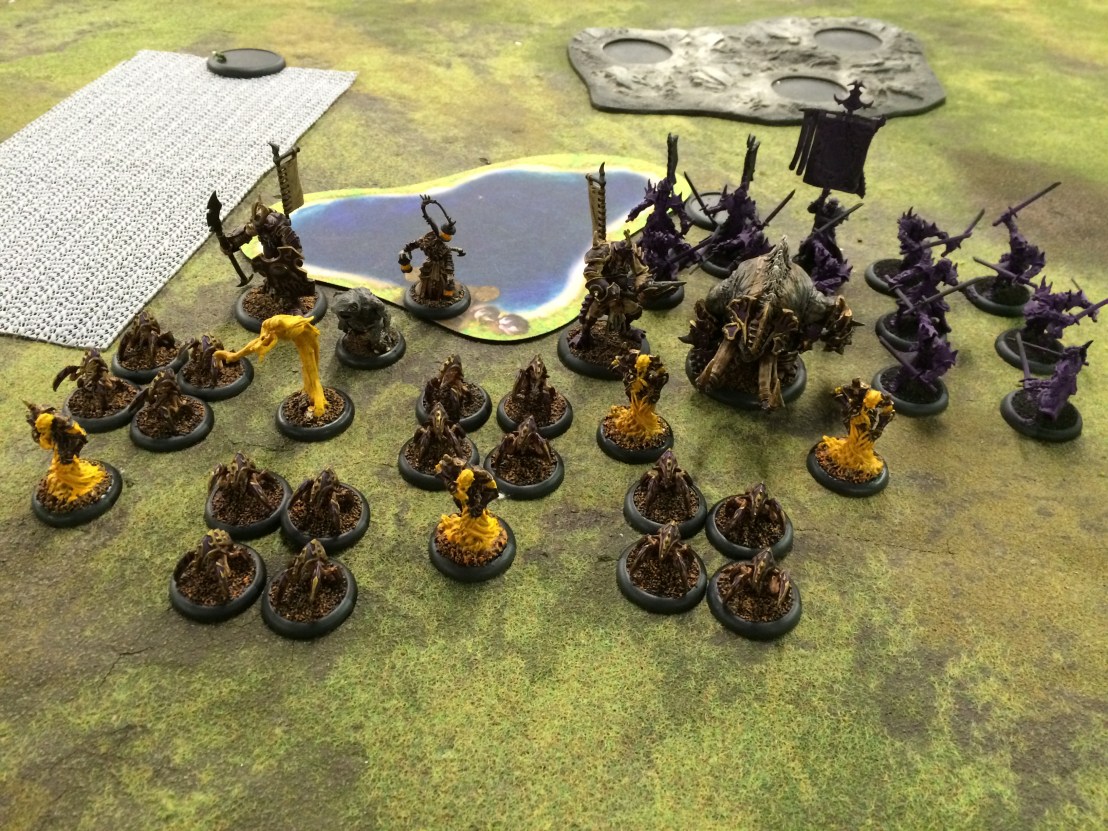 The one wrinkle about this tournament was that each round expanded the number of points. The first round was 15, second 25, third 35, and fourth 50. The above is a picture of my full 50 points list. At 15 it was Mordikaar, four Scarab Packs, and the two free Void Spirits that came with it. Going up I added the additional Void Spirits, Feralgeist, and a Cyclops Brute to hit 25, the Bronzeback for 35, and the rest at 50.
 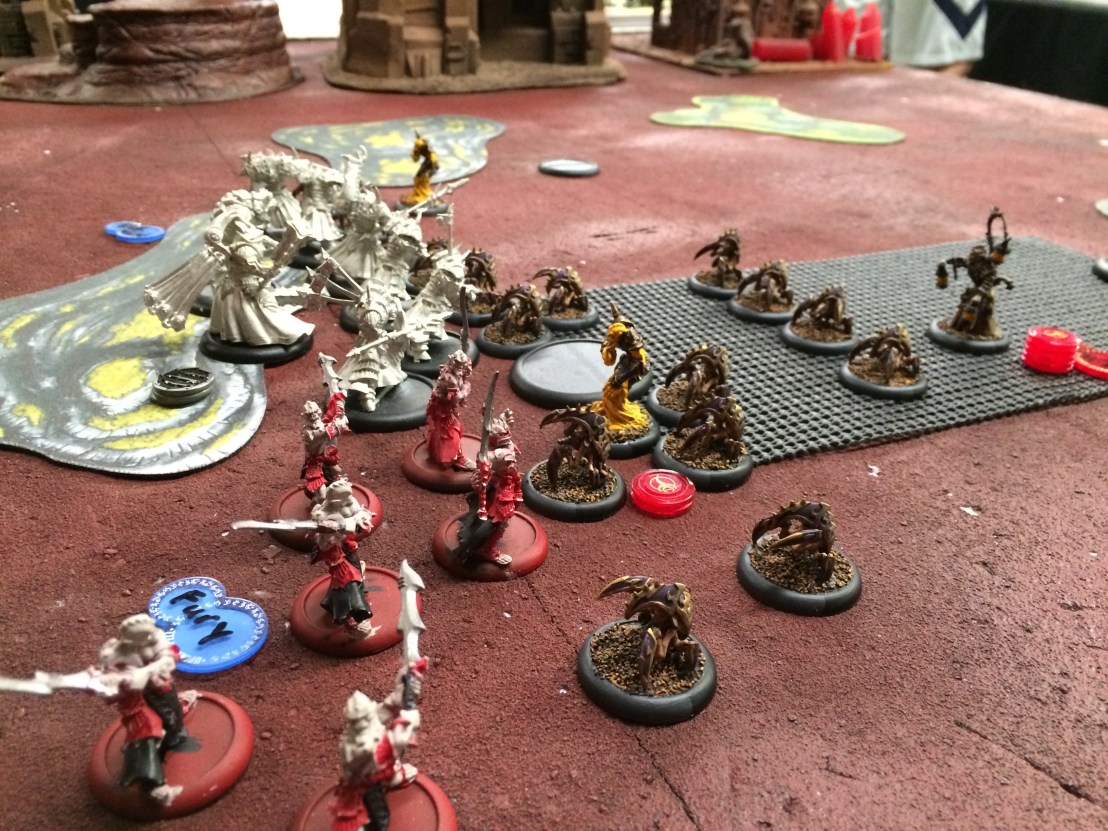 To say I didn’t play so well would be a fair assessment. That said, I also think the list didn’t help. Even with 10 boxes each, the Scarabs fold under almost anything trying to attack them. And in return, they cannot muster the hitting strength to do much. In a later game, I had all four packs go all out–and they managed to only kill six Doom Reavers. And that was maybe their most productive round across all four games.
 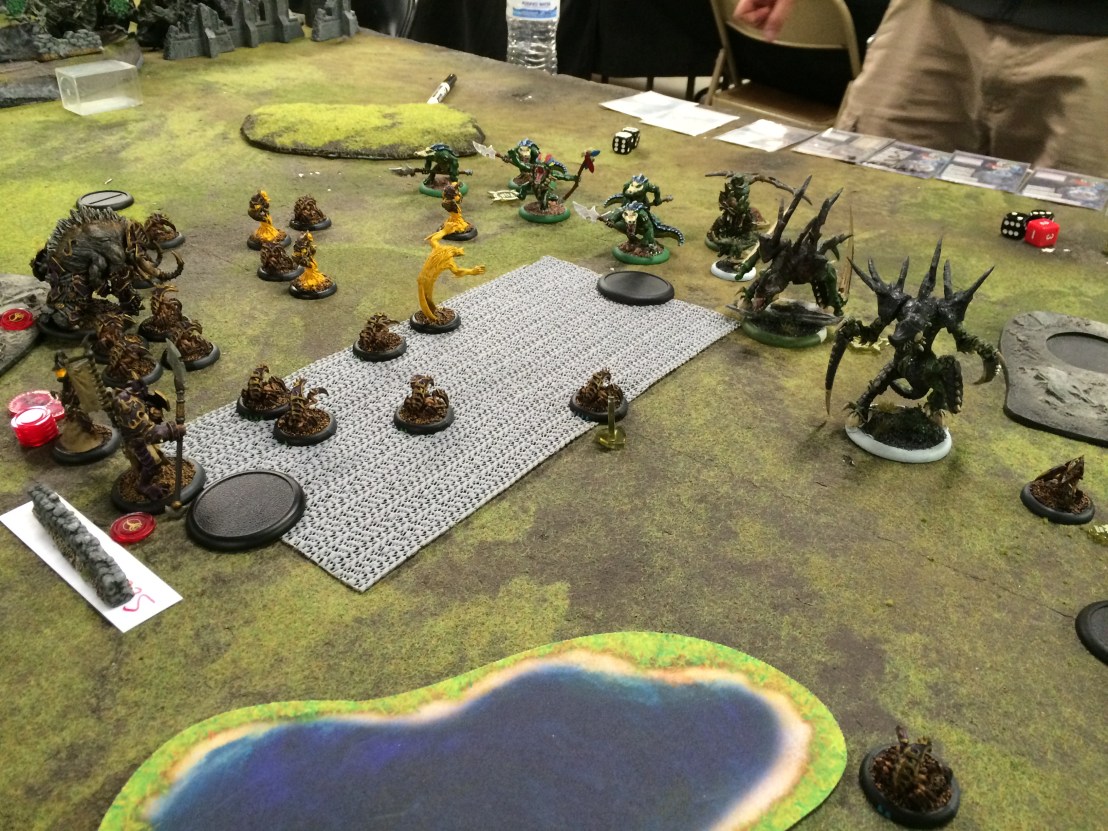 I faced (in order) Larry’s Skorne, Matt’s Khador, Andy’s Legion, and Scott’s Khador. The only game I was remotely close in was against Andy, but I couldn’t keep enough pressure up on the flag that Thagrosh was dominating to be able to win myself (the game ended with him clearing the center zone, and going up 6-5 on control points). My force simply didn’t have any staying power beyond the Bronzeback–and that’s not enough in a Legion match-up.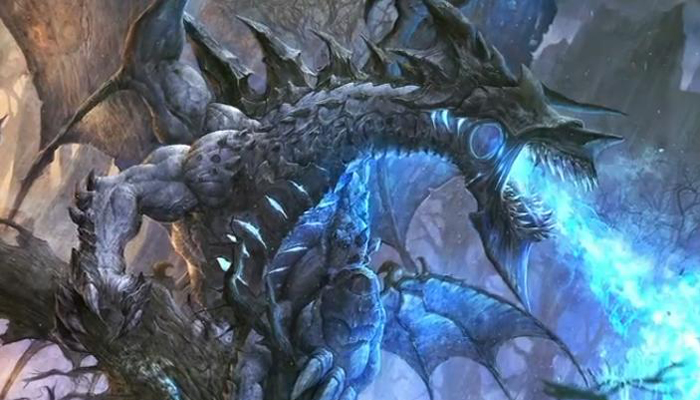

 The map above has the tiles marked with starting positions for Wargroups–the units functioning as a combined army of sorts. The legend below shows which Warcasters and Warlocks lead each Wargroup.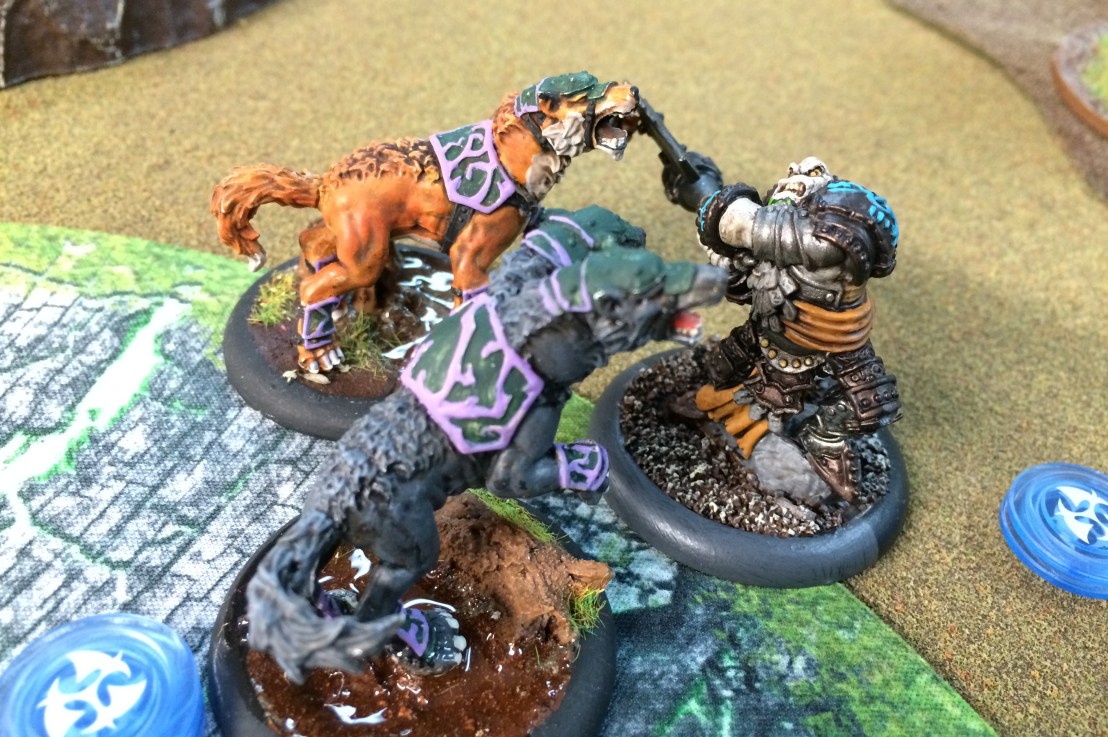
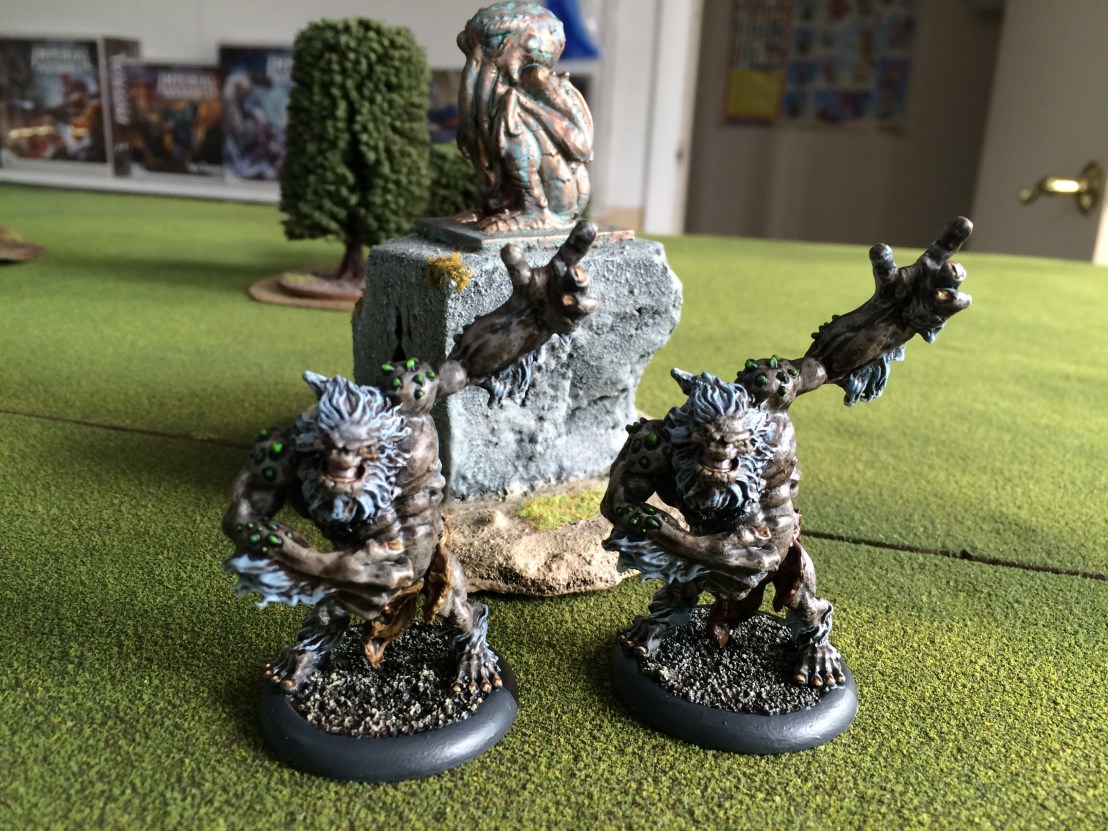 They are not particularly good in the game, but they are 10 more points painted toward my totals–which puts me at exactly 1/3 of the way through the painting progress. And with the new edition of Warmachine and Hordes coming in June, there’s hopes that the old models that haven’t been particularly great will get new rules that improve them. Winter Trolls haven’t been good ever (not Mark I, nor Mark II) so perhaps they’ll finally get their moment.
 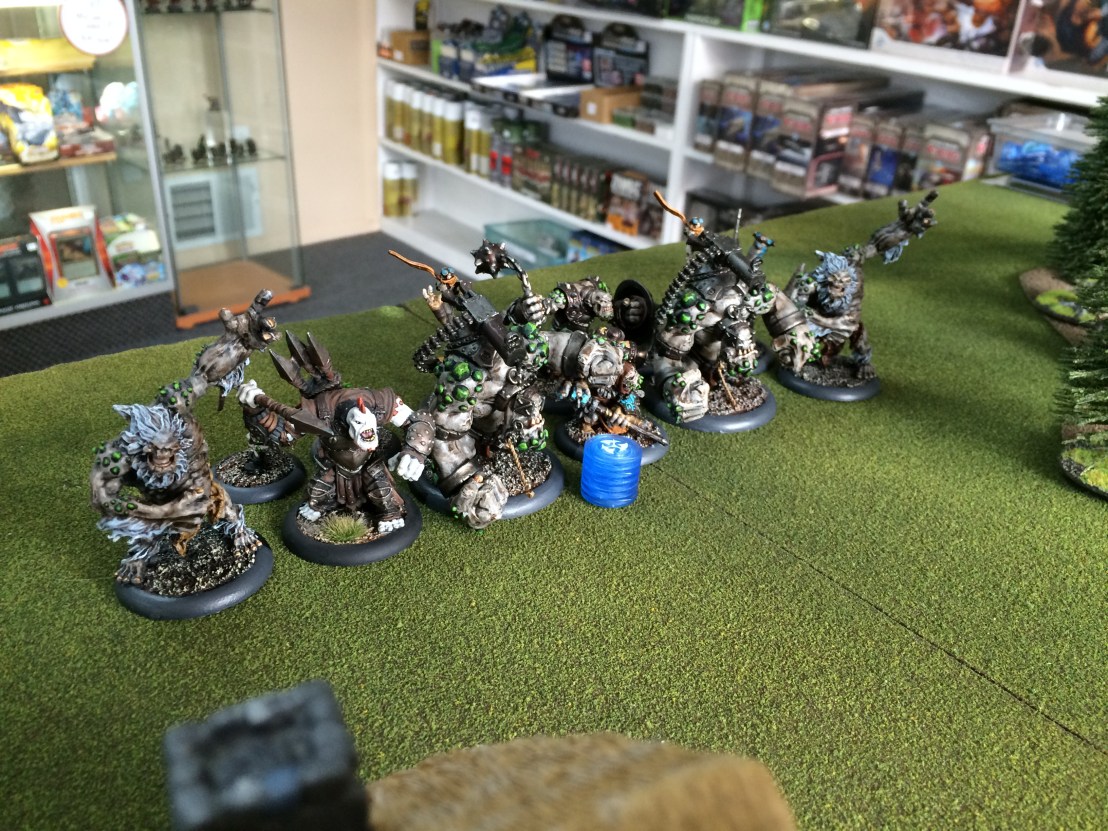 My Doomshaper2 force. With added Winter Trolls, because well… I just painted them. I also forgot my Impaler at home, so had to borrow a friend’s for the battle, so that’s why he doesn’t match. The basic plan is using the movement boosts and tricks of Doomy2 to yo-yo ranged warbeasts and knock out key models/dent things as they close in. I’m not sure it works (I’m leaning strongly toward the idea that it’s a complete flop). It also definitely suffered from the two Winter Trolls, because…
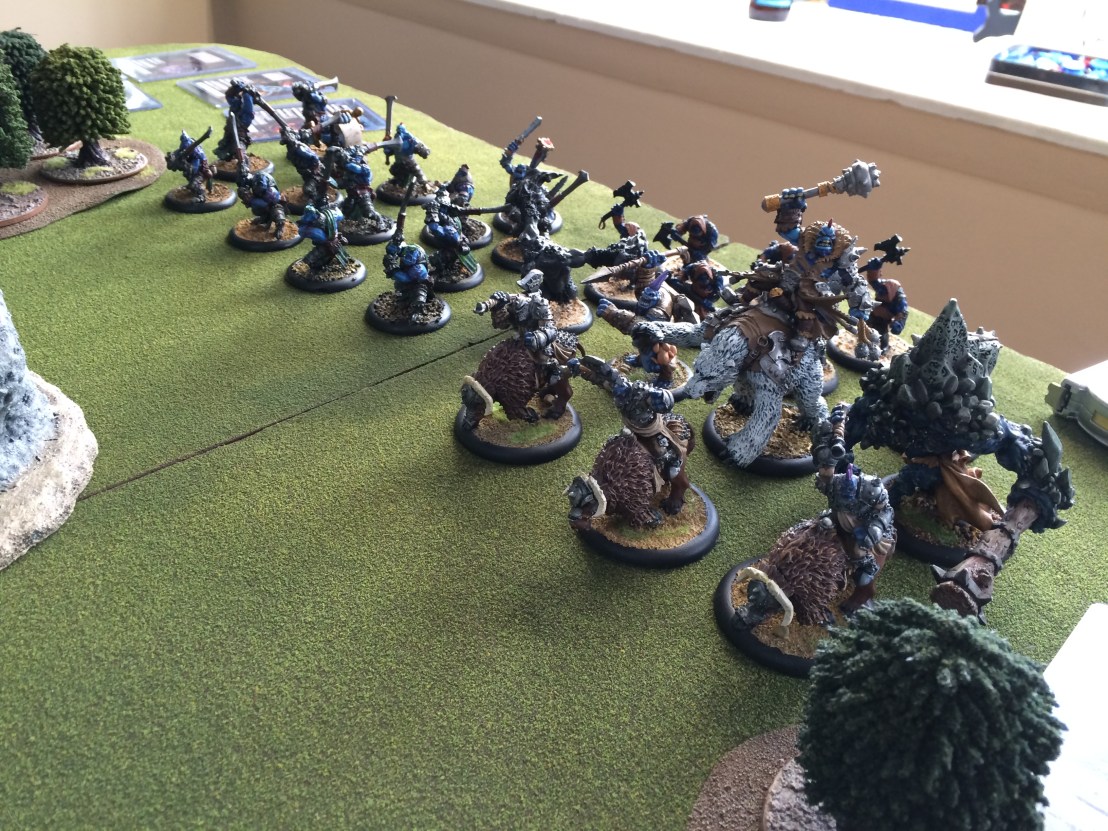 My opponent Tony fielded Borka2, who makes his whole battlegroup immune to cold, and can selectively give cold immunity to a unit with an upkeep spell. Battlegroup was Mulg, Impaler, Bouncer, and Pyre Troll, supported by minimum Tuffalo, a big group of Fennblades with two pieces supporting them, and a Krielstone.
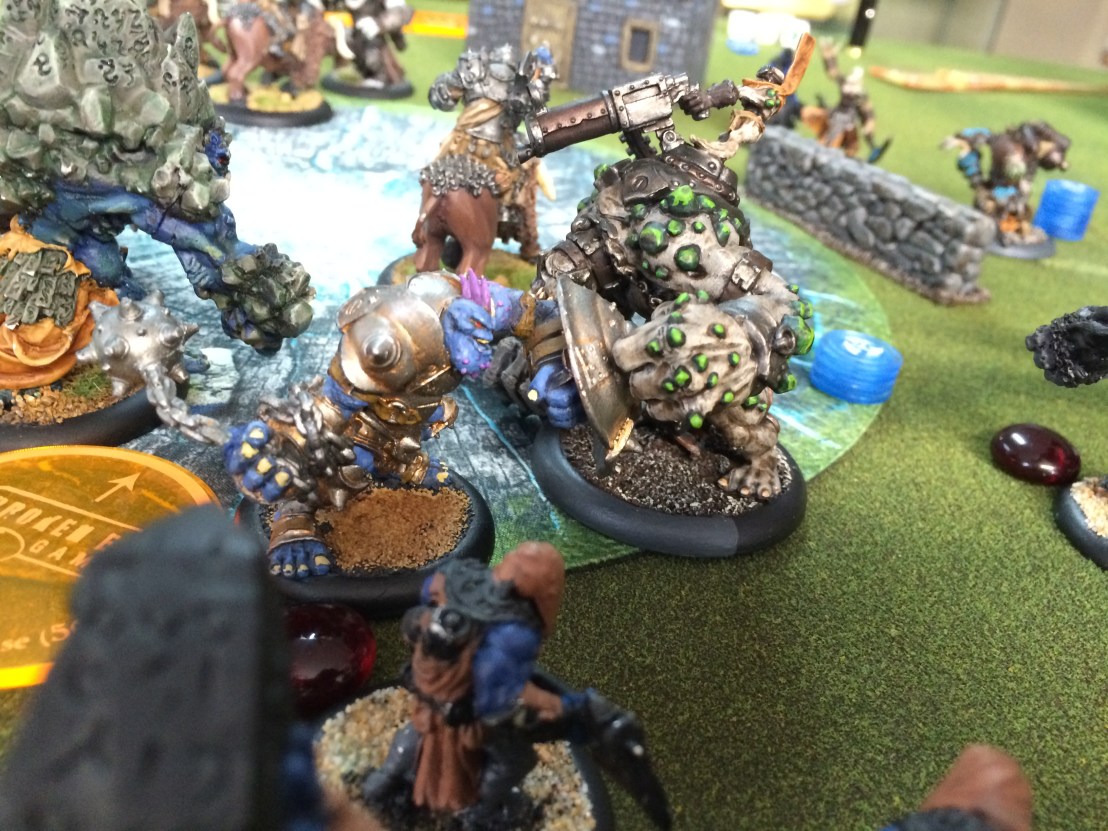 The lines got pretty mixed, as Borka2’s feat turn left me unable to project much against his forces beyond sending a few Fennblades to their ancestors. The rampage of the Dire Troll Blitzers was blunted by the heavy forces they matched up agaist. I managed to finish off Mulg after this photo, and was starting to put some pressure on controlling the far scenario zone to get an advantage and hopefully grind out a win.
  Sadly, Doomshaper2 got buried under weight of attacks from stragglers as the forces got thinned out, and his utterly feeble old man stats started to show themselves. He was assaulted by a Fennblade and a Fell Caller, lit aflame from a Northkin Fire Eater (the hit also forcing the tough and knocking him down), and finally slain by a shot from the Pyre Troll. Overall a really fun game, as Tony is a great opponent and it really helps me to see how other Trollbloods players build their lists and react to the flow of battle with familiar pieces.
  And I promptly learned that luck would simply not be with me this game. The light warbeasts are tough enough, but with dice going awry they got downright awful. Here they are crashing agaist the Circle menace.
  The most ignoble part of the game came from when I realized that Madrak2 needed to mix it up himself to win. So I put his buff up on himself and rolled up onto the near Argus… only to miss and miss again until I was left with too low a fury stat and a still mostly-healthy Argus. I further complicated my mistake by trying to make up for his misses by going hog-wild with my light warbeasts and forgot to leave open fury on them for transfers. That left me with my defense lowered thanks to my own buff spell–and Madrak2 was unceremoniously laid low by the assault.
 They’re for a mad scheme I have for a Mordikaar theme list, and they’re a fun little unit (that is horribly fury-inefficient). But completing them adds 15 more points to my total. That means I’m up to 112/366 points for 2016, and closing in on 1/3 of the way to the goal!
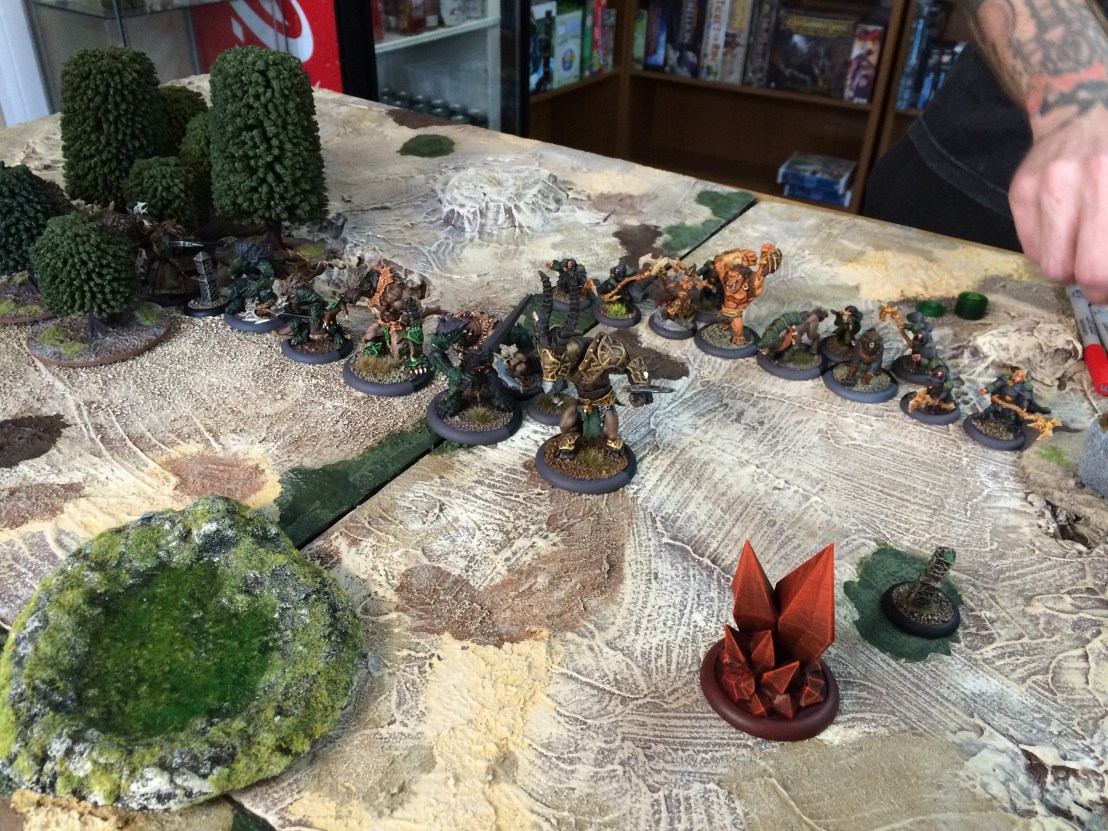 Dan’s deployment of his Circle. The Warbeasts get advanced deploy because of the tier, and the Skinwalkers got an advance move. His Warlock is Kaya2, run pretty strong side on beasts–a Feral, a Stalker, and a Riphorn led the charge, with support from a Gorax, Druids of Orboros, Skinwalkers with Alpha, and Shifting Stones.
 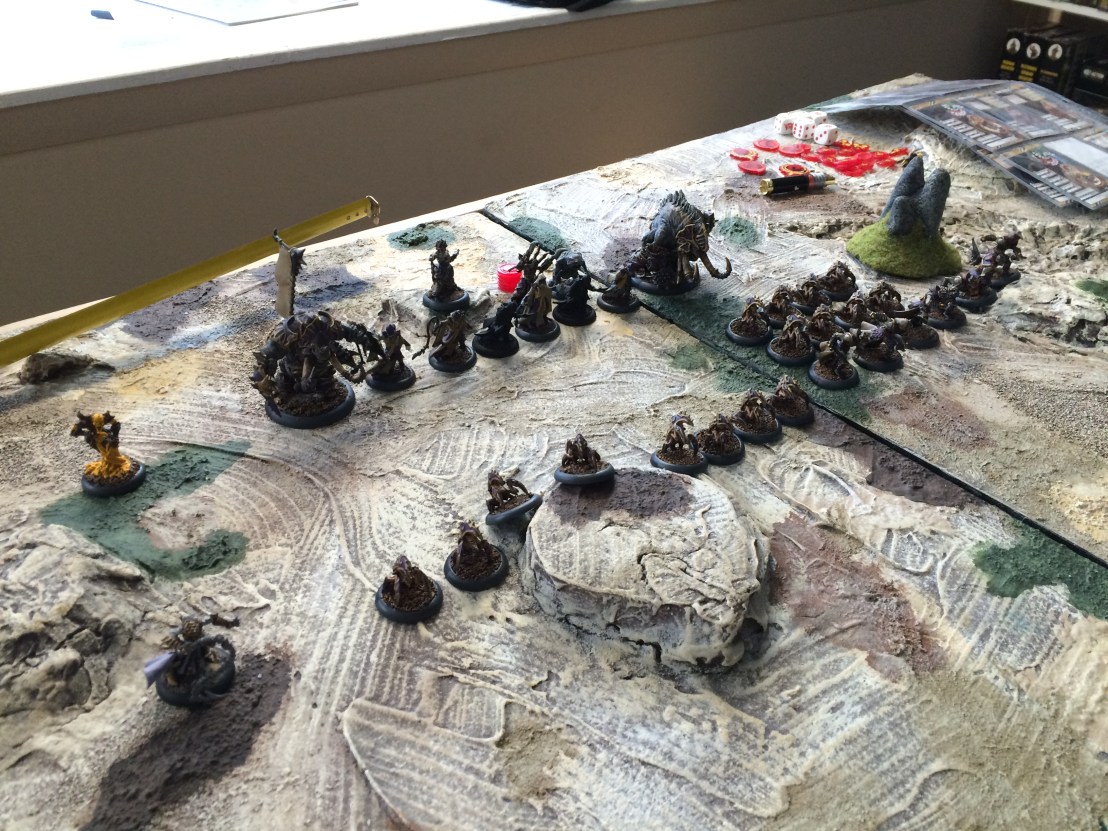 My force also had a fair amount of advanced deploy. I haven’t completed everything for the Mordikaar tier experiment yet, so I decided to see how the Scarab Packs did without any support–hence, more experimenting with Naaresh. The list is Naaresh, four Scarab Packs, a Gladiator, a Bronzeback, the Company of Iron Platoon components, and some Paingiver Beast Handlers.
 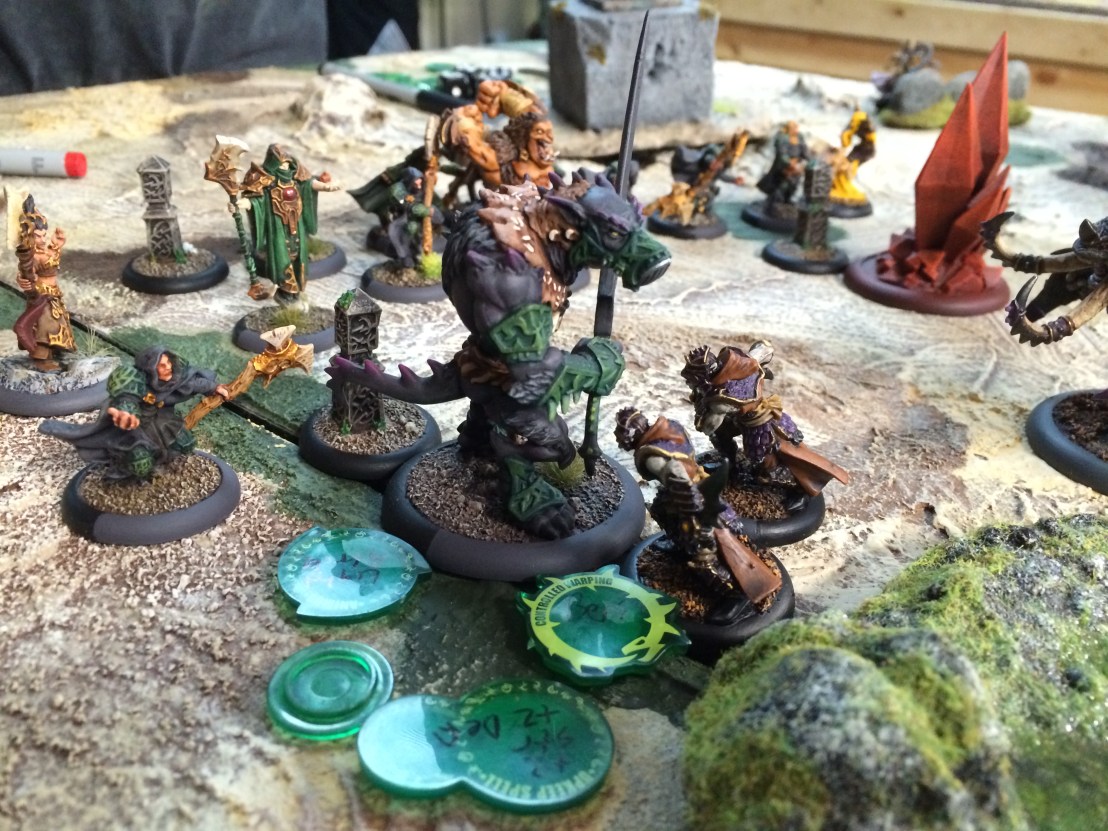 The Paingiver Bloodrunners got into the action fast as they could. The Stalker had reached out and struck down some Scarabs before lightning strike carried him away, so these two brave Bloodrunners sacrificed their lives to close lanes and block.
 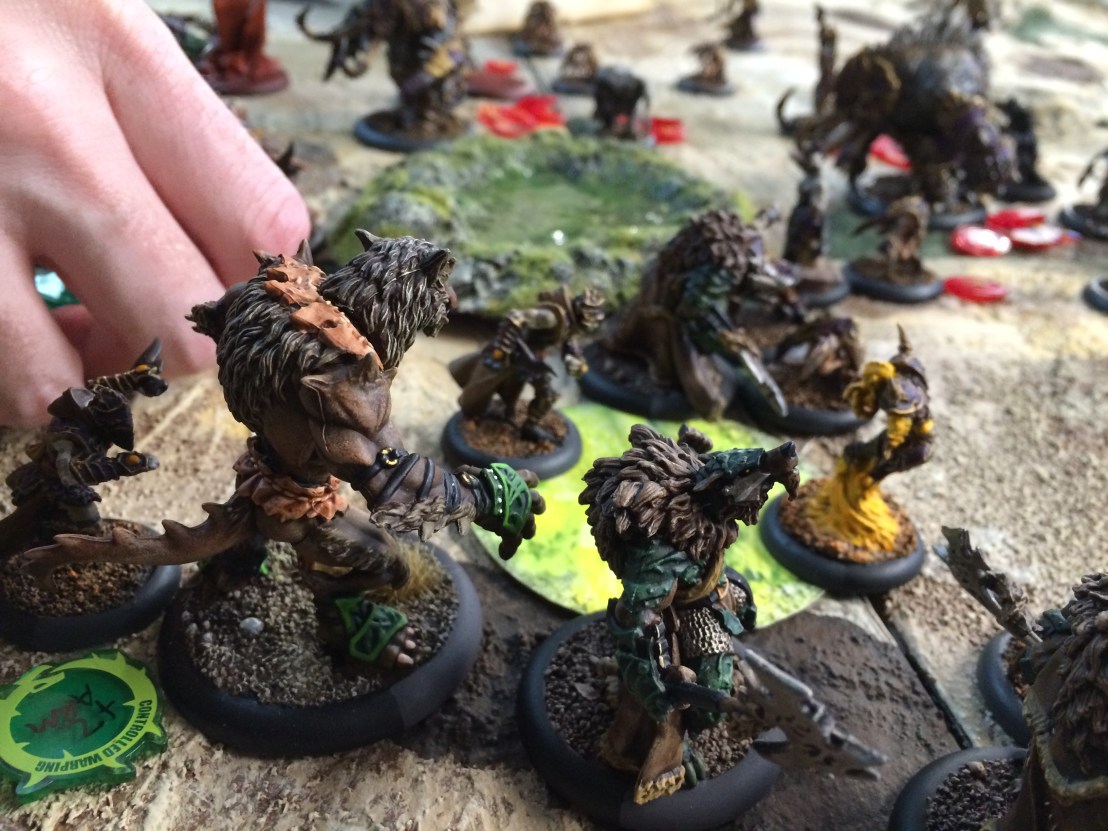 More Bloodrunner shenanigans. Their Shadow Play ability is really amusing, and lets me set up some ugly positioning and activation problems for my opponents. The Bloodrunners don’t ever really shine themselves, but their annoyance factor cannot be understated when they can get Shadow Play to trigger.
 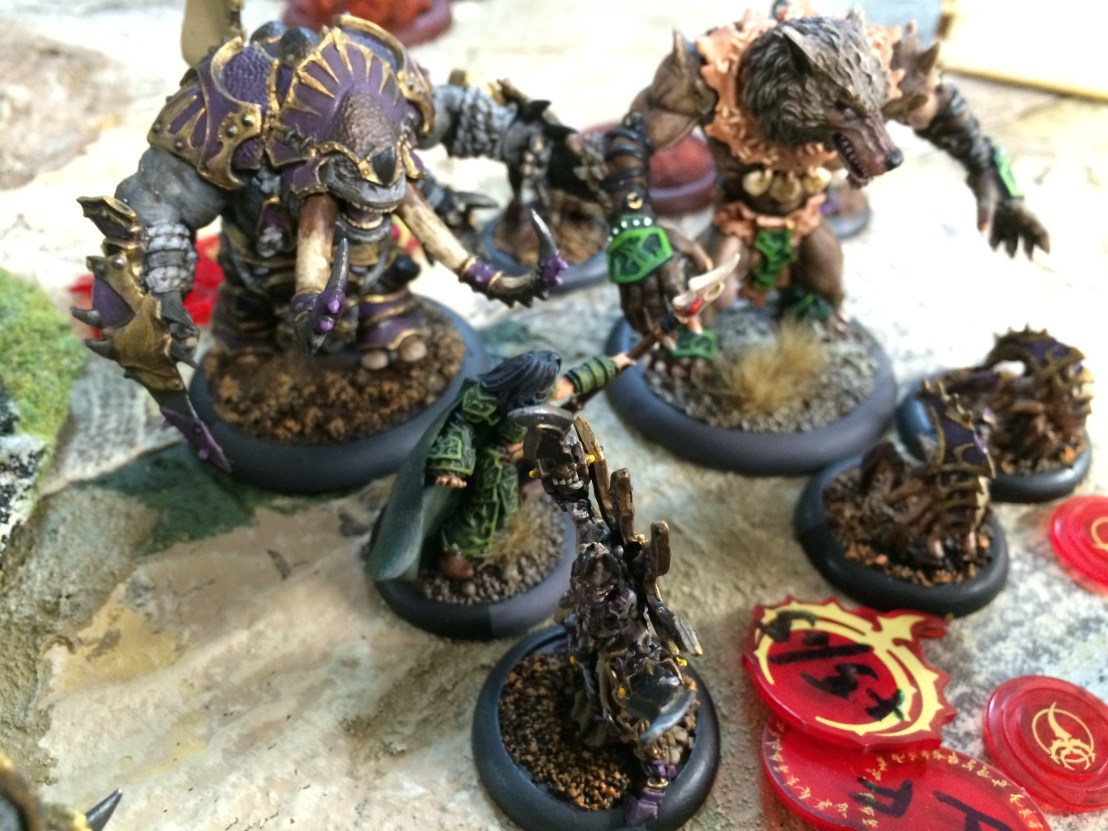 It got pretty touch and go in the battle, as I was not afraid to stand Naaresh up close (nor afraid to damage him with my Beast Handlers’ whips). Kaya2 brought herself and a lot of her forces up and into the fight with the crazy rapid strike she can manage. Dan’s forces would have finished me off, but the Feral Warpwolf missed its headbutt attack on Naaresh (which he had a pretty decent chance of getting). Even with the blood tokens from his Pain Monger ability would not have let him live through the following assault if he happened to be knocked down. Once he had committed, it was a matter of finishing off Kaya2’s beasts and threat vectors to win the game via assassination.
