
To give ourselves something to occupy our games while we’re waiting for Warmachine and Hordes Mark III to arrive in mid-June, discussion of a narrative-based and/or map-based campaign surfaced. Currently a number of players in the Drawbridge Games community area starting Legion of Everblight armies (Andy, Ryan, Enrico, Kevin, and Brandon). And those who are not starting Legion mostly have Khador or Trollbloods as their forces of choice (Tony, Colton, Dan, and Me). So the thought was: why not start a campaign built around a Legion of Everblight assault that forces Khador and Trollbloods to team up against them?
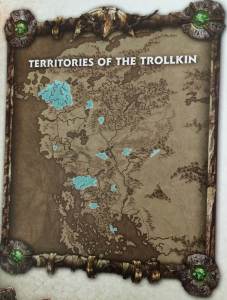
Okay, so given the map from the IK Roleplaying book (above), the overlap of Trollbloods and Khador seems to be particularly present in those northwestern forest areas. It looked like the best spot to me was the spot where two rivers tributaries seemed to pose opposite each other (the Irkel and the Tapping rivers). It makes for a nice little area where Khadorite field troops and Kriels of Trollbloods would have to band together to protect themselves (and each other) against an onrushing menace from the Legion of Everblight’s advances.

As for campaign rules, the goal is to encourage and support all the players building new Legion of Everblight armies. So the central component will be that when a player completes a certain amount of painting, they can choose one of the Legion of Everblight Mystery Boxes–all of which contain something to add to their forces. I’m thinking that completing the Battle Group, or a Battle Group equivalent (fifteen points of Legion including a Warlock) should earn a chance at one of the mystery boxes.

As for the rules of the Campaign, the story will be that a new secret base for the Legion of Everblight has been established at the confluence of the Tapping river. Their machinations have allowed them to establish a major incursion, and the Khador army is recalled to deal with the threat. Given that a number of Trollblood Kriels are also in the path of destruction, a number of Warlocks have been recalled and set up a temporary truce with the Khador military to work together in opposing this set of foes.
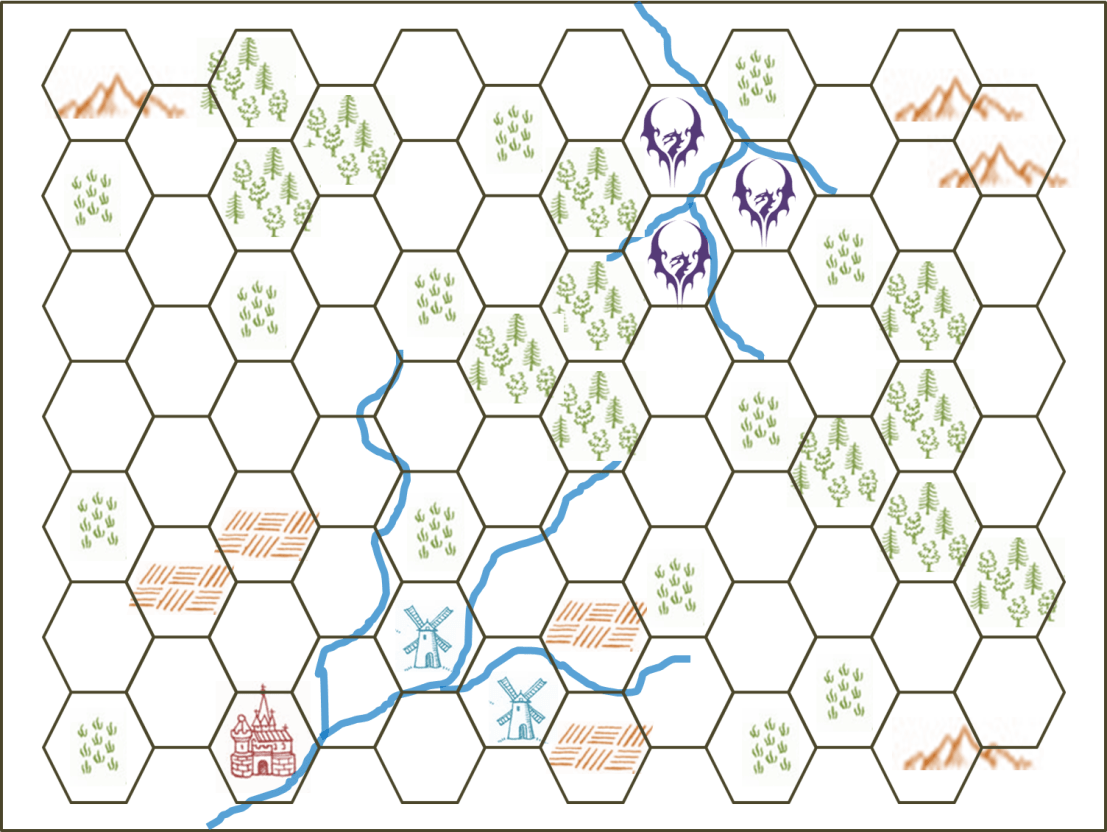
That’s the initial map without the starting placements of various Warlocks and Warcasters. The idea would be that we’ll poll the players about which Warnouns they are most likely and least likely to use in the campaign. Those would then get split into various combined forces. So for instance, one group could be the Butcher (all three versions) and Hoarluck Doomshaper (all three versions). Another could be Jarl, Strakov (both), Borka (both), and Karchev. A win by one of their warnouns would mean that their area would expand. If adjacent to foe tiles, then a loss would mean they shrink. And if adjacent to a foe who was played in that fight, the winner would spread into the foe’s space that is lost. The starting Khador/Trolls blocks will obviously form a line in the south, while the Legion form a line in the North. To accommodate a couple of players who are not fielding Legion, Trollbloods, or Khador, there can be rules for a river-borne contingents of Cryx (and maybe Cygnar) raider seeking to weaken Khador and the Trollblood Kriels, as well as find information about the Legion base of operations.
This gives players flexibility to control the destiny of the fight–whichever warlocks and warcasters won most would find their armies spreading over the lands. There will be a reason to be ahead on individual battles won, as well as the faction lead as a whole. That means that players don’t have to play every week to still get a meaningful campaign, but they’re encouraged to play frequently as benefits accrue for more participation. Games can be any points value, and we’d love for players to rise to the 50 point level. But to accommodate starting players, 15 point games are also permitted, and the expectation is that 25 point and 35 point games will be common early in the campaign.
There will also be special missions (using the IKRPG rules) for commando raids, run by Ryan.
The campaign will end with a big mega-battle between the two sides with multiple players playing at once. If Legion has amassed more wins and controls more territory, there will be a raid on the Troll/Khador settlements as the final battle–and prizes for Legion players who successfully carry the most “plunder” away. If Trollbloods/Kador have instead accomplished more wins and control more territory, then it will be a last-ditch effort of the Legion forces to evacuate their hidden base, and Trollbloods/Khador folk securing intel. Individual success records will determine placement for the final battle, with more central spots given better odds of accomplishing the win elements (but certainly not guaranteed).We will also be tracking number of times each player fielded each Warcaster/Warlock–the player who played the most of that caster gets to field them in the final game (effectively gets right of first refusal). This will reward players who stick with the same caster for the campaign, and also make showing up for continued games important.
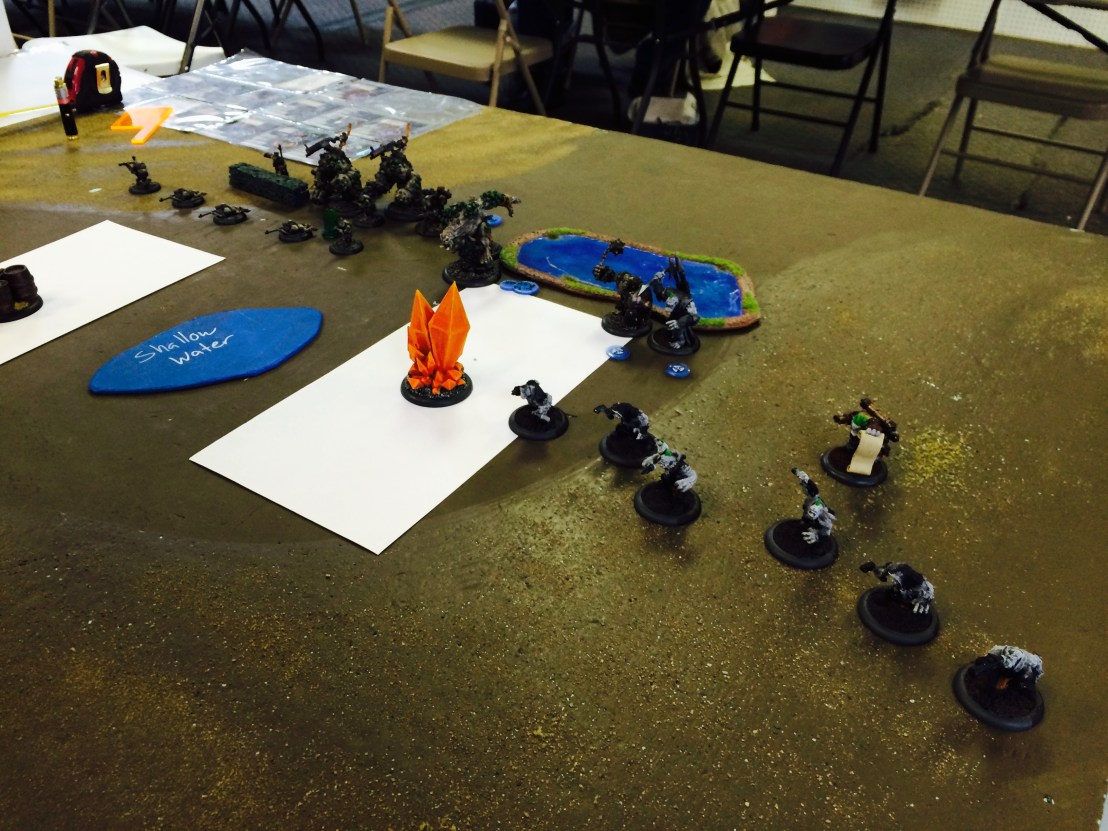
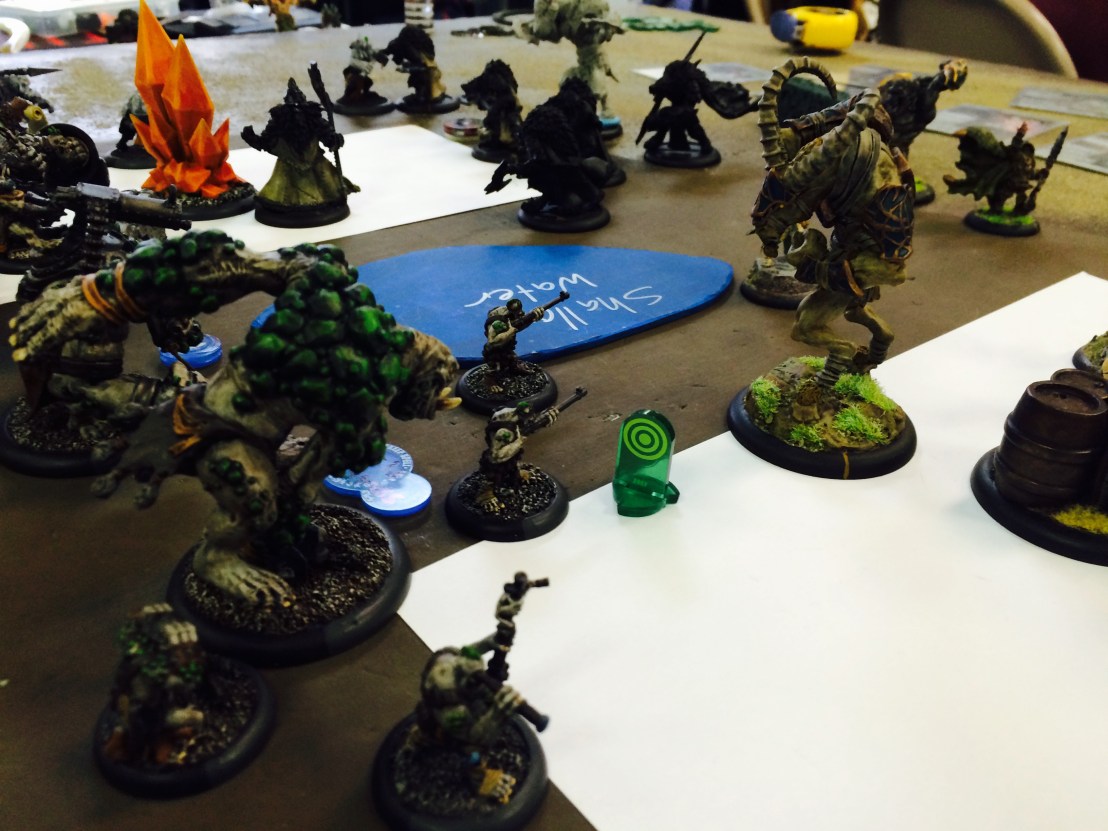
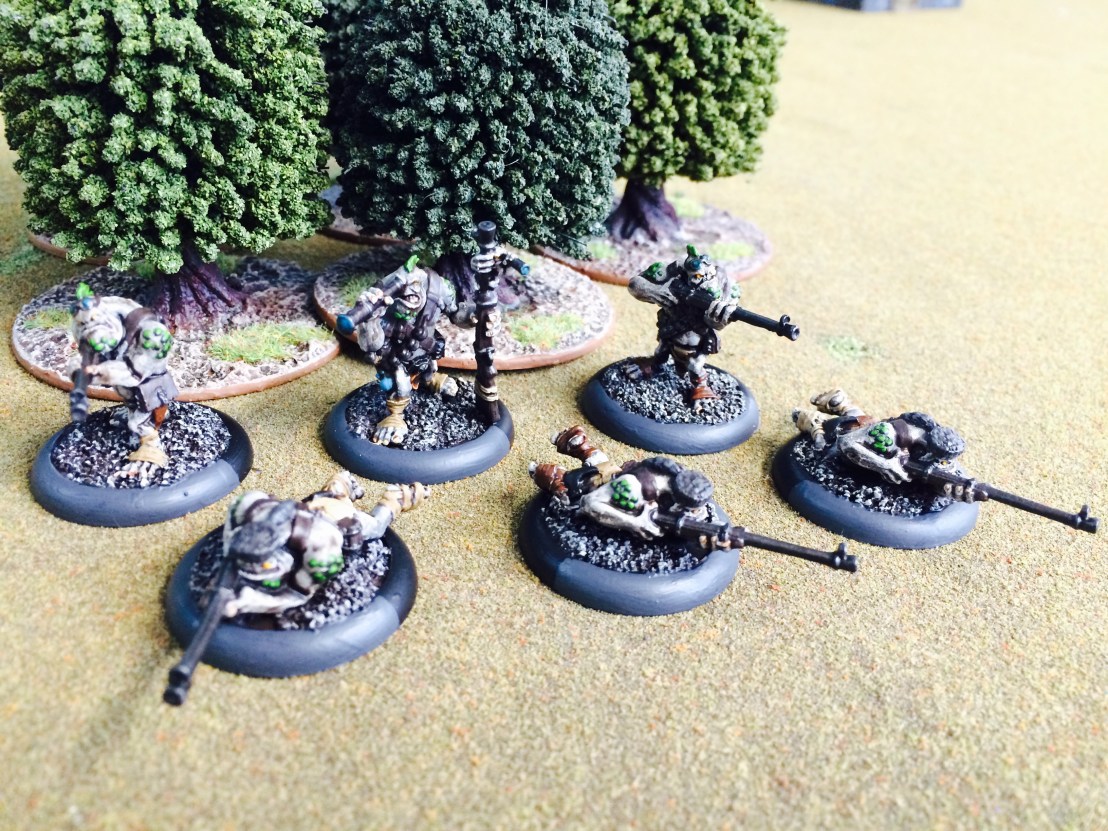
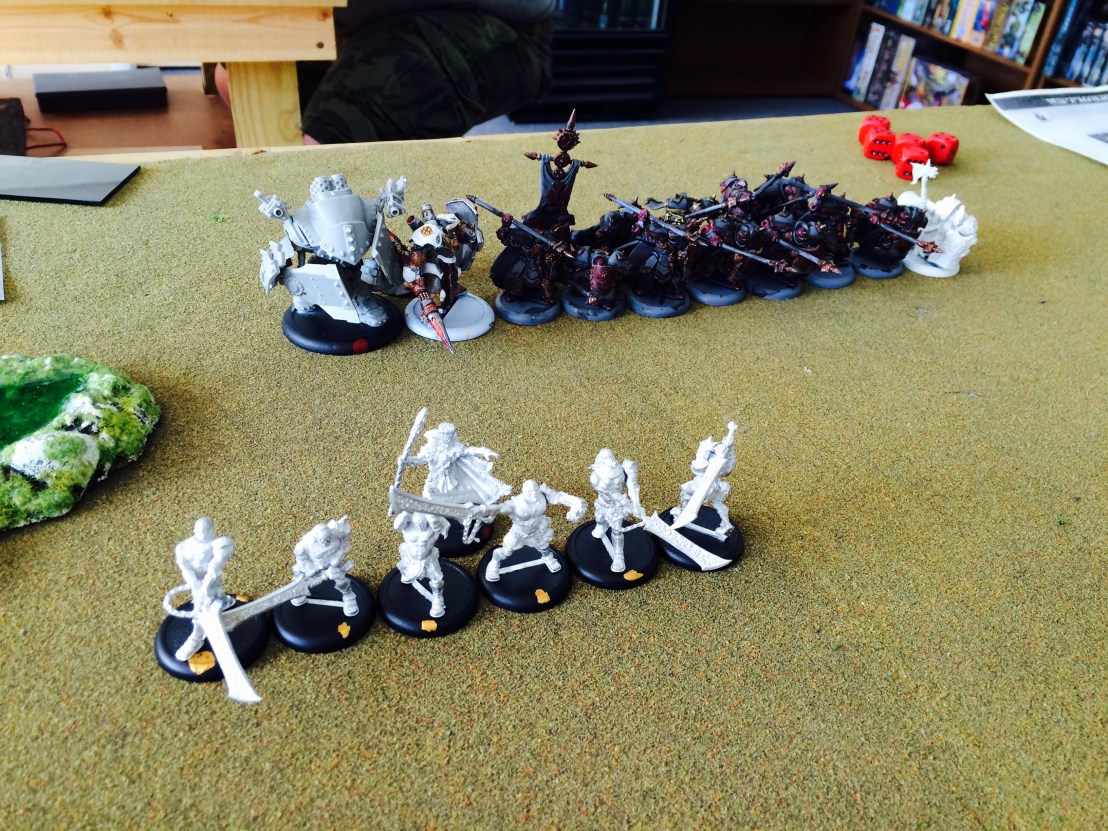
 The Trollbloods deployment. The list was Borka with Rok and a Glacier King, plus a max unit of Fennblades with UA, a Fell Caller Hero, and the platoon elements (Stone Scribe Chronicler, Scouts, and min unit of Pyg Bushwhackers). He positioned them ready to leap into the trench.
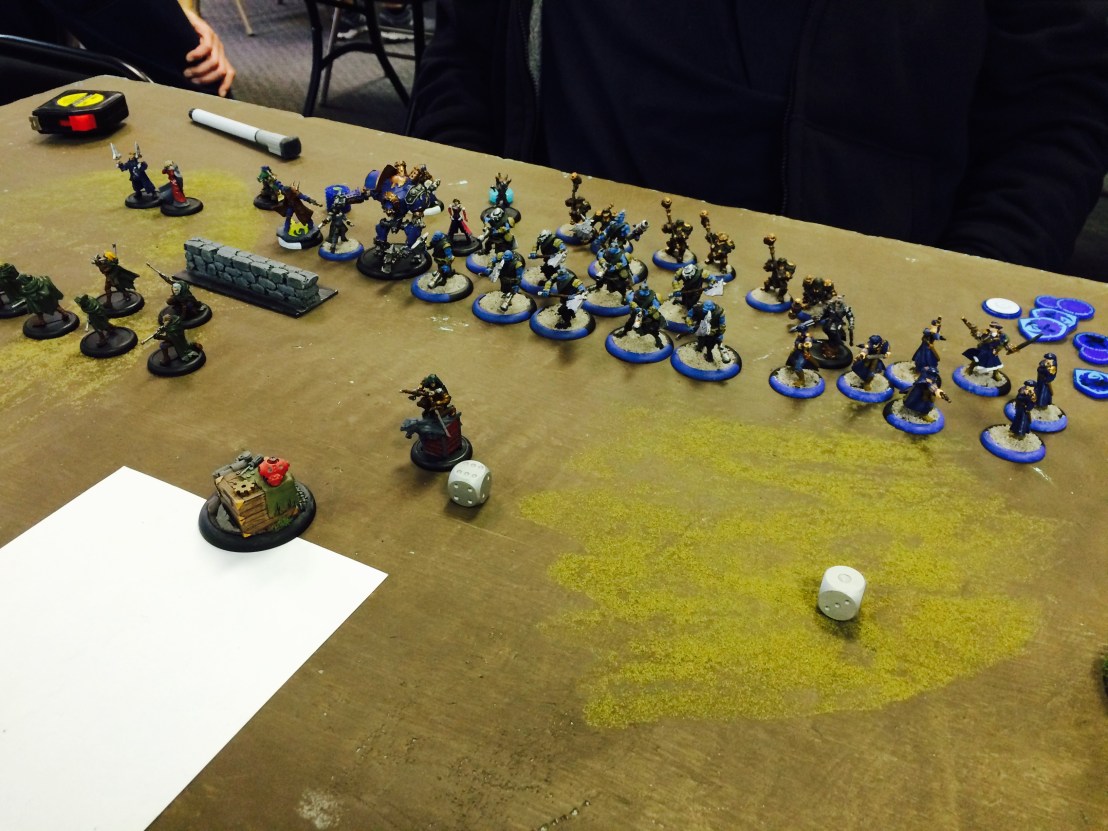
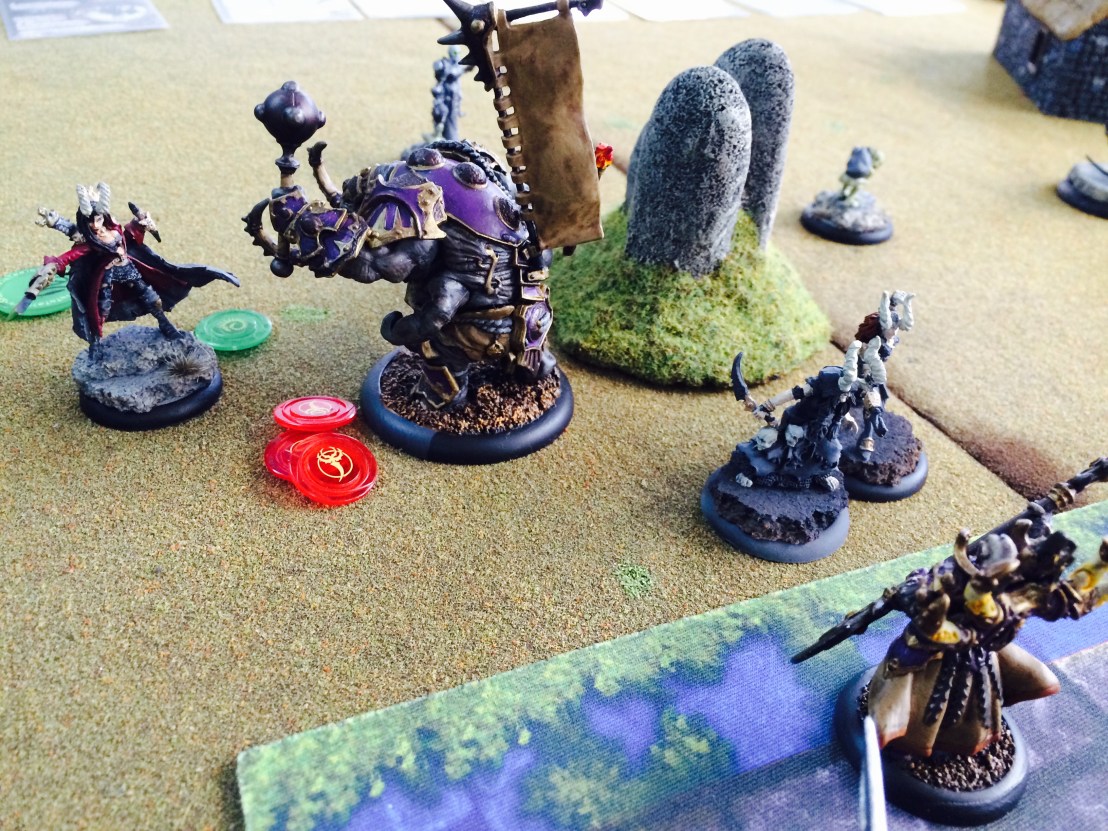
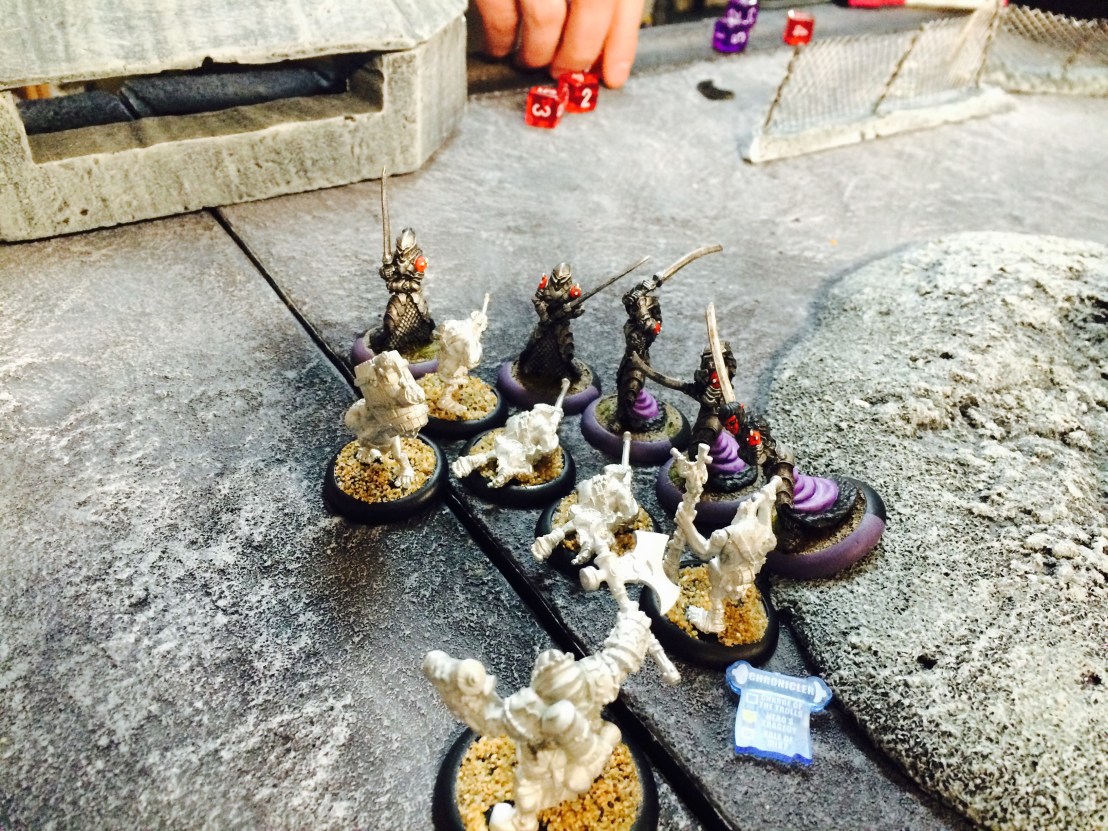
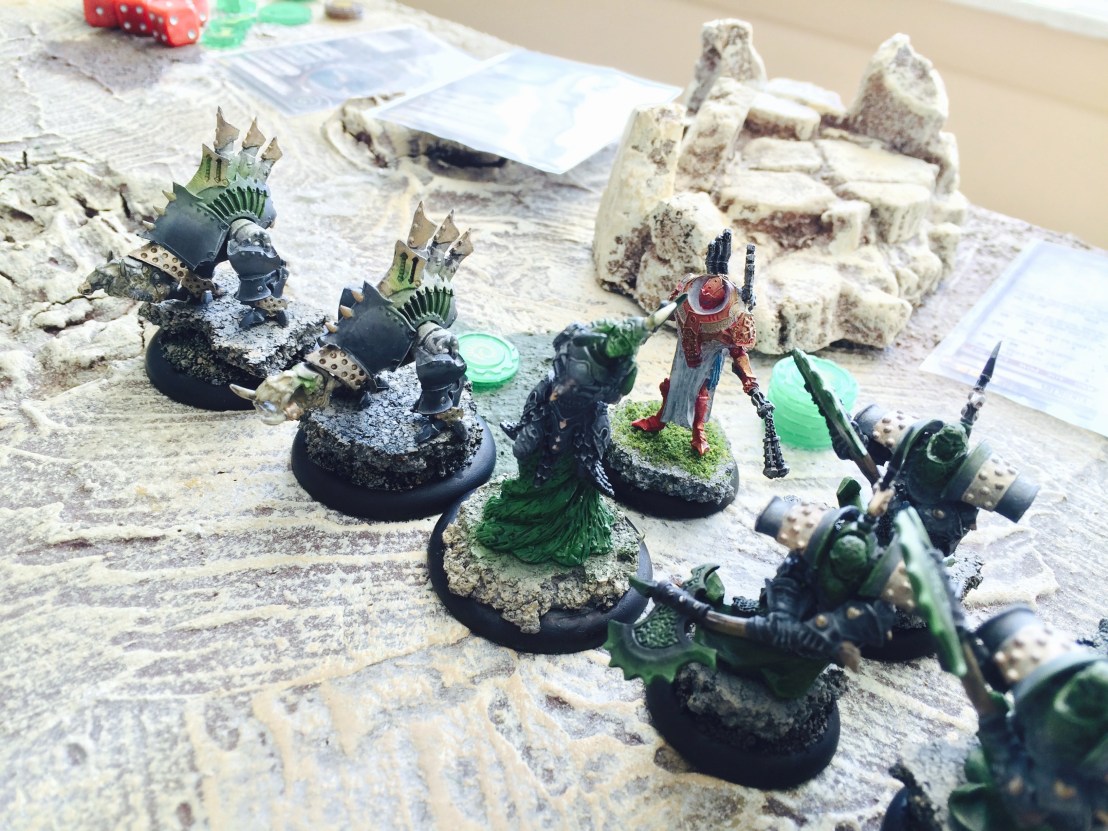
  My force was the first outing for Master Ascetic Naaresh under my command. His feat seems to translate well for hitty warbeasts even though he’s a bit of a generalist, so I went for a mostly general battlegroup: a Bronzeback, a Gladiator, a Aradus Sentinel, a Cyclops Brute, a Cyclops Shaman, and my new Scarab Pack hitting the table for the first time themselves. That combined with some Paingiver Beast Handlers and the elements of the platoon to complete the list: a Mortitheurge Willbreaker, a Paingiver Bloodrunner Master Tormentor, a unit of Paingiver Bloodrunners, and two Void Spirits. I rushed up the board in the rough block in the picture above (this is after movement), doing my best to use the two linear obstacles that were provided.
 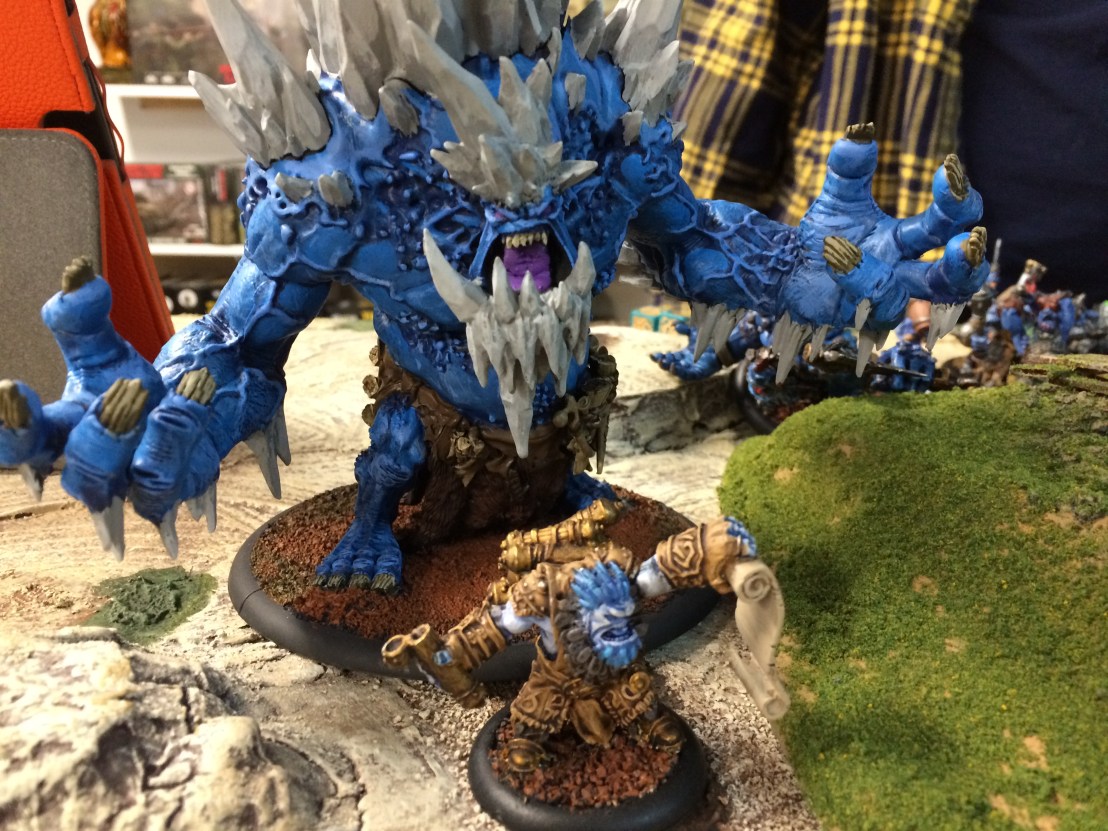 And I needed that cover because of the shooting onslaught. The Glacier King’s deadly shots, plus the spell of the Sorcerer, were directed my way time and again. Luckily the cover, the high defense on some of the models, and the additional armor bonus on the Aradus Sentinel blunted the threat considerably.
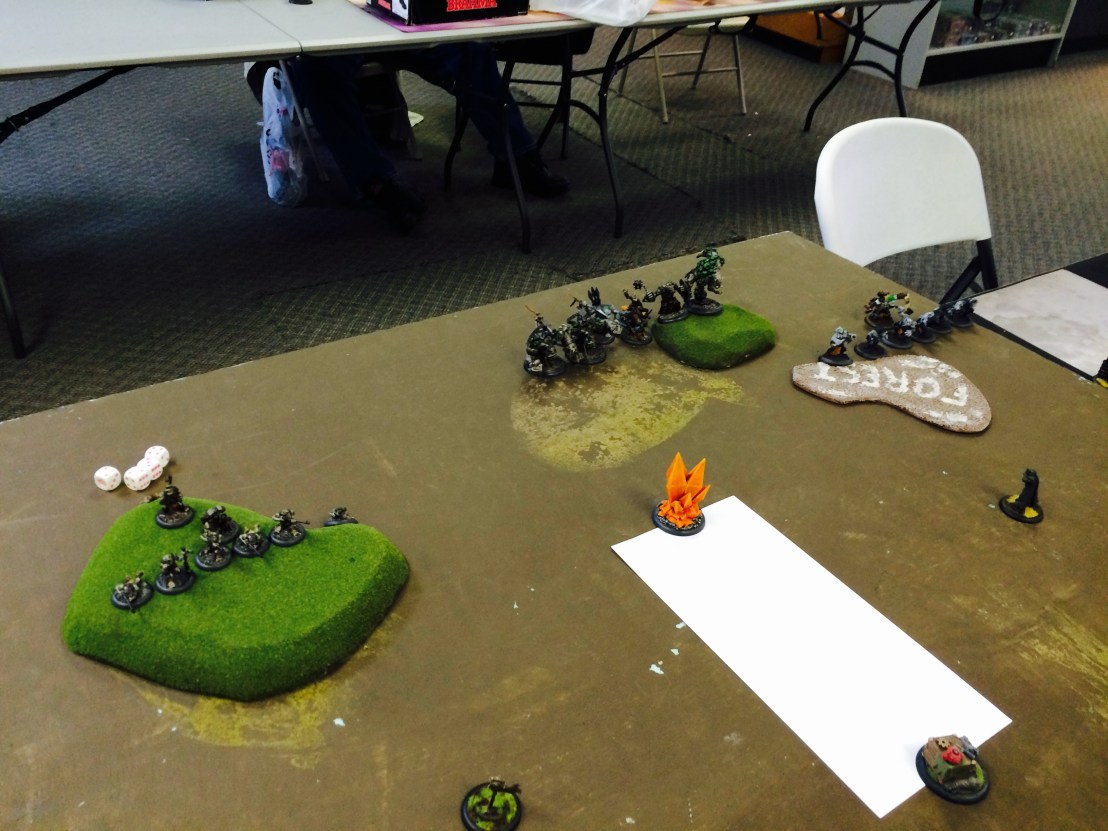
 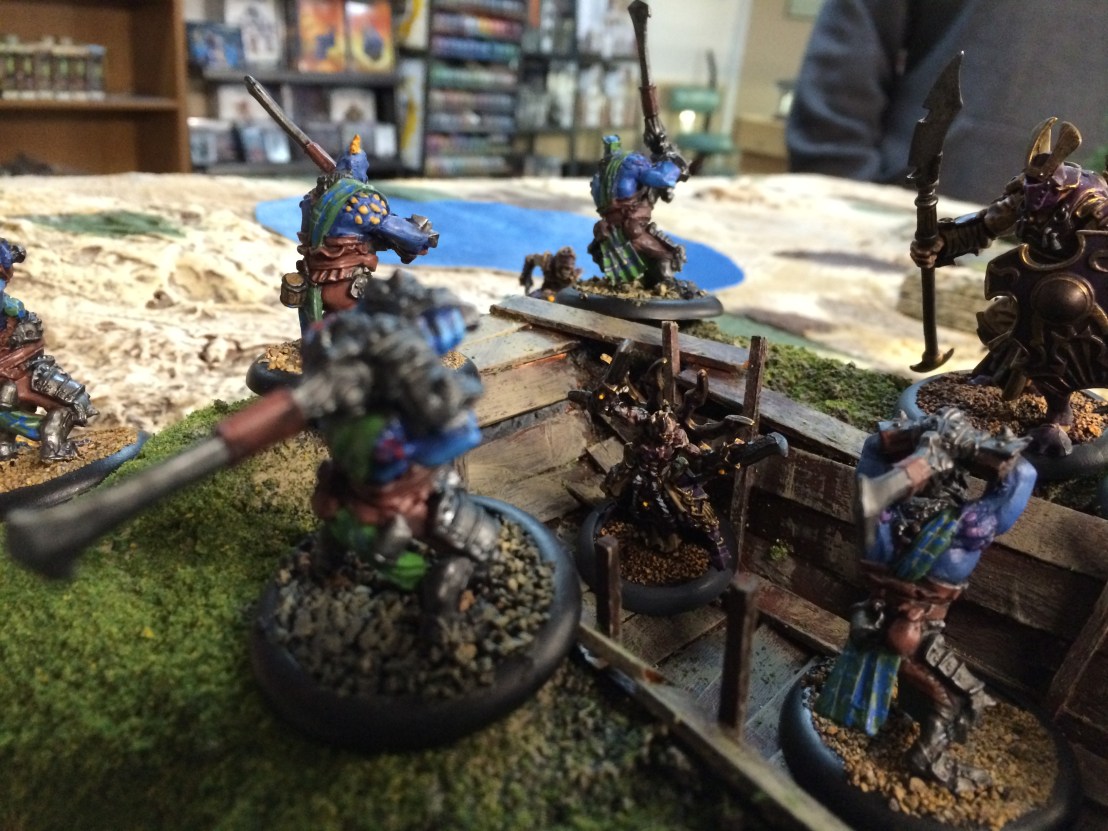 The mission makes the attacker (me) win by getting their Warcaster or Warlock into the enemy trench, and then start their following maintenance phase inside. I had a moment of opportunity when the Fennblades panicked from the nearby Void Spirit, so I took my shot. The Paingiver Bloodrunners cleared a model inside the trench then used their ability to draw the model that hit him out of the way. I ran the Cyclops Brute up for protection, and then managed to get Naaresh into the trench with his Cyclone spell. With Iron Flesh upkept upon himself, some damage tokens boosting his armor from a friendly whipping, and the Safeguard Animus from the Brute, he was going to be hard to shift out of place.
 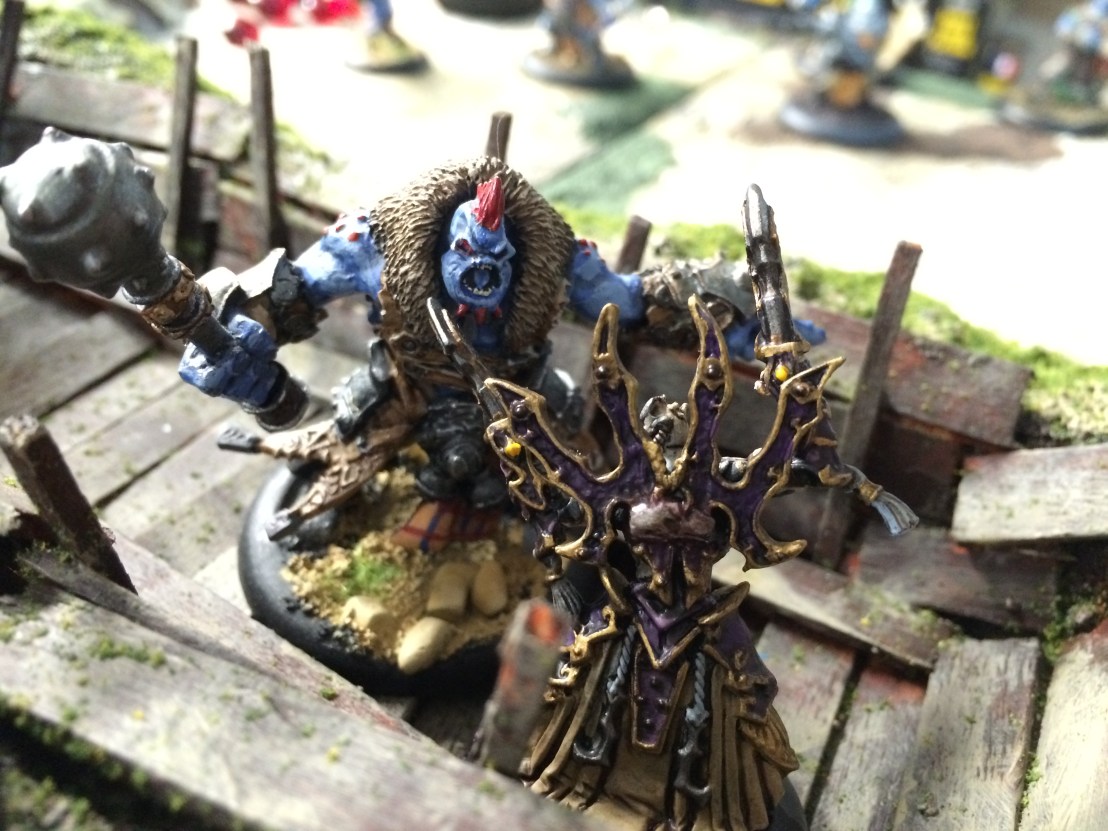 That didn’t stop Tony from trying. He had the Fennblades flee away, and basically had a shot from Rok (who got into the trench, so had a chance to hit even my high defense) and then melee from Borka to try and finish Naaresh off. Borka got really close, but not close enough. I took some damage, and had to transfer twice. But in the end Naaresh was still standing in the trench at the start of my Maintenance phase which won me the game.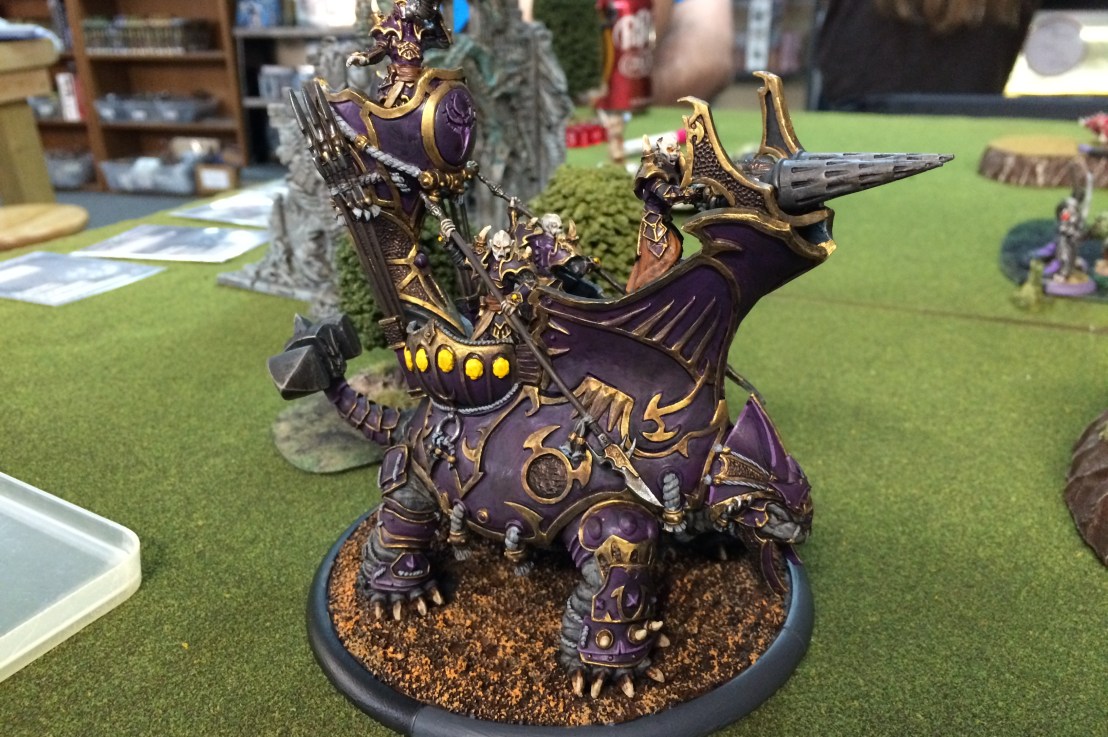
 Master Ascetic Naaresh completed. This model was a pain (haw haw), as his skin is all broken up by the bladed piercings that litter his body. I like the look overall, but felt that the skin was somewhat too busy to pull the model together well. Dunno. He does add three points to my painting total (warcasters get points for their base size).
 I also finally finished another part of my platoon: the Paingiver Bloodrunners unit. These murderous assassins are pretty fun to play, as their Shadow Play ability can let some really wacky things happen. They also net me five more points for painting progress.
  The second unit I got done: a Skorne Scarab Swarm. Sorry for the bad picture, I’ll take more when they hit the field for the first time. But hey, five more points to the painting totals.
 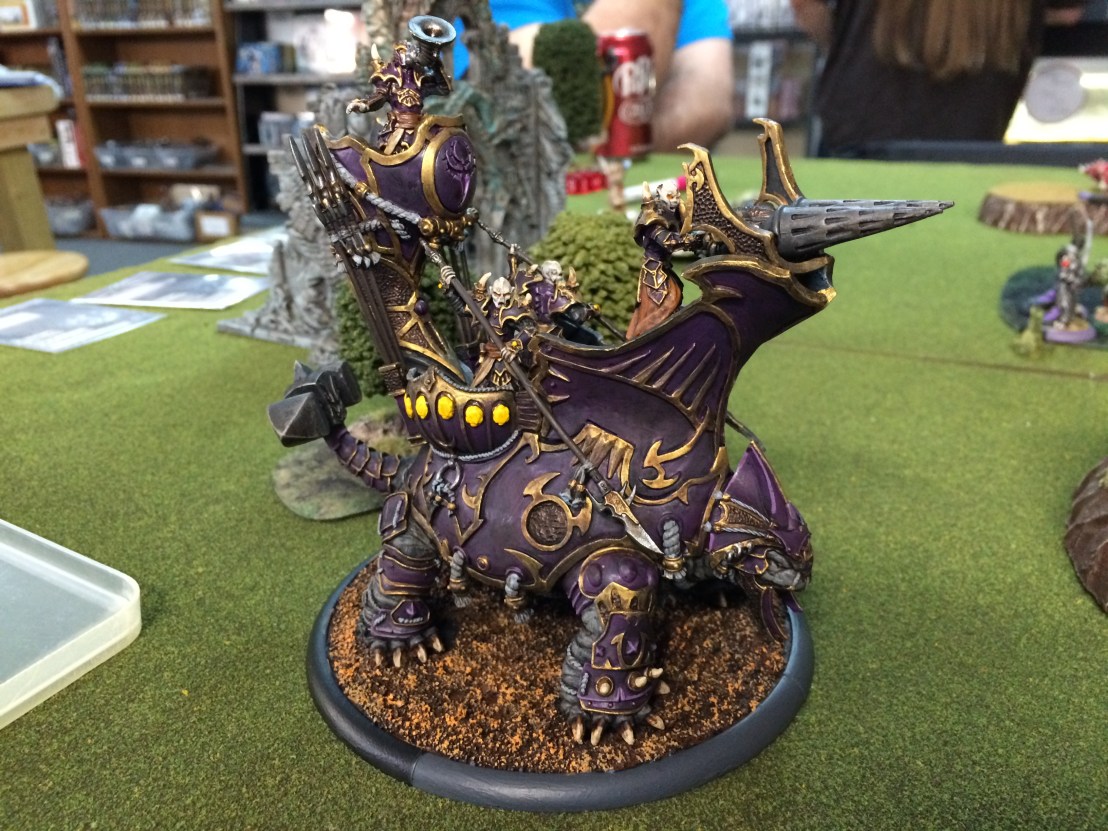 This is the one I’m really proud of. I finally finished the big boy: my Siege Animantarax. Not only is he a great model, but he adds nine more points to my progress. I managed to finish it on March 31st, which brought me to 31/31 for the March painting challenge. And leaves me at a crazy 97/366 for 2016. Just over 25% of the way done–which is exactly right given that I’ve done three months of “paint a point a day” progress.
 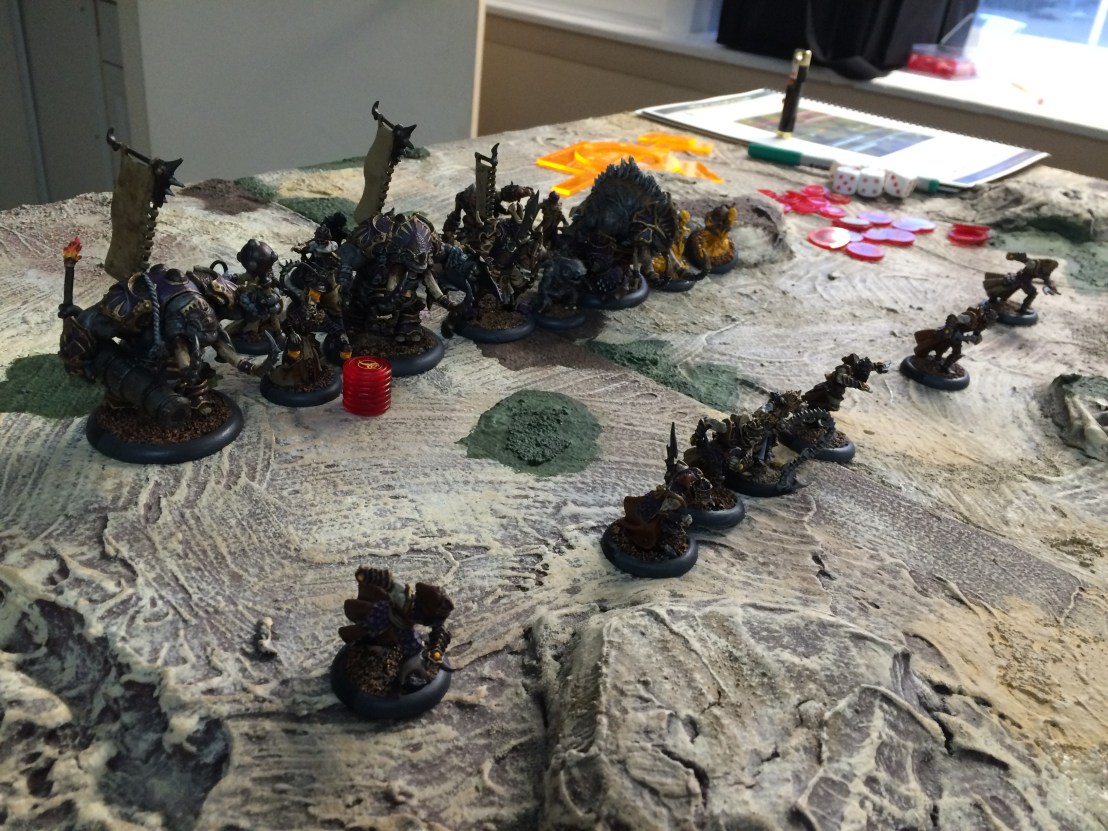 My line of battle for the big game versus Menoth. Mordikaar is the Warlock I’m riding pretty heavily in the league–he’s the one in the fluff of the Platoon that they are working for, and he’s a good match for the units included. It was a pretty heavy melee and beast list, with a Titan Cannoneer included to help thin a bit of infantry on the advance.
  And oh, what infantry there was. Terry’s force was led by Kreoss2, and in addition to the Platoon there were two other units of troops (not even including the max Choir). Mordikaar had his work cut out for him.
 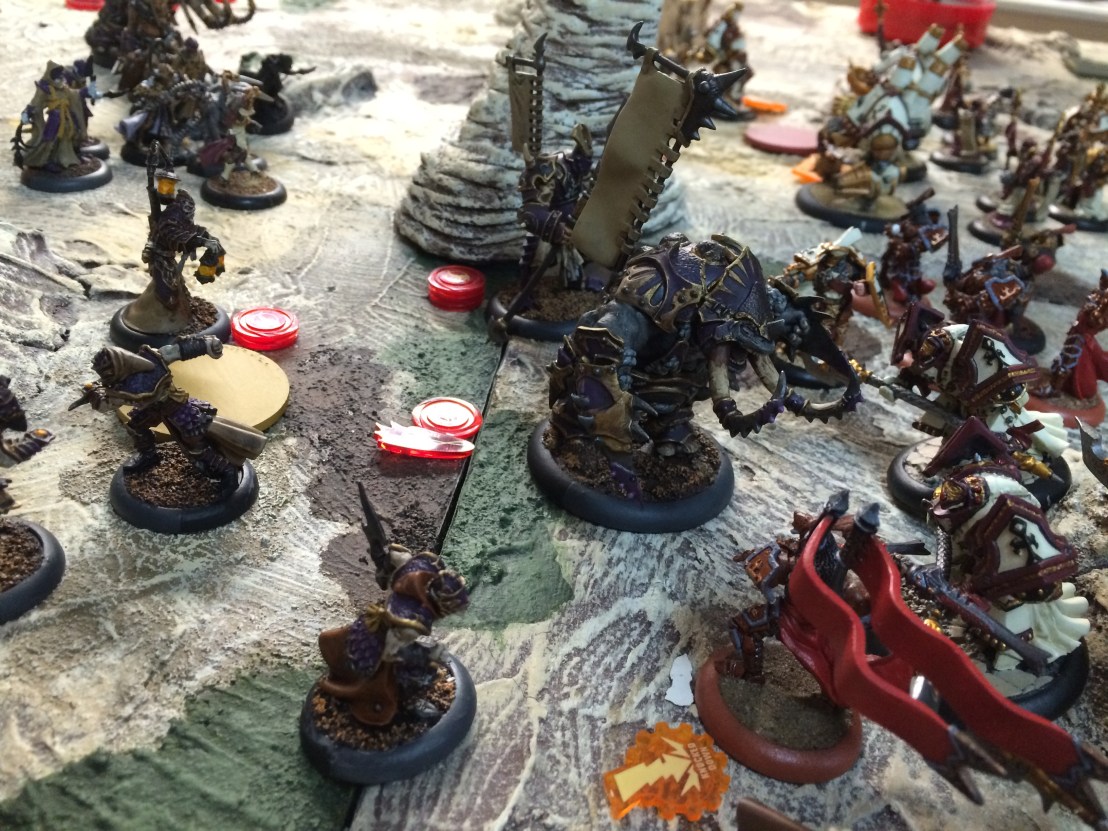 Especially because Kreoss2’s feat completely denied my feat. I looked at his card and everything before the game, but somehow I missed the “attacks automatically hit” and saw only the additional attack portion. I should have known, as I’ve faced Kreoss2 plenty of times in the past. So of course my not remembering led me to near-complete disaster: I rushed my jammers and relatively higher defense beasts right into a bad spot and hoped that +3 Defense and Poltergeist would minimize the damage. I was so wrong.
 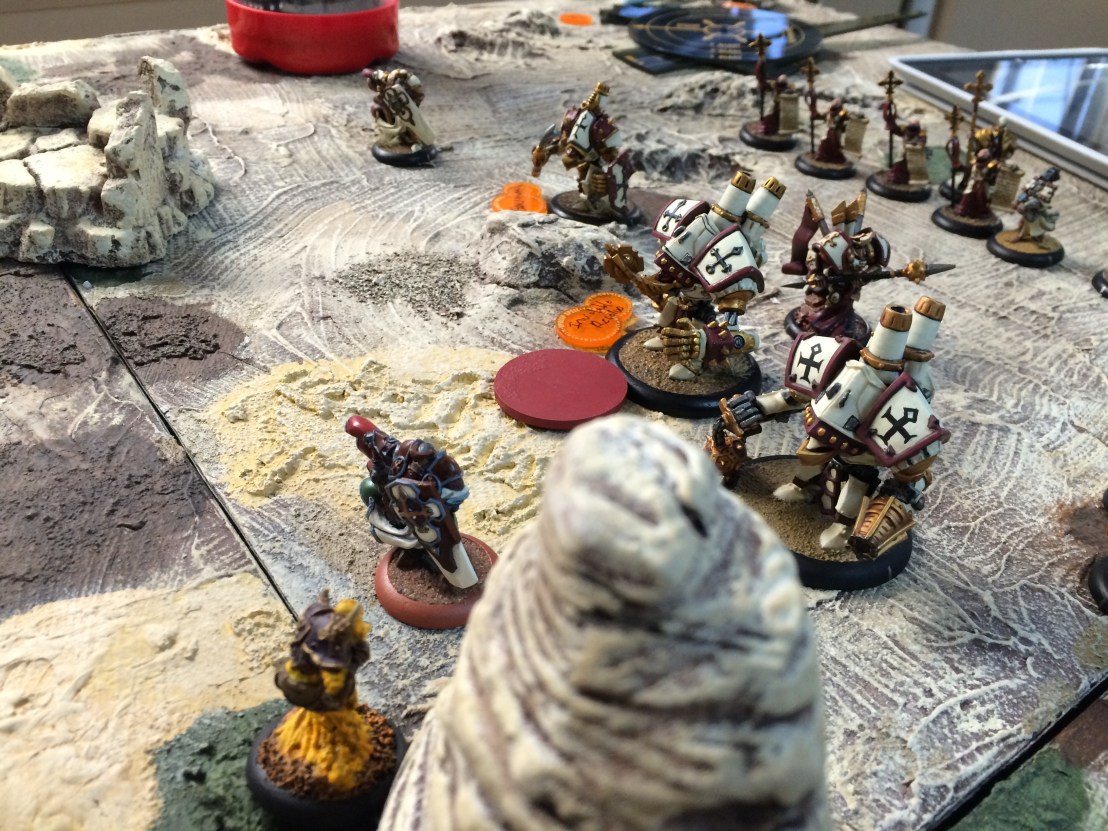 Kreoss2 did all this safely from behind a warjack screen, and I simply did not have the leverage to fair-fight my way to possession of the flag on that side. So it was time for what Mordikaar does best: a last minute assassination attempt.
 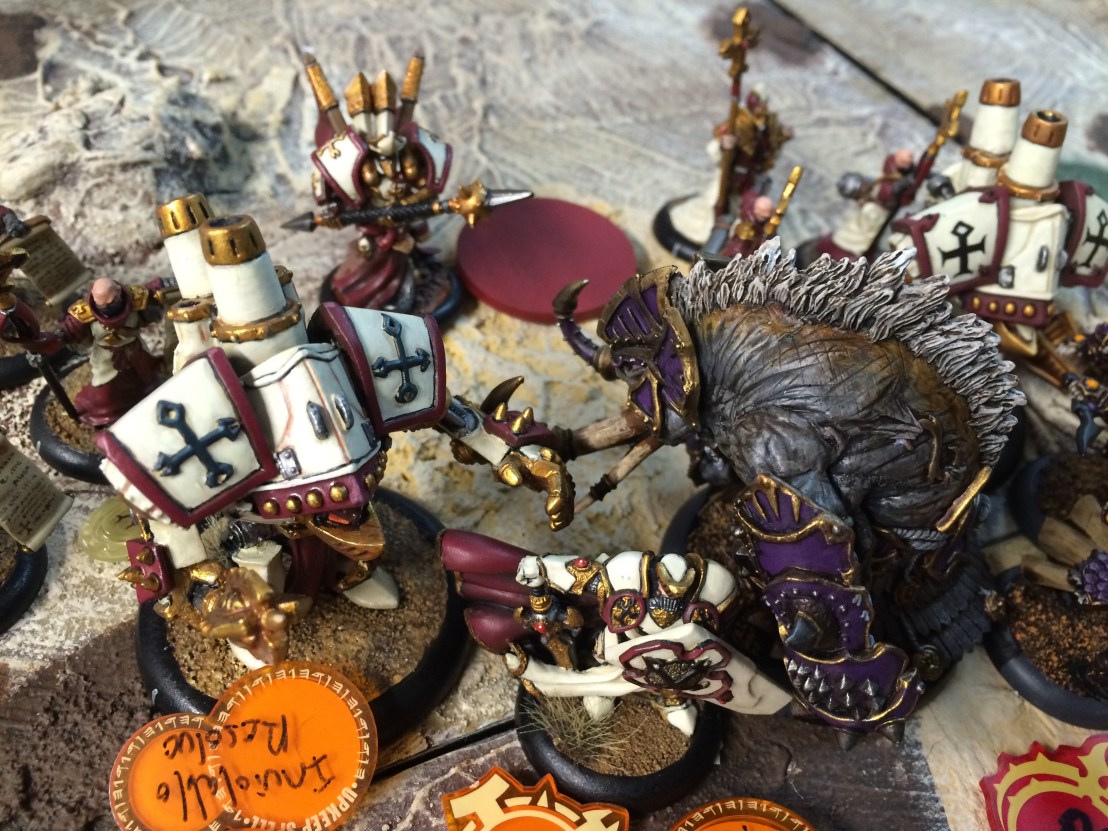 My Cyclops Shaman got a shot off on Kreoss2 as he got close to the flag–ignoring line of sight problems and landing a few points of damage. The the Bronzeback got rush put on him (from the Cyclops Shaman) and dashed forward with a charge. After the first swing, a bit of beat-back allowed him to drive more deeply into the enemy forces toward Kreoss. I parked an “insurance” Bloodrunner behind him just in case, had my Willbreaker put Puppet Master onto my Warlock, and then activated Mordikaar. Another Essence Blast assassination vector off a warbeast did the trick. The hit comes at such HUGE strength off a Bronzeback, that it blasted away the last of Kreoss2’s hitboxes with relative ease.
 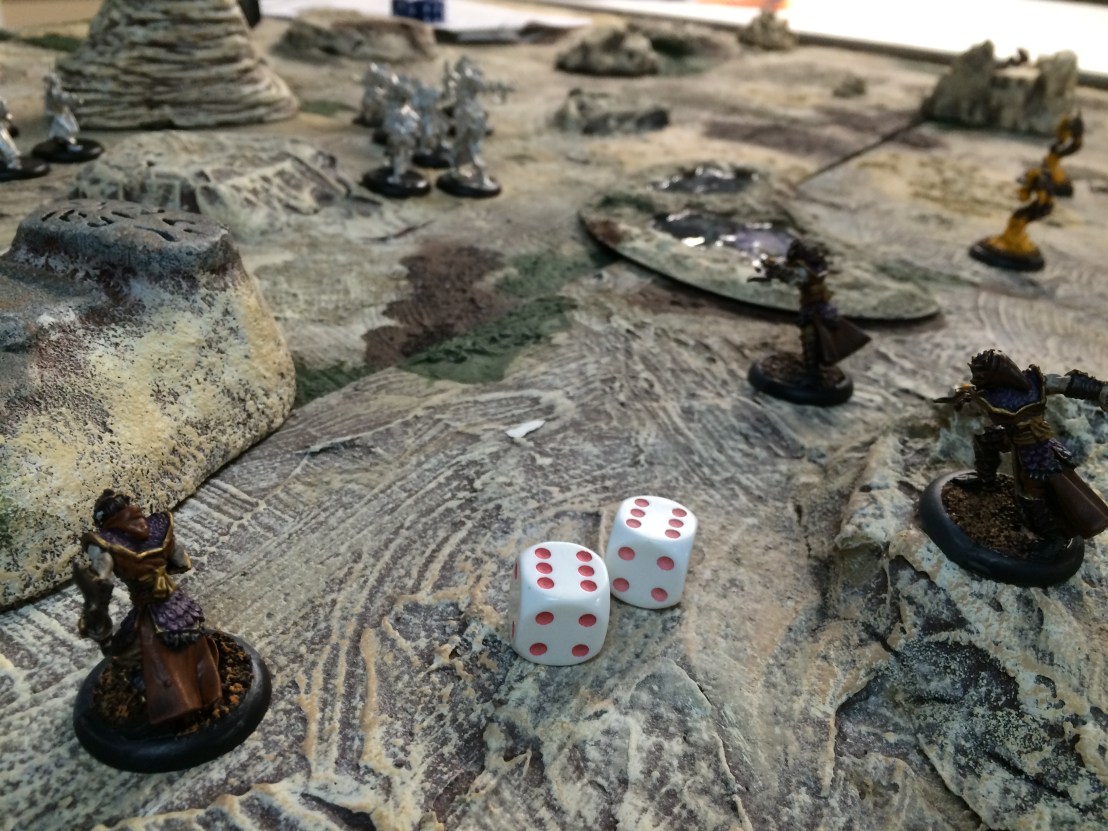 Game two of week three started with a flying stop, as my Skorne Platoon simply crumbled against Brandon’s Cygnar platoon as they attempted to escort a military officer to the safe house. It didn’t help that the Bloodrunners managed to be just a little too close to the gunmages, so their stealth didn’t protect them. My mistake in placement, which compounded by failing the command check afterward.
 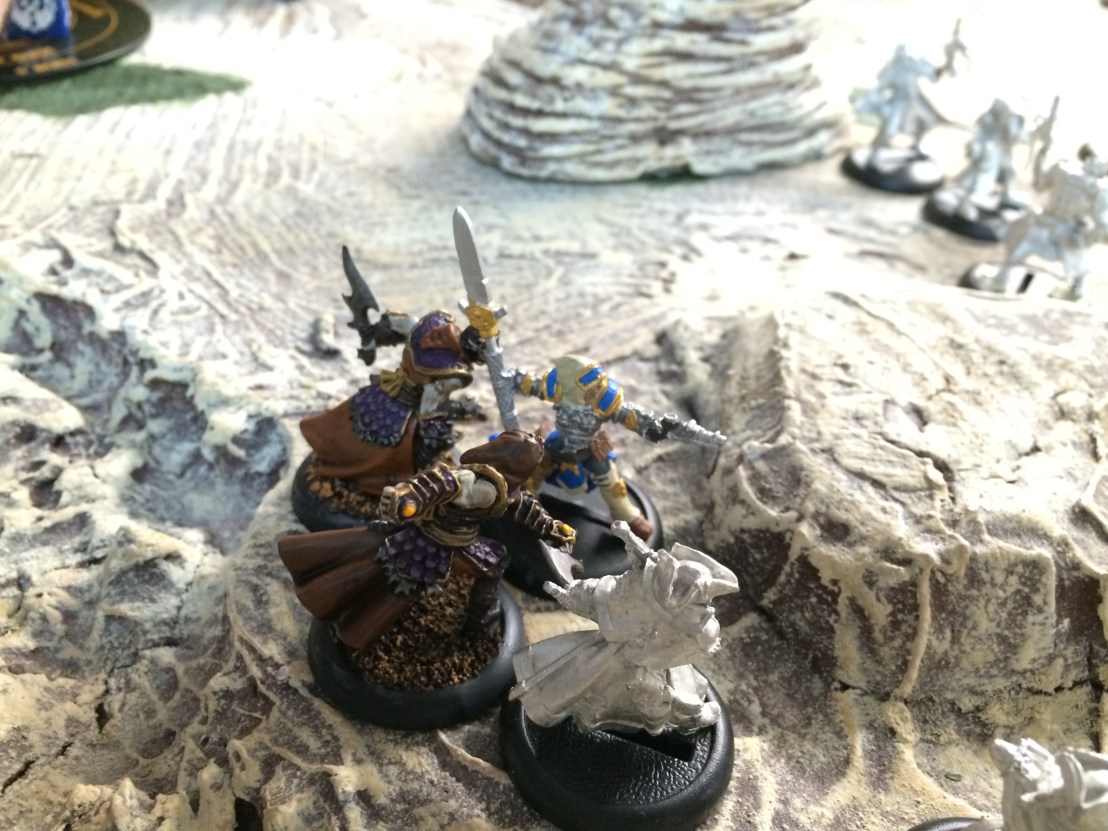 I blame Victoria Haley. She was the Officer model that Brandon was fielding for the mission. And I have yet to win a game against her in my entire span of playing this game (dating back to my brutal Khador-gap warjacks in 2003). This one was no exception, even if she was just the stand-in for the Officer. I rallied the Bloodrunners and they got up to her, and simply failed to seal the deal. The missed her attack, so the Poltergeist effect for the platoon starting promotion triggered–leaving her out of melee range, and letting the Gun Mages mow down the last of my Skorne troops.
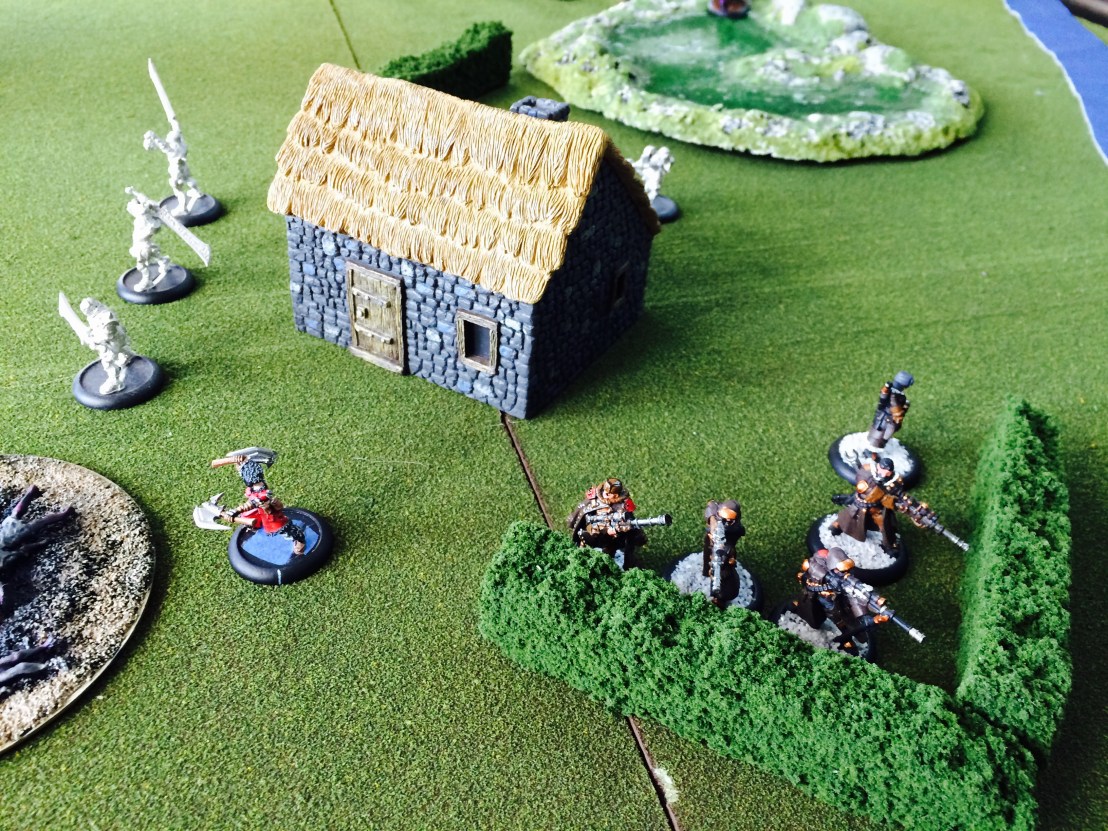
 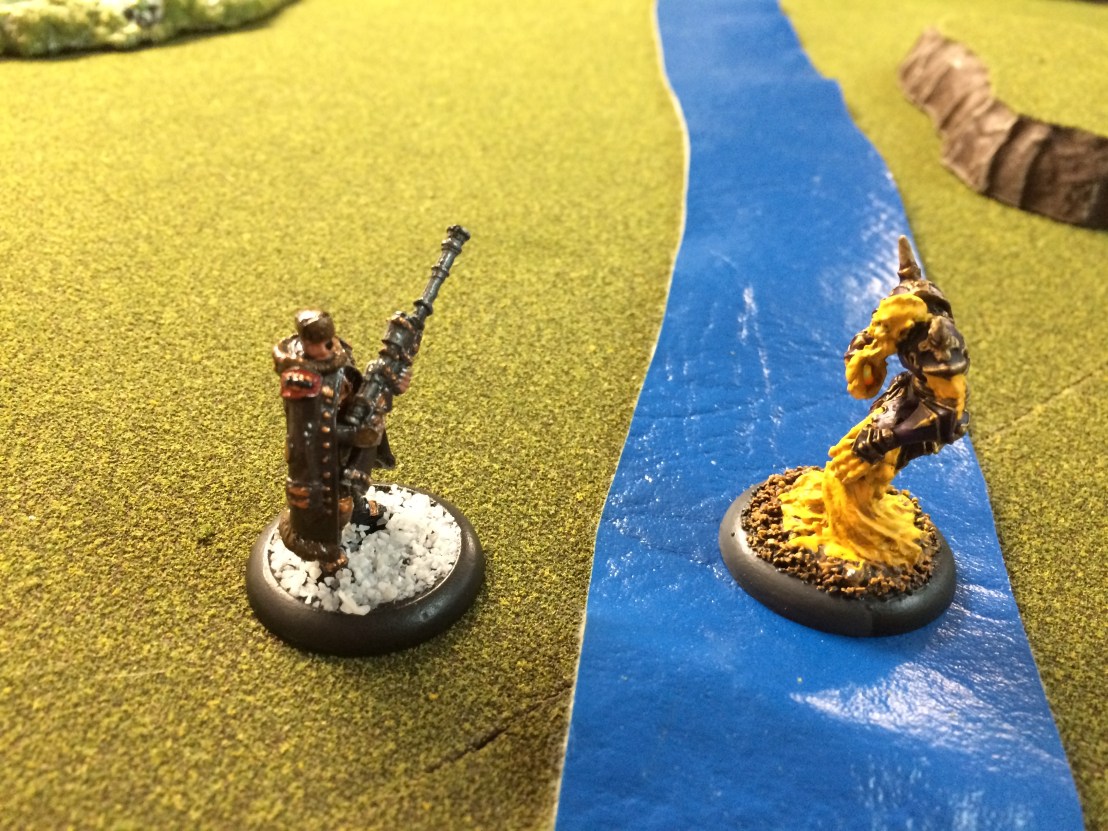 Week Four of the event I only managed to squeeze in a single platoon clash–largely because there was great turn-out and everyone was getting games in. My Platoon faced off against Colton’s Khador again, this time with me protecting the objective in the center that he was attempting to sabotage. Above, you see the abysmal failed charge of my Void Spirit at his Widowmaker Marksman. Lack of Incorporeal (and thus caring about the movement penalty of the stream) strikes again.
 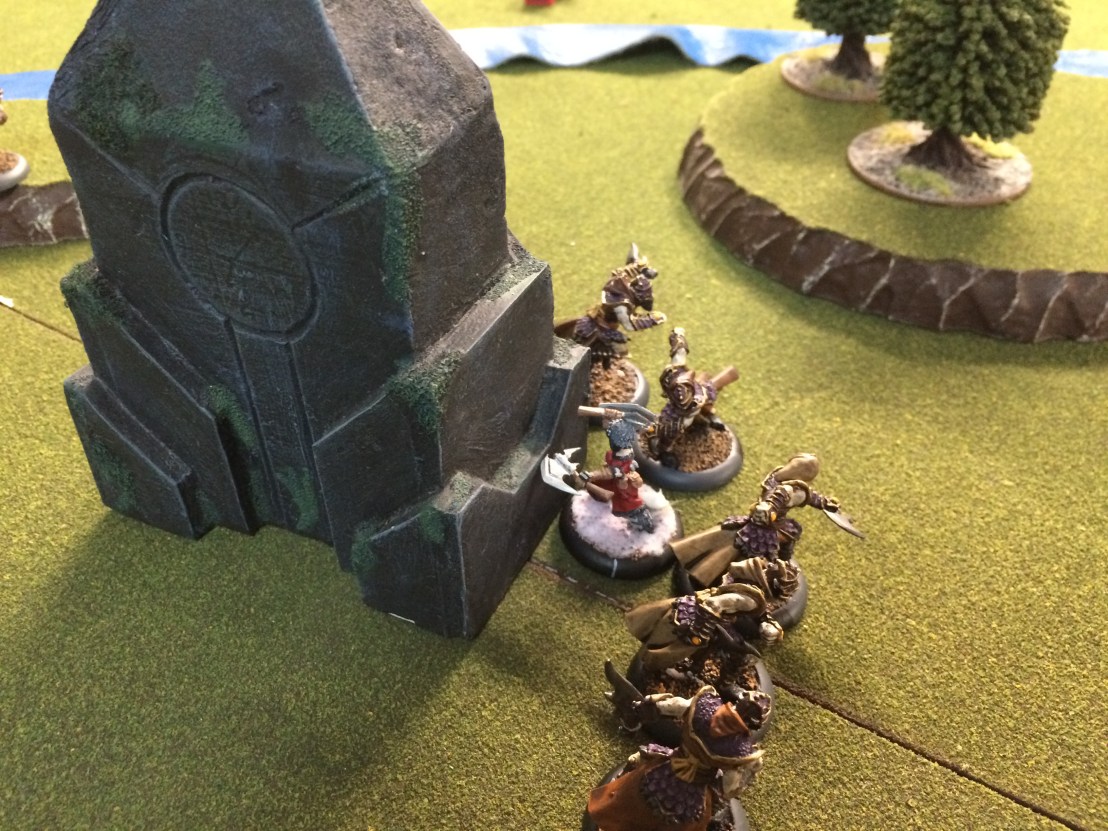 I mounted a pretty solid defense against his models, with the Bloodrunners doing great work cutting through the Doom Reavers and the Bloodrunner Master Tormentor being a thorn in the side of the Widowmakers thanks to the nice combination of Stealth to protect the approach, Reach, Thresher, and Sprint. However, I couldn’t stop the Manhunter from reaching the objective obelisk and setting the charge. The remaining Doom Reavers moved away, and the Widowmaker advanced and died from the free strike. And just like the last game against Colton’s Khador where I got a lucky explosion on the first attempt, he got one here and won the game.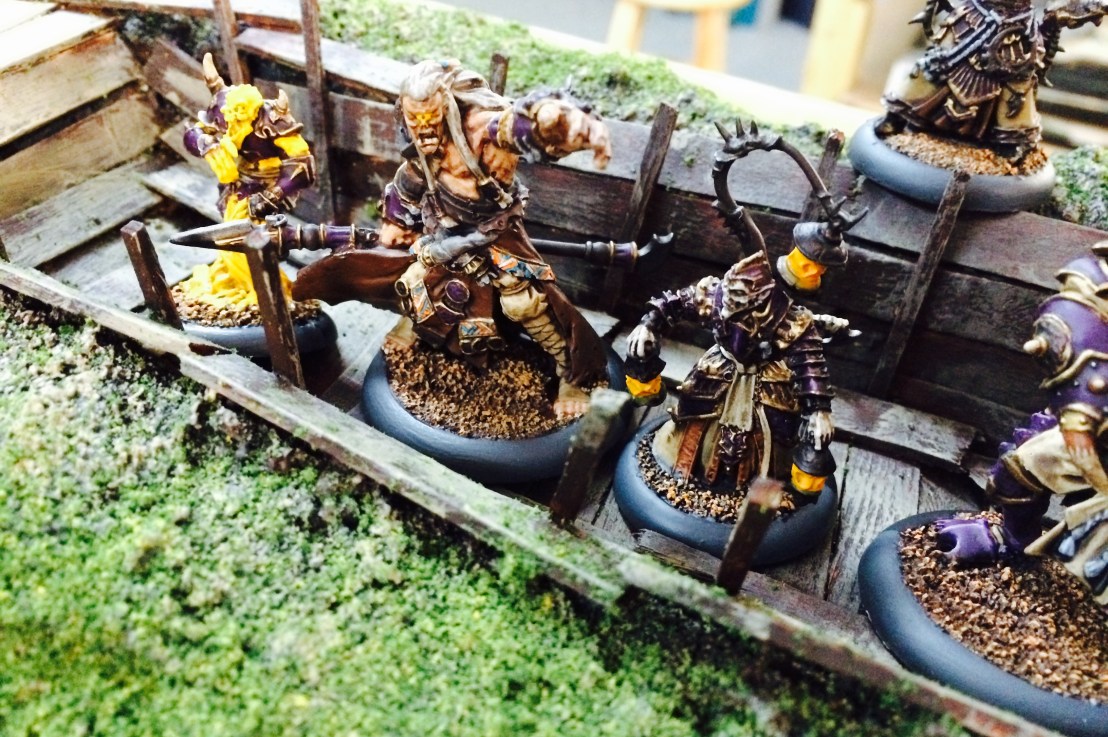
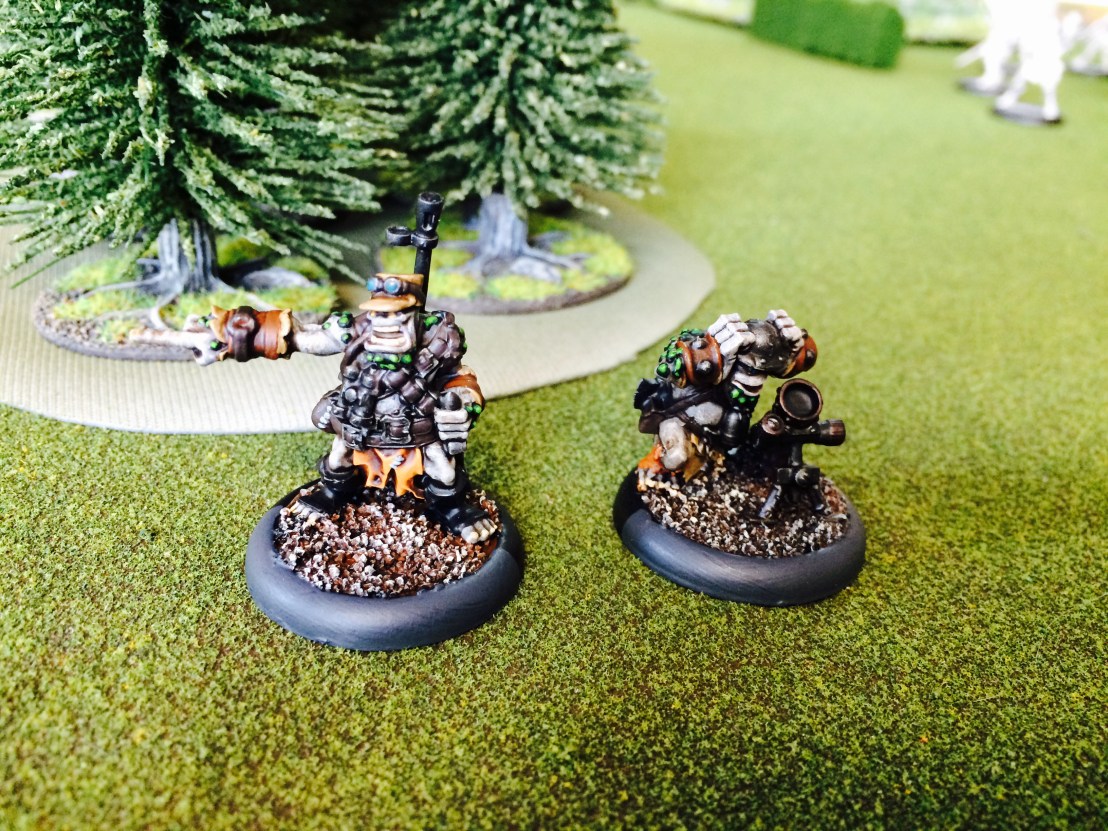 I just love the character of these models. The officer especially. They add 2 more points to my painted total as well.
 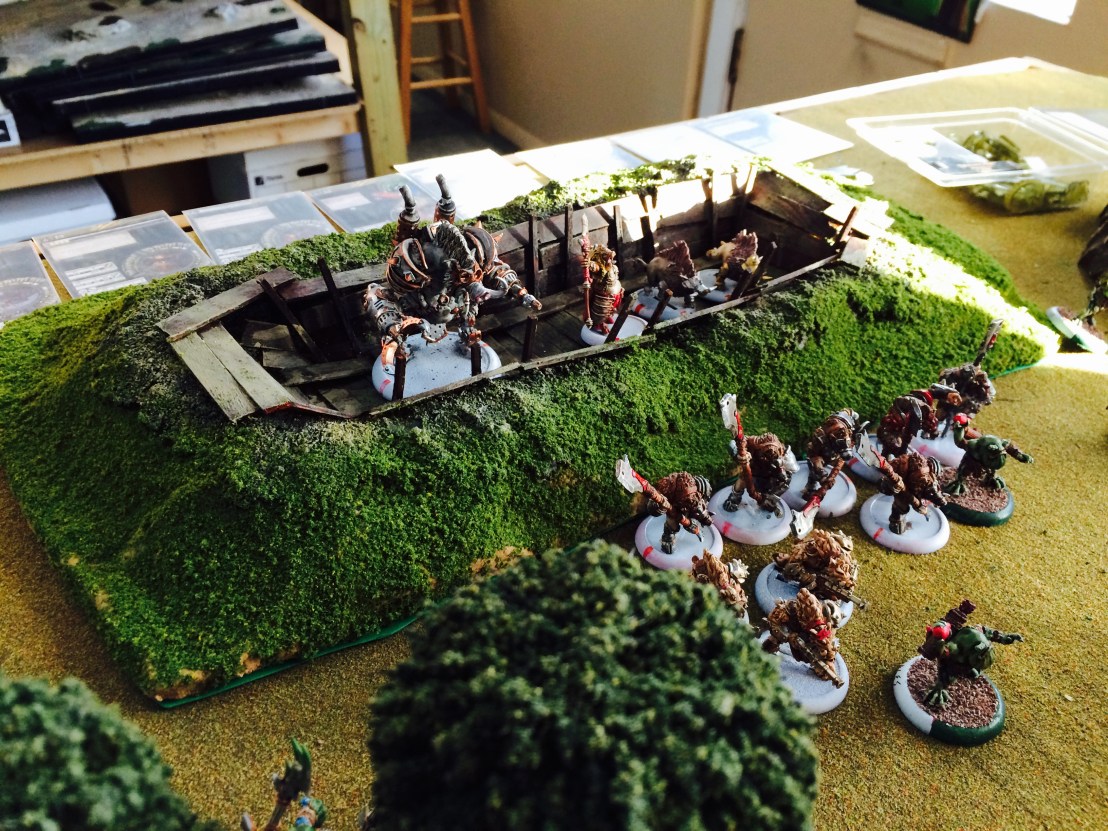 Ryan (whose Cryx you may often see on these posts) completed this awesome double-size Trench for the special mission as part of the League. He’s also working on a similar bunker for the other mission. Andy’s pigs on display in the trench to give a sense of scale.
  This smaller platoon game was the “
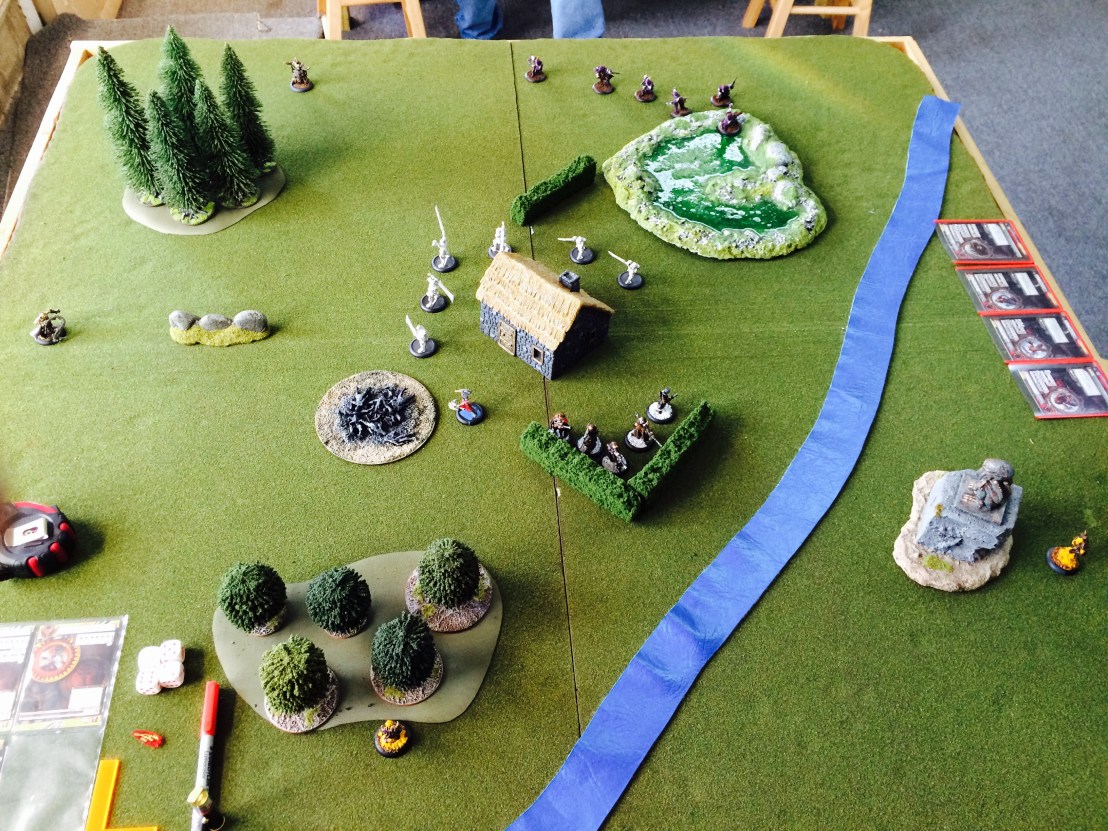 The fun thing about this mission is getting to deploy all-around the central models. The above is a shot of my attempt at envelopment.
 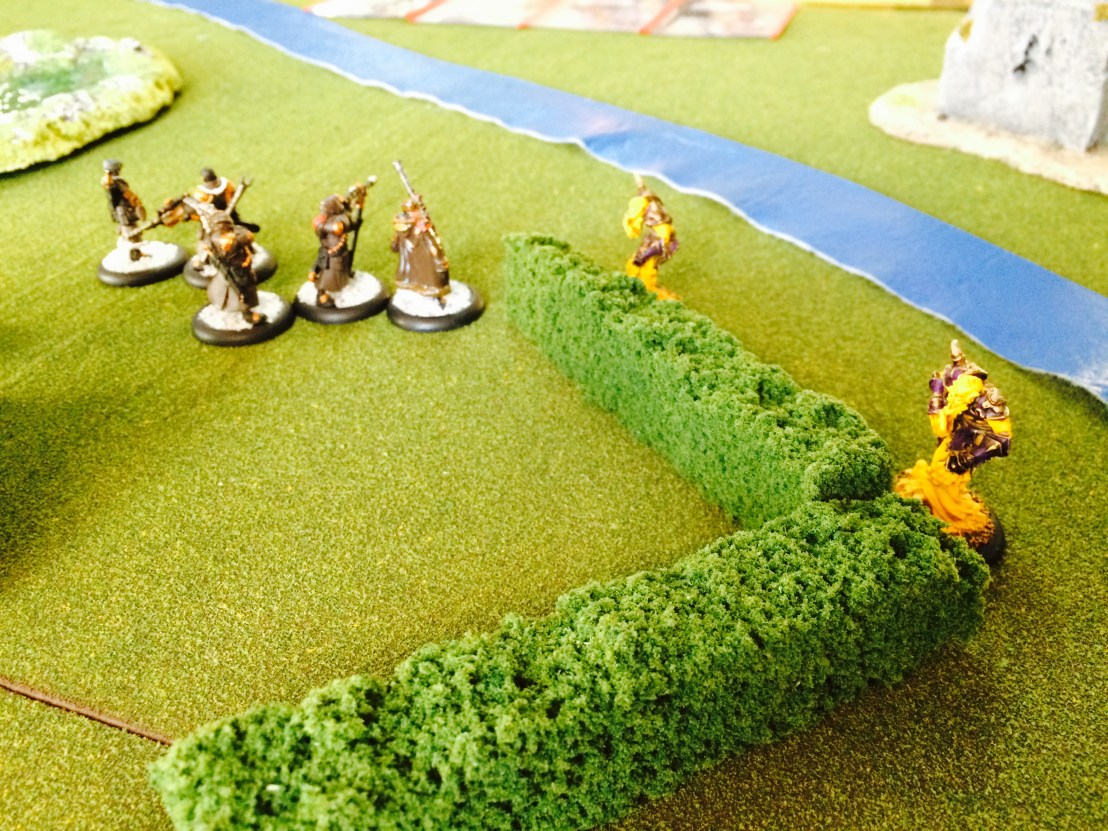 Well, the Void Spirits are just sad in this match-up. Denied their Incorporeal protection, and with Khador’s starting promotion making the entire army fearless, these boys had little to do. Even hiding behind the hedge for the good defense bonus couldn’t save them. That said, I was able to slip my Bloodrunners in close enough to the cabin to set a charge, then got lucky when I pulled away and managed to detonate it on the first roll. Finally, a win for my Platoon–which gives a promotion that makes them slightly better in large games (pretty much all of the Skorne platoon promotions improve their abilities in the bigger games, not platoon combats).
 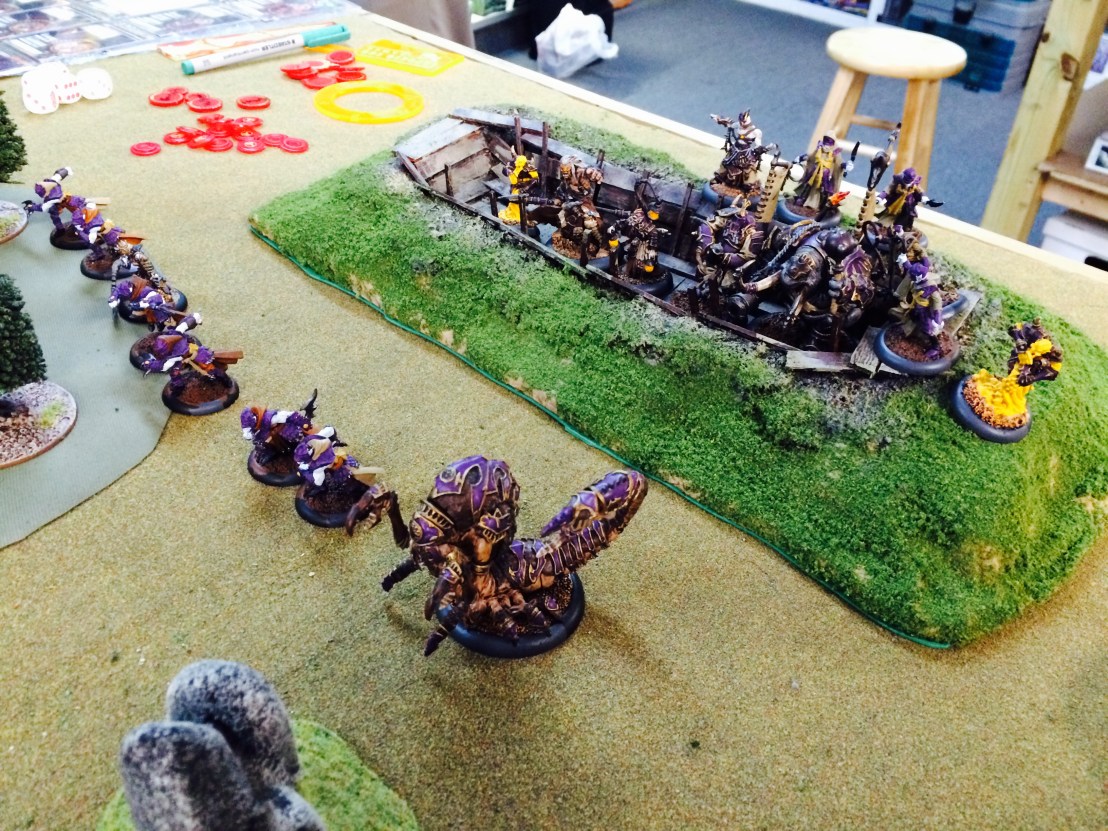 I was the defender in the second game. Colton had to merely get Sorscha2 completely into my trench and then start his maintenance phase with her still standing there (before the end of the eighth turn). I brought a force led by Mordikaar, as he’s my preferred slow-down and denial caster for the faction–the ability to bring back grunts in annoying places to force you to deal with them again really helps delay opponents. Otherwise it’s my usual shooting-focused beast package, which hopefully had the oomph to soften up his forces at range.
 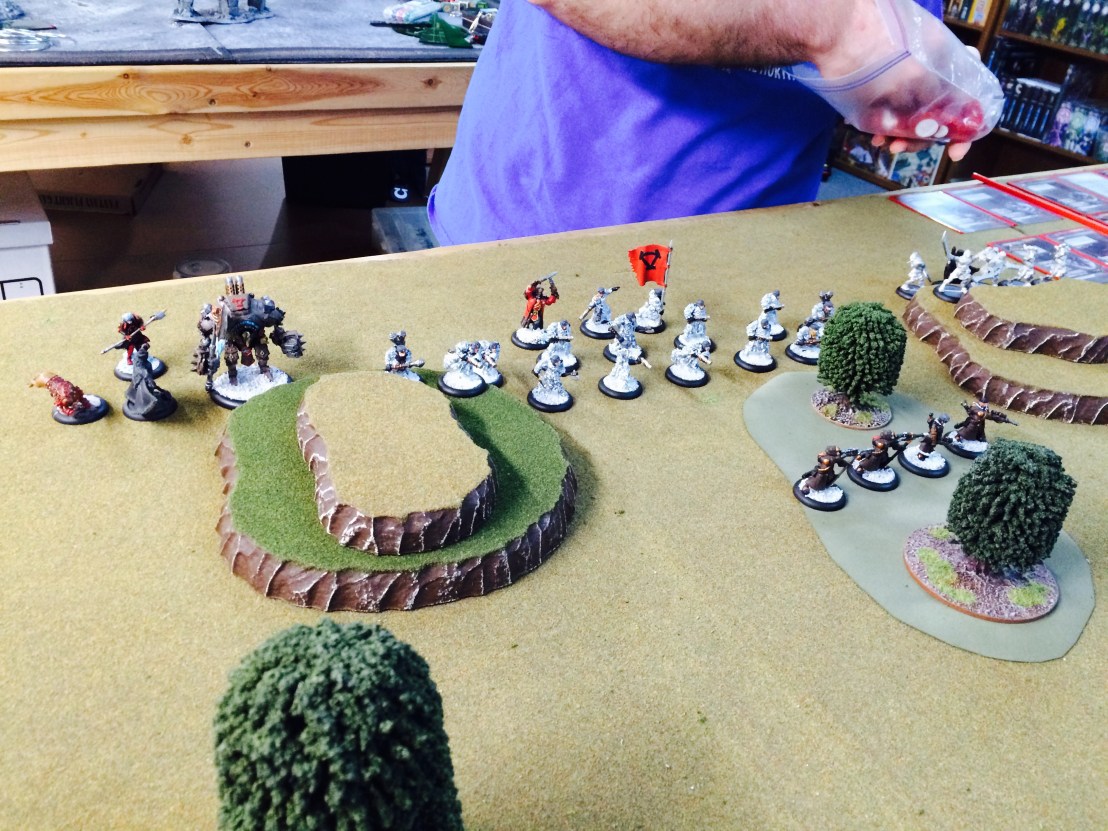 The besieging Khador force. Winterguard deathstar in the middle, platoon on the right, and Sorscha2 with Beast 09 on the left.
 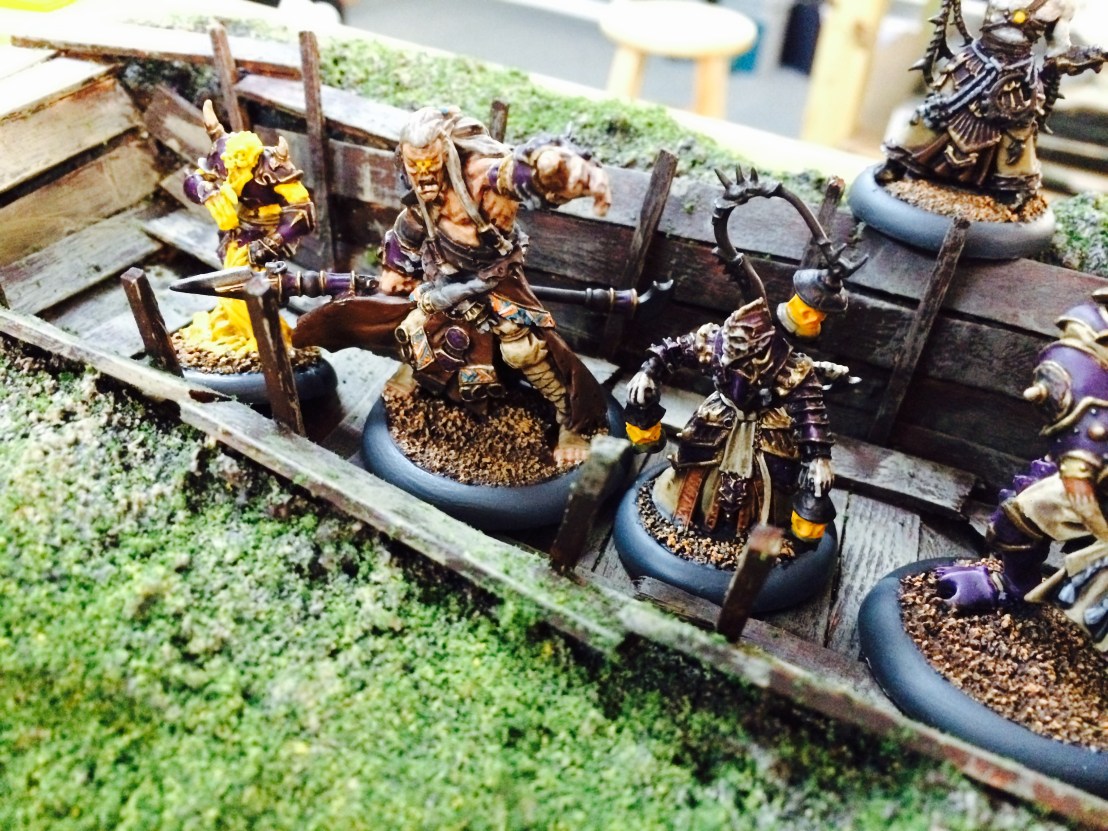 Close up of Mordikaar, his Cyclops Shaman, and a Void Spirit as they hold firm in the trench waiting for the advance of the enemy infantry.
 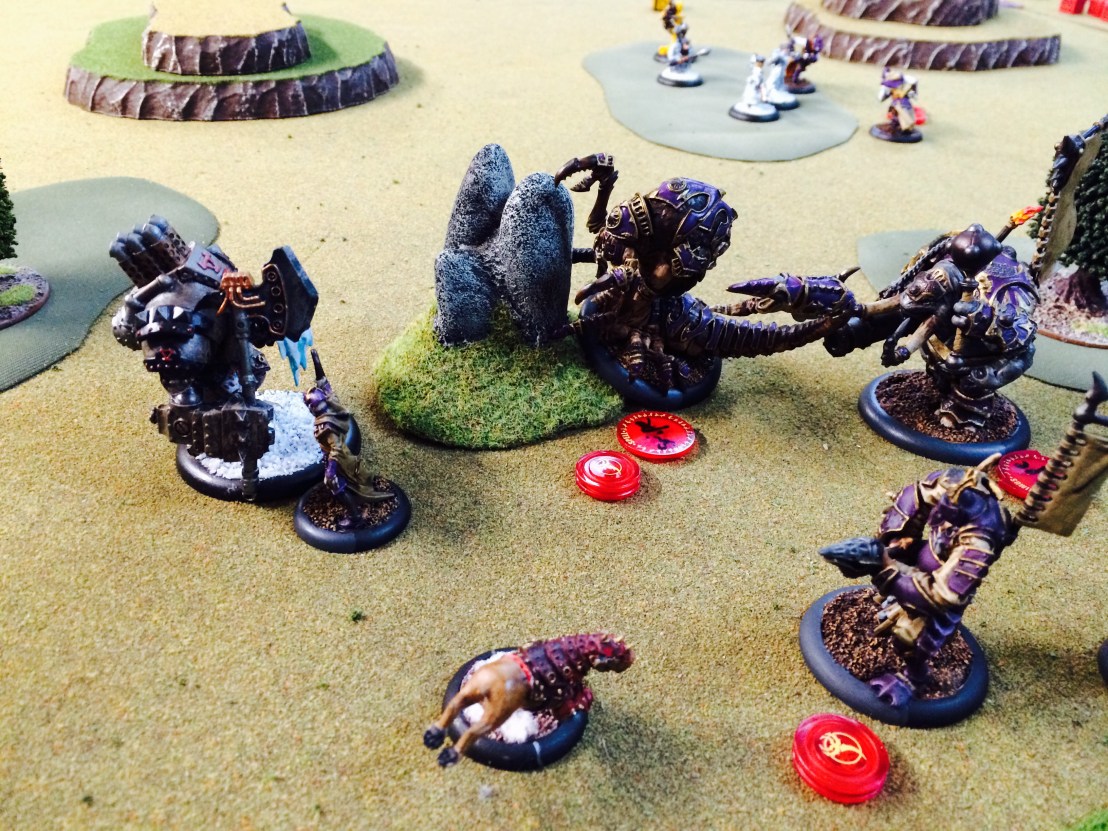 My shooting decimated the enemy infantry, but that didn’t stop Beast 09 and Sorscha2 from drawing up into range of my forces. Too little shooting too late, but I didn’t have to defeat it–I just needed to keep her out of the trench.
  Of course, that’s easier said than done against a caster with the Cyclone spell. As time started to run out on the game, Colton had to take a chance and rush her forward and hope she survived. She ended up in one end of the trench, with Mordikaar at the other. Then it was just a hope to weather storm. Unfortunately for Sorscha2, she couldn’t quite get it done. My Cyclops Raider managed to get up into position fully within the trench and land a bit of damage on her, only to be followed by his insides exploding all over her in a shower of gore (good old Essence Blast from Mordikaar) and finishing her off.
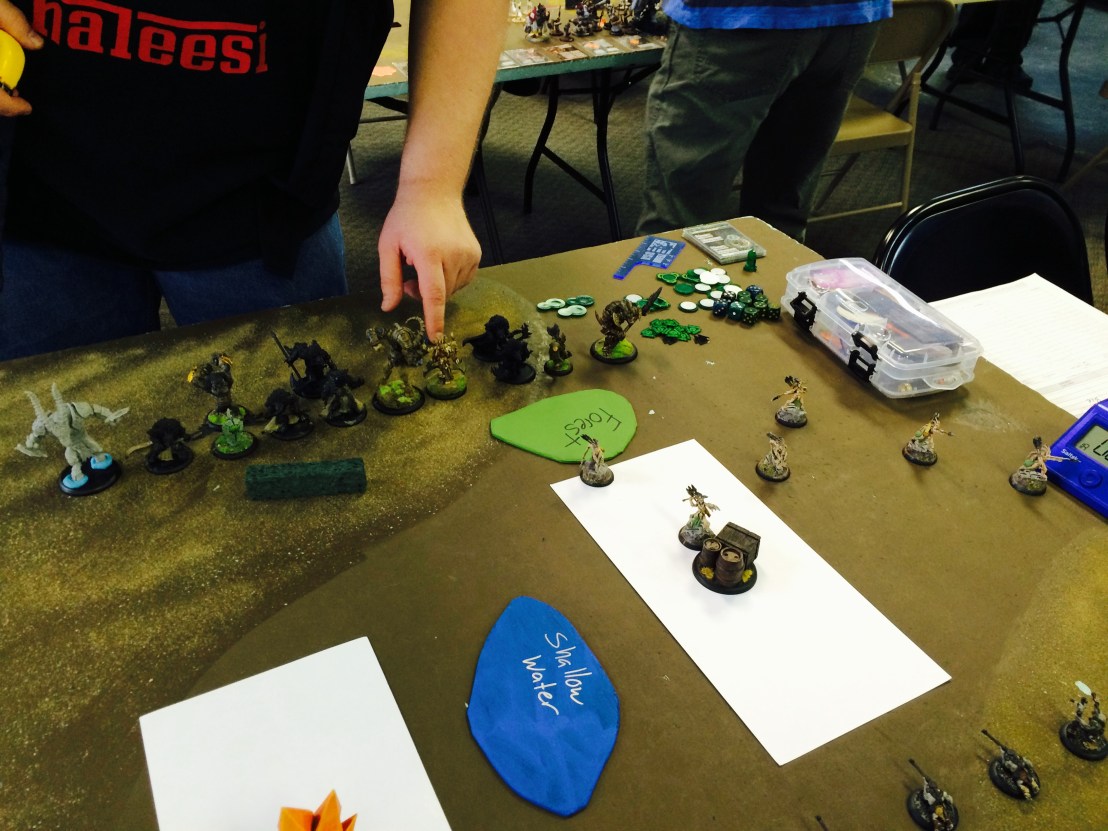 My second match was against Les’ Circle Orboros force–a beast-heavy list led by Kromac.
 My list on their side of the battlefield. I was hoping that the Sorcerer could do some work by shutting off Pathfinder–hoping to catch his forces on one side of that center lake with the Sorcerer doing his thing on the far side. Alas, that was hardly what happened.
  I lost the Earthborn to the Ghetorix, as Kromac’s ability to get beasts deep and everywhere is just amazing. Sensing the jaws closing again, it was time for another attempt at ill-advised assassination run. Kromac was close enough that my Dire Trolls Blitzers could get some shots on him, and then Doomshaper2 could potentially Primal Shock from the closer one. I did just that, but Dire Troll Blitzers are just terribly awful shots who need to boost too often. Because of that, the hits didn’t quite do enough damage… leaving him able to simply take some of the hits and not transfer, so that as I worked through the couple of transfers I was left without a way to finish the job. He quickly killed Doomshaper2 in return to end the game.
  Third game was against Bill’s Mercenary-heavy Caine2 list. I felt like I had a decent shot against this list, as long as I could build my defensive fortress for Doomshaper2 each turn closer to Caine2, I could eventually launch a feat-driven assassination into him to finish him off.
  My forces arrayed with a refused flank, ready for the wall of troll warbeast meat to advance right into the enemy guns.
  This was probably my best-played game of the tourney. I did a few good things, and felt like I started to get better use out of my two Dire Troll Blizters (not just saving them to be assassination threats). They needed to get work done, and that meant getting situations against multiple targets where they could shoot and swing (and snack).
 Pyg Bushwhackers add 5 points to my total. I think they turned out really nicely.
  The Skorne Void spirit on the right adds another 2 points. I also added the Heap of Corpses that I created and painted myself as we’re doing some terrain modeling competition as part of the league.
 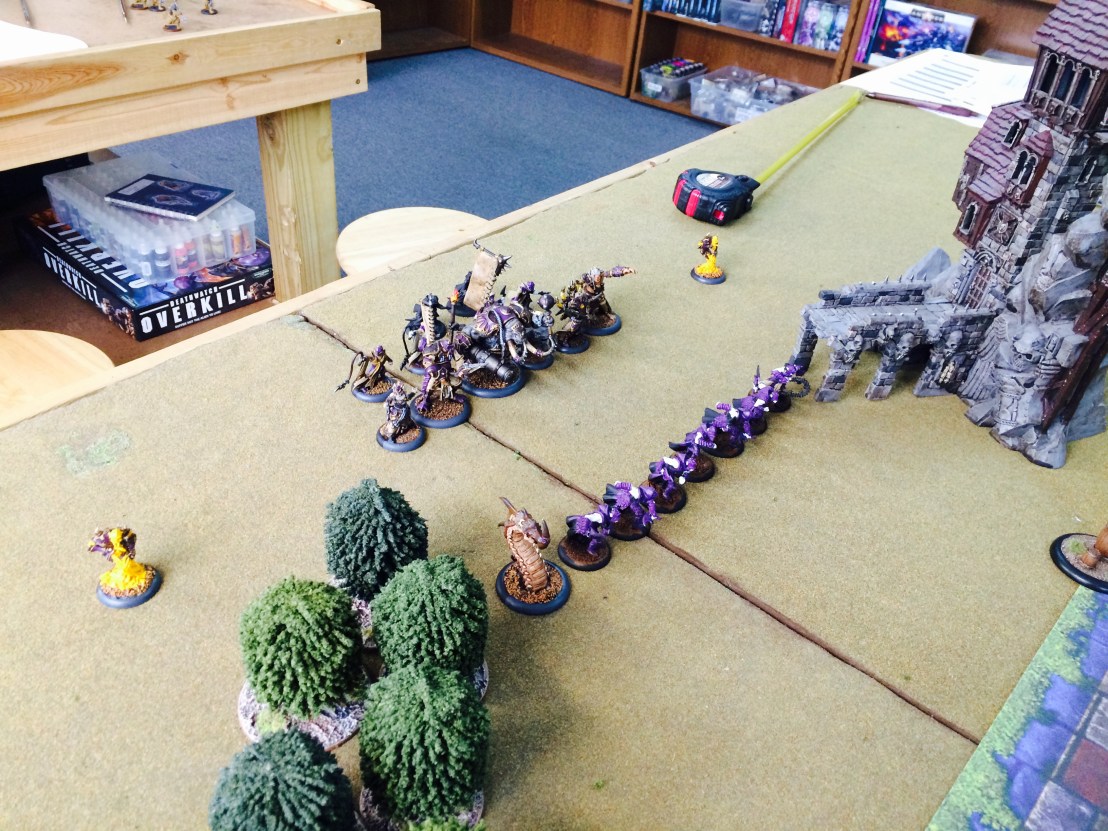 My Hexeris2 list with the Platoon included. The list is pretty shooty, with the Platoon intended to be a skirmish screen and contest objectives while the shooting core whittles the foe down.
  My opponent Ryan’s Cryx. Led by pSkarre and containing the Cryx Platoon, this was going to be a tough fight for my force.
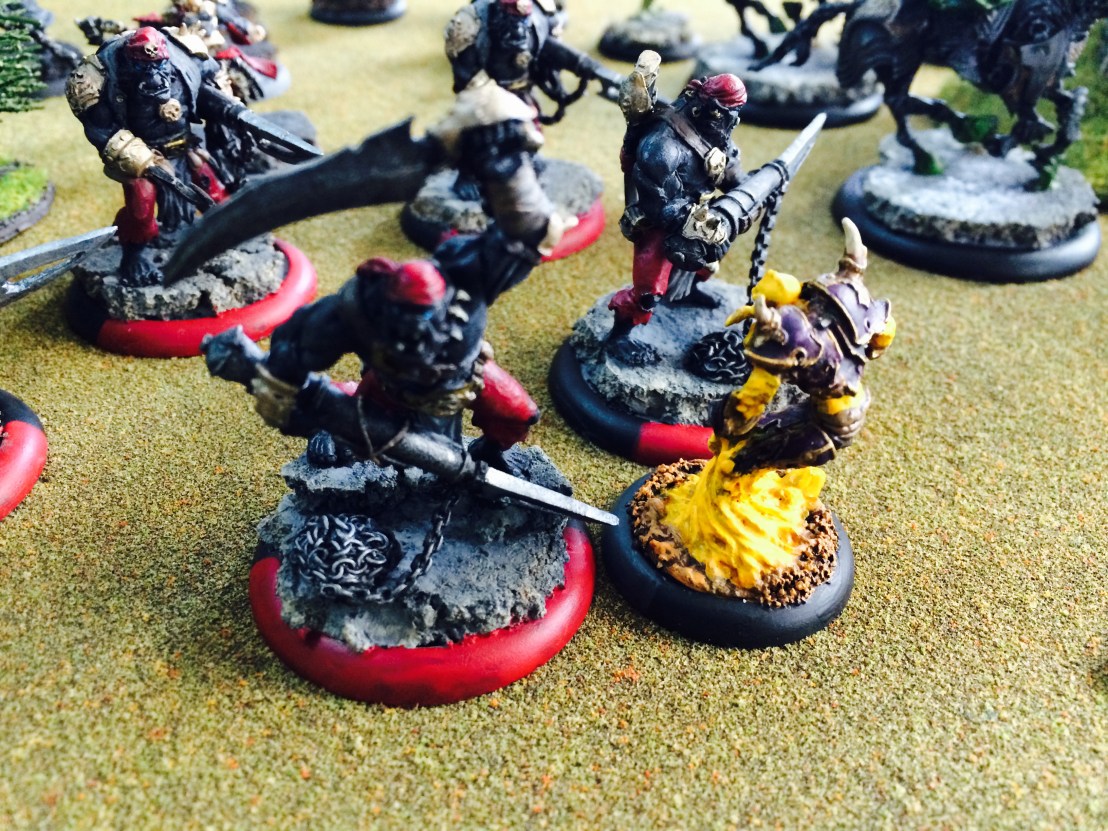 Platoon on Platoon action… the Void Spirit slowed the Black Ogrun crew down, and took a free strike at the last one to leave his range (but missing, of course).
 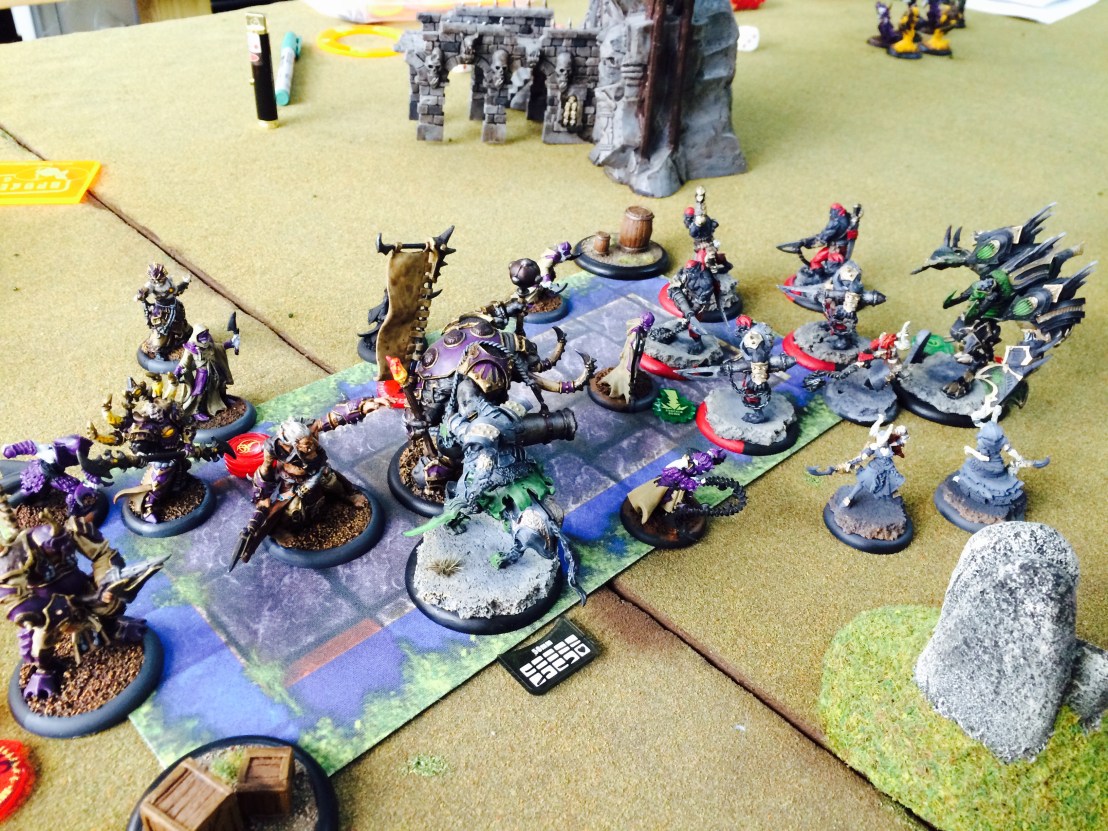 The center was a jammed, overlapping mess. Skarre has a real advantage in a grind situation, so I had to get some quick success or Hexy2 would not be able to finish things.
  The Cannoneer is normally a shooter, but this time he had to clear the path with his melee ability (and present his back to Hexeris2 as a Ashes to Ashes target should I need an easy defense to hit). Skarre was on only a single Focus point, so Hexeris2 charged and lit into her with his spells (all the more powered by his feat). He cut her down with a final blast of magical force.
  The second game saw my Skorne Platoon defending a safe house that my opponents were trying to get a military officer into. It’s a great little mission that plays well with the small forces.
  Andy’s great-looking Minions Platoon for the league were my opponents.
  The clash with the Croaks was just too much for my forces in this scenario. I had a couple of shining moments where the granted Poltergeist ability for the Platoon made for good protection, ultimately I wasn’t able to seal down enough space nor able to reach out and take out the Military Officer.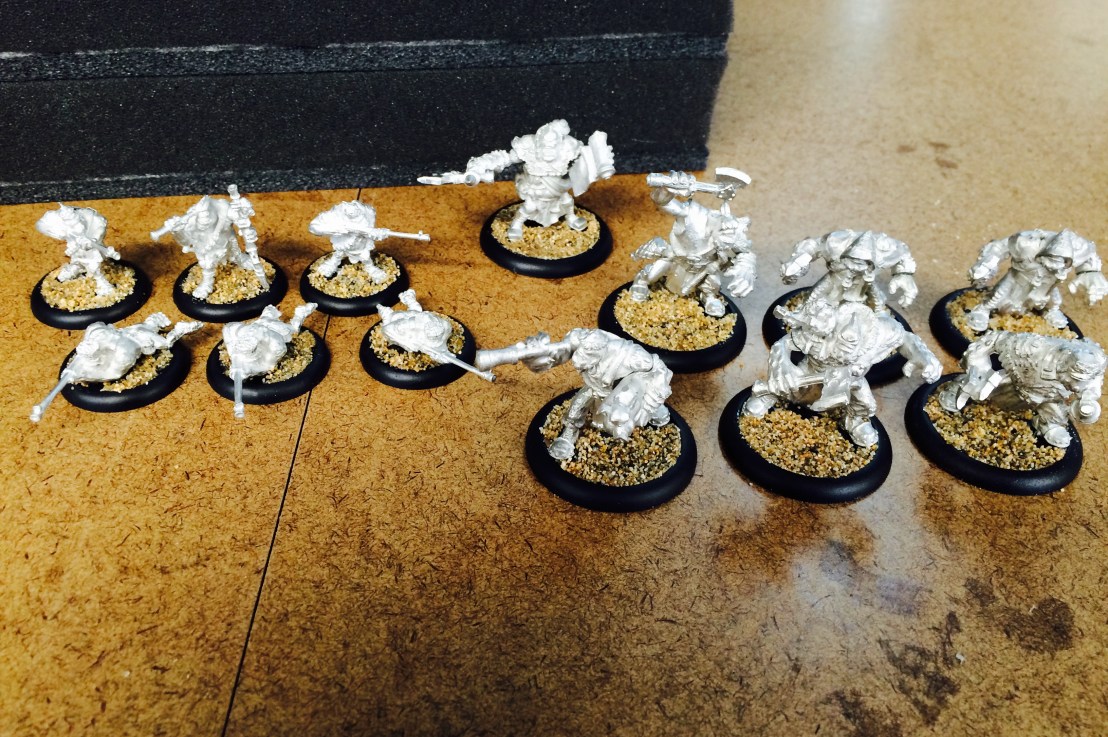
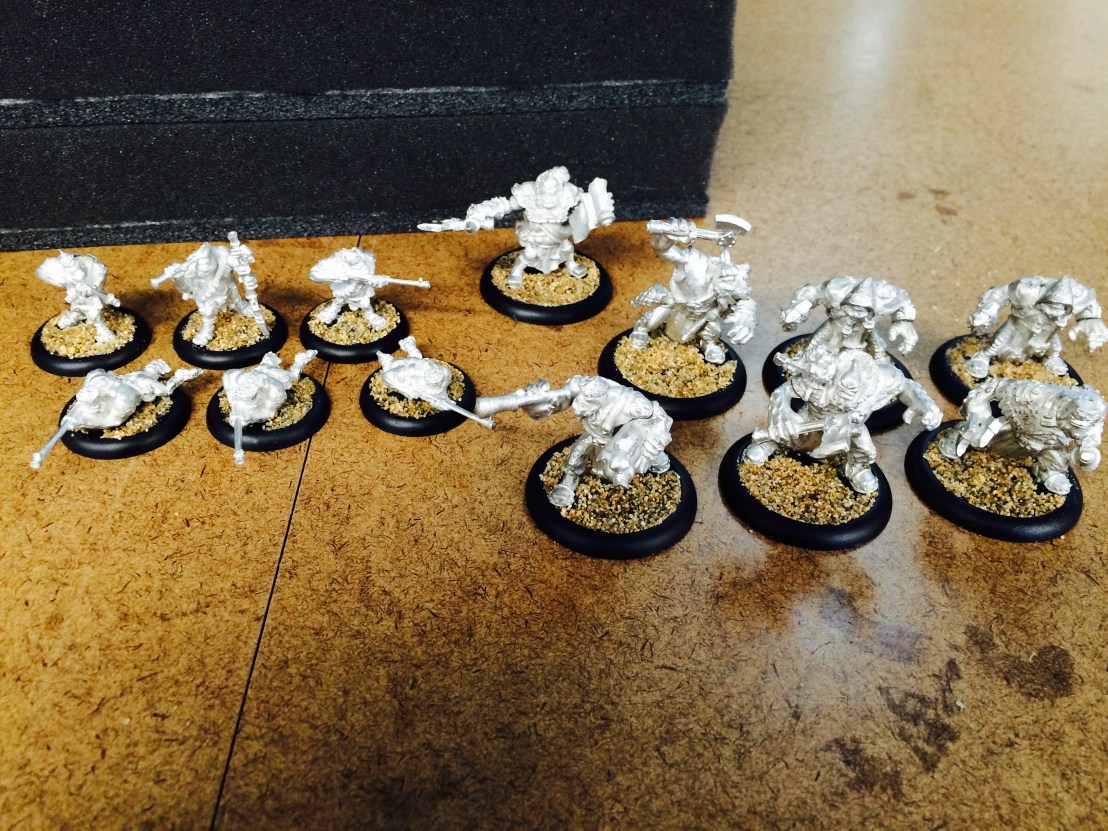 The platoon gathered. It’s composed of a minimum unit of Pyg Bushwhackers, a unit of Trollkin Scouts, and a Stone Scribe Chronicler. I love the Trollkin Scouts models–the one stealing the pig is priceless.
 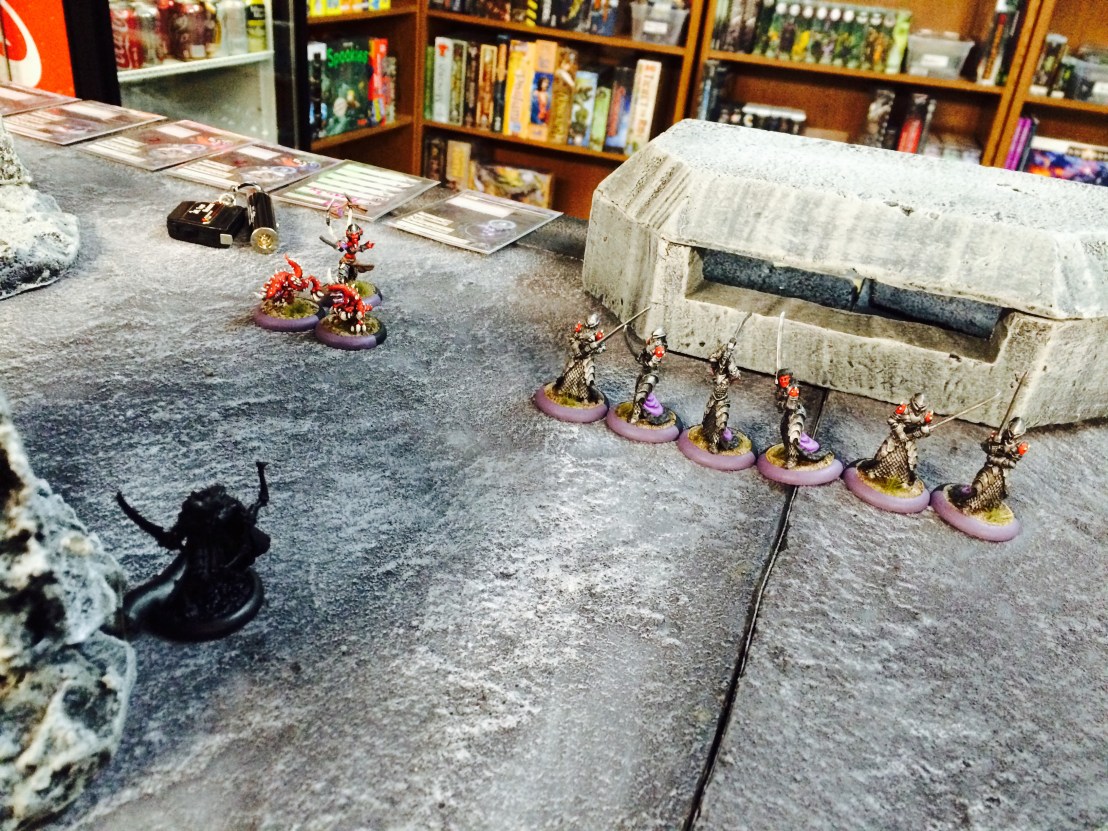 His force, arrayed to protect the safehouse from being reached by my Officer.
  I managed to sneak my officer (represented by the Pyg Keg Carrier companion of Borka) just far enough around to make a run for it. The Legionnaires almost caught me, but he managed to slip free and get to the safehouse.
  His deployment and cluster of warjacks around Karchev.
 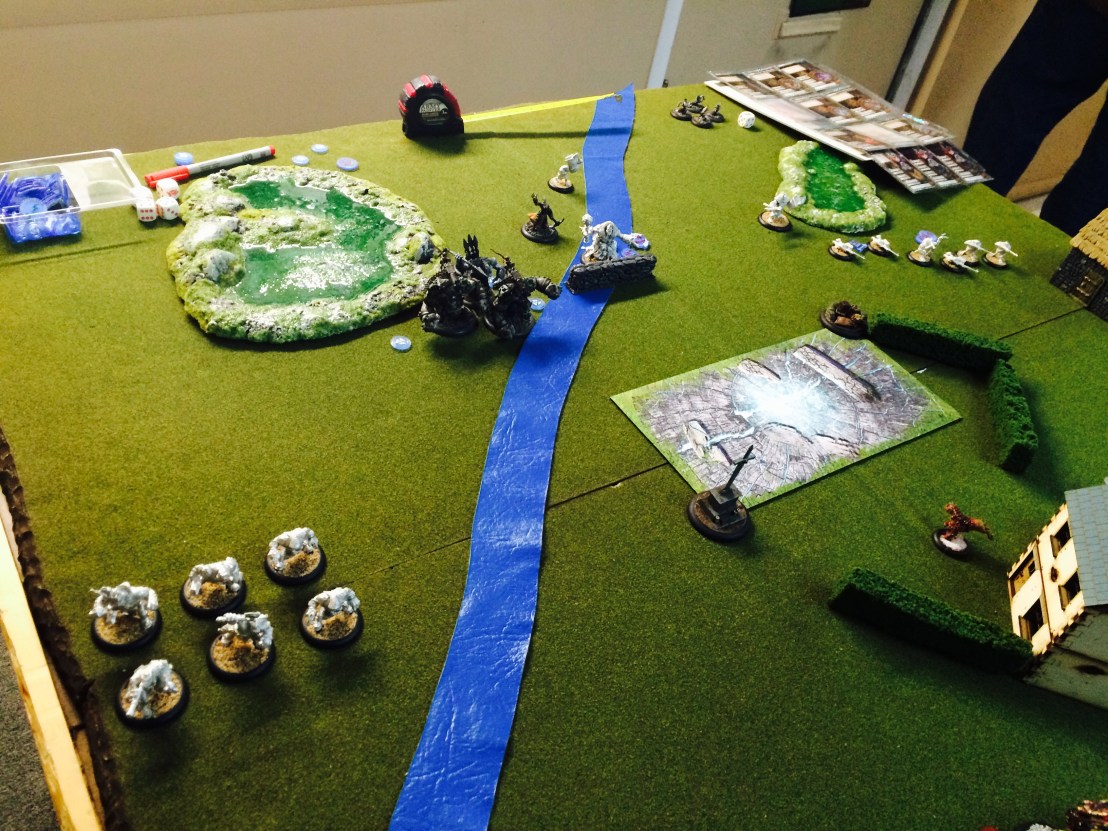 My force after my first turn of movement–sending the Scouts and Pygs on both edges to clear out his support, and hoping Borka, Janissa, an Impaler, and two Dire Troll Blitzers can stand against the onslaught of Jacks down the middle.
  My feat turn was going to be perfect. One of his Warjacks had ended slightly in the water of the river. With Knockdown on all my models, and the Devastator Open after shooting, it meant that a charging Stone Scribe Chronicler had a pretty good shot at knocking the warjack down thanks to Borka’s feat and his engine going out. It was a great plan until the Trollkin missed his attack roll.
 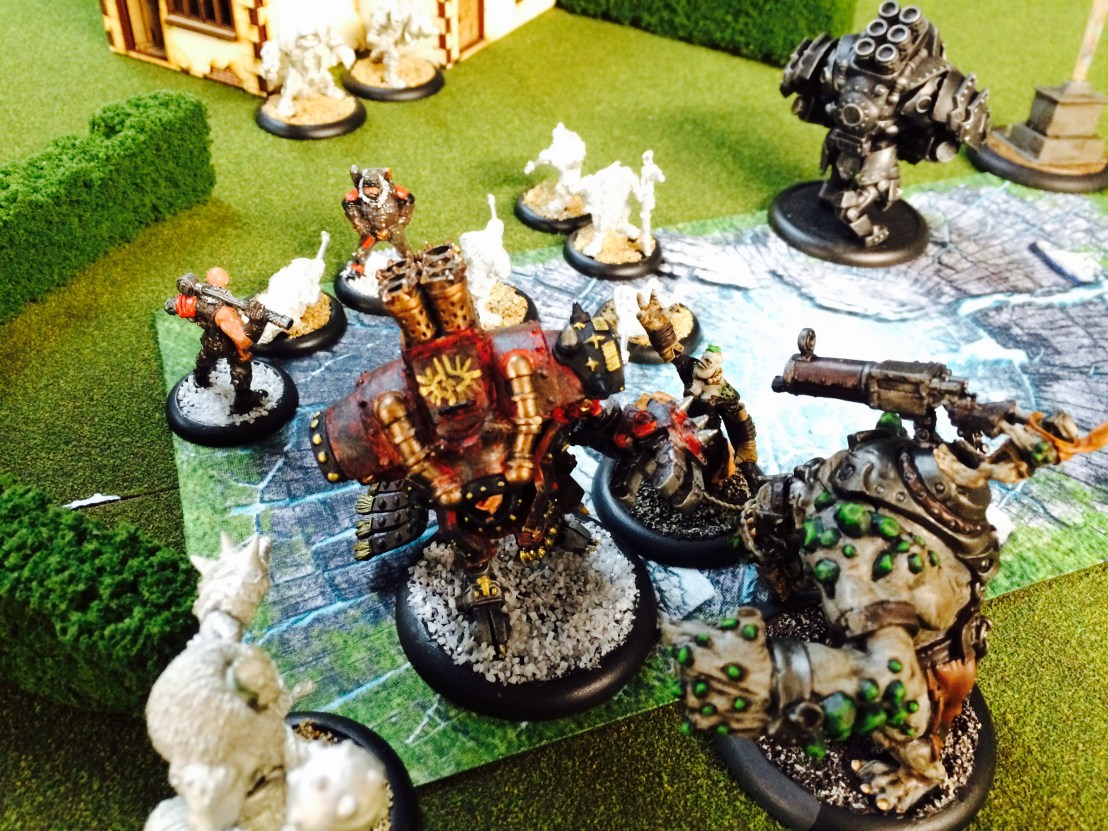 The conclusion was climactic simply because of how long it took. Karchev got a shot at killing Borka personally. So he took it, only to have Borka stumble away after the first attack hit him (and transfer the damage). Then it was my turn, and despite Borka’s attacks, the Blitzer’s full compliment of firepower, and Janissa’s armor piercing swing, Karchev lived. His next turn saw Borka stumble away yet again at the improbable last moment… And I finally finished him on my following turn.
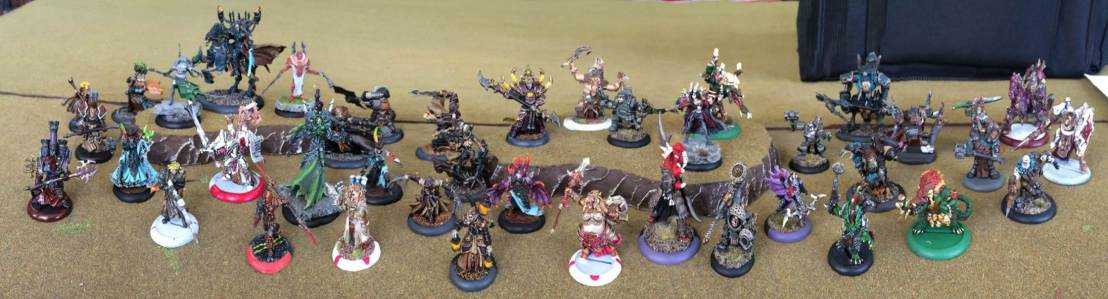 Quite the deadly group.
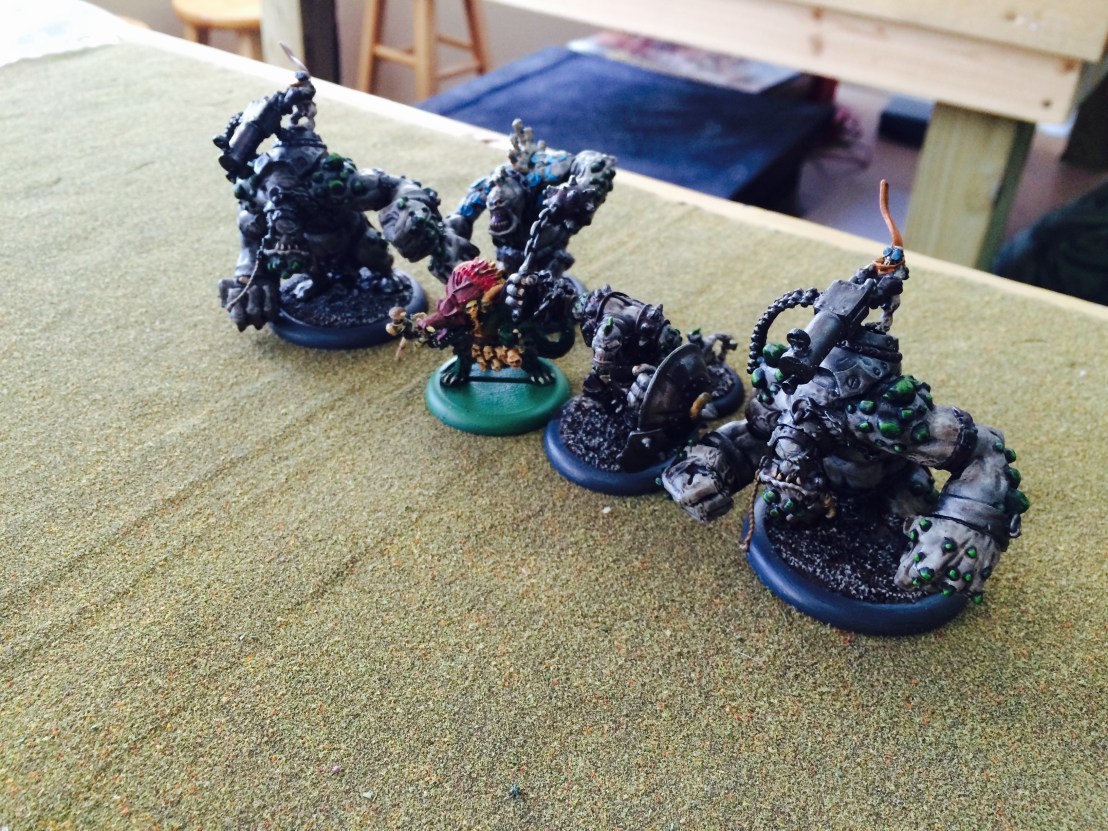 My first Random Boss was
 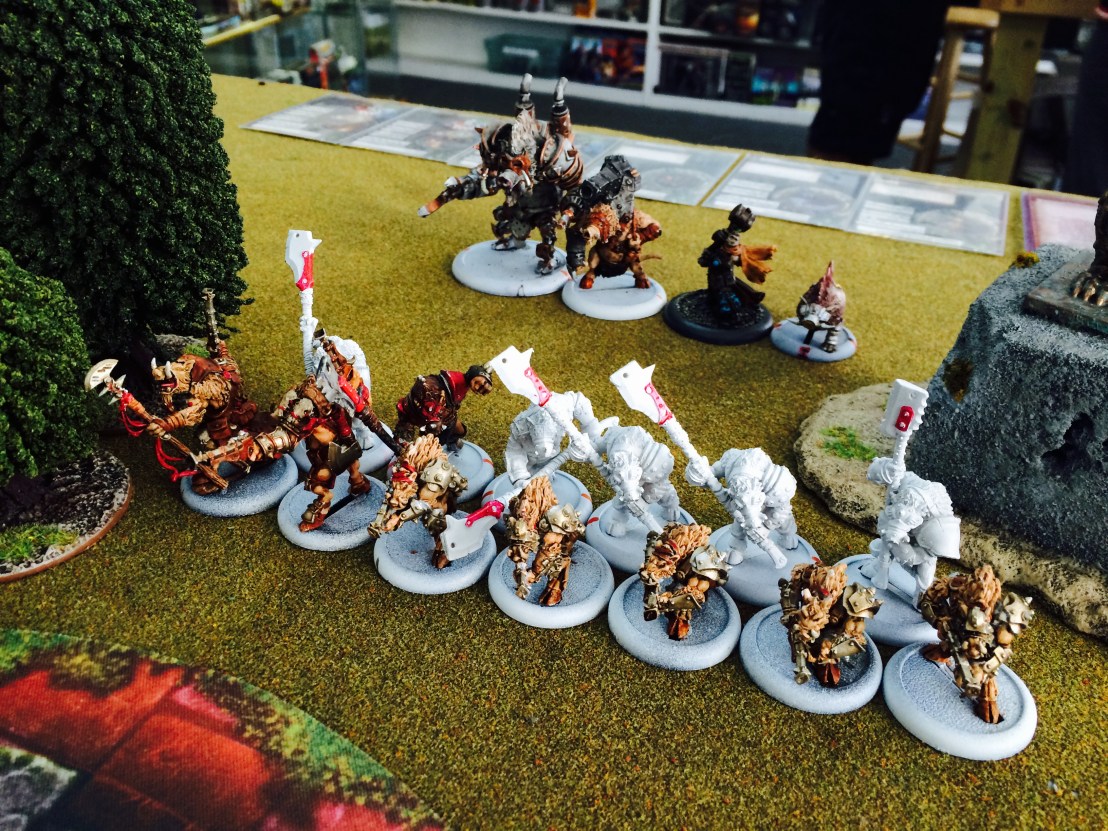 I got lucky, and that’s exactly what my opponent fielded. It was a Thornfall Alliance force with a heavy line of Brigands and Slaughterhousers, backed up by some beasts. His randomized caster for the round was
 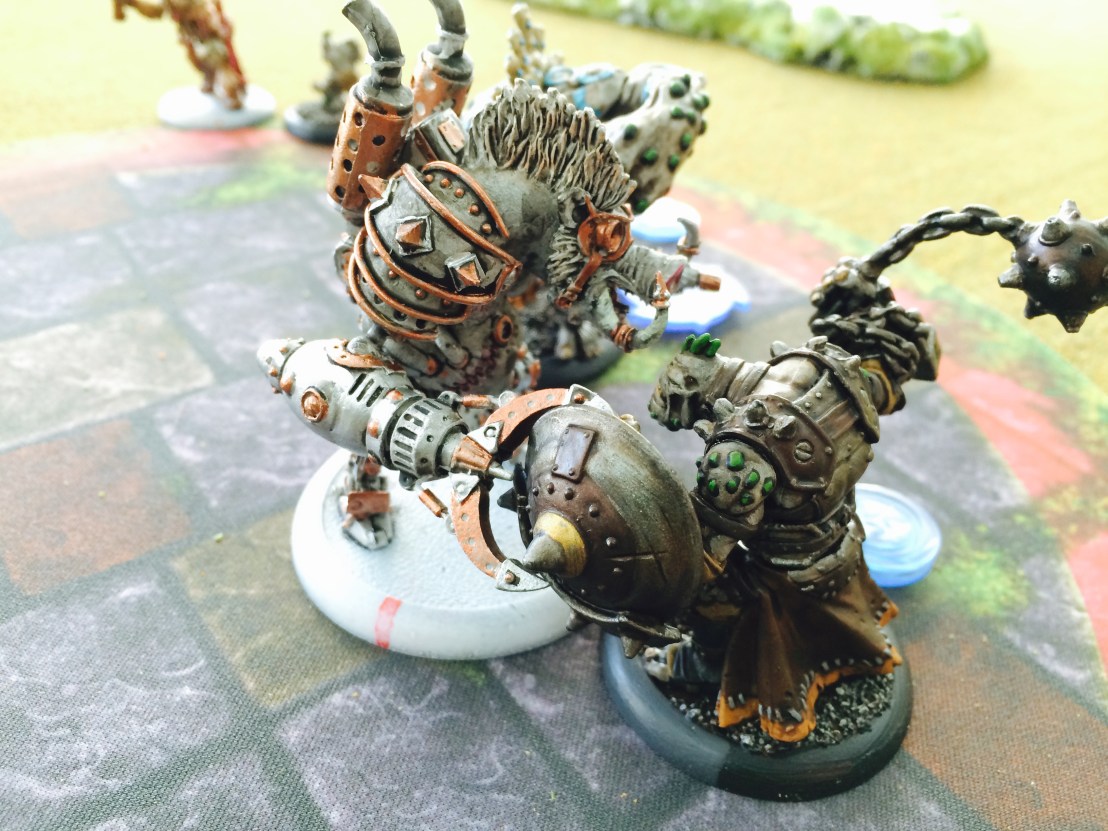 The Roadhog grabs my Bouncer’s shield as the two tussle in the zone. I put a lot of pressure on his force, with the Blitzers’ Guns and Calaban’s spells (especially on feat turn) putting the hurt on them badly. But the sheer brute force of the Roadhog helped keep my Trolls in check. Finally my caster was killed, thought we were each down to just three or four models each at that point. Absolutely bloody but fun battle with a great sport of an opponent–who seemed to love the raw power of Grissel’s feat turn especially.
 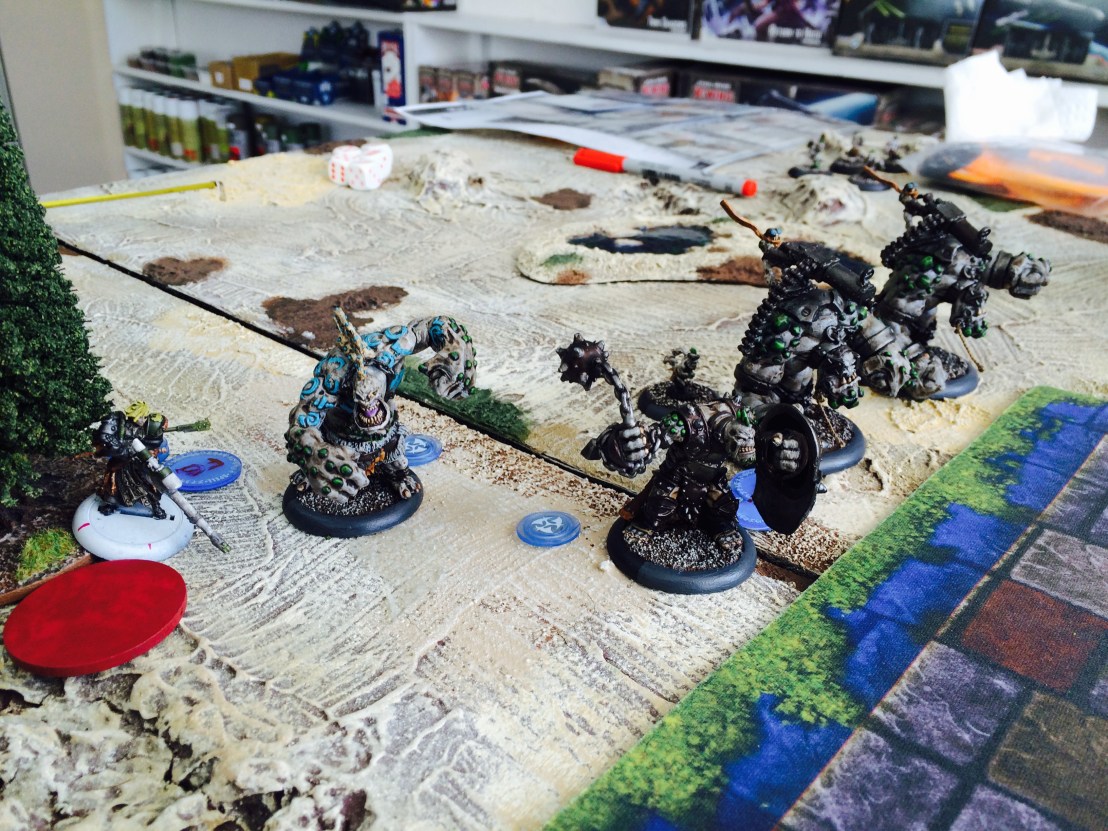 My second Random Boss was
  My opponent fielded Cryx, led by Random Boss
 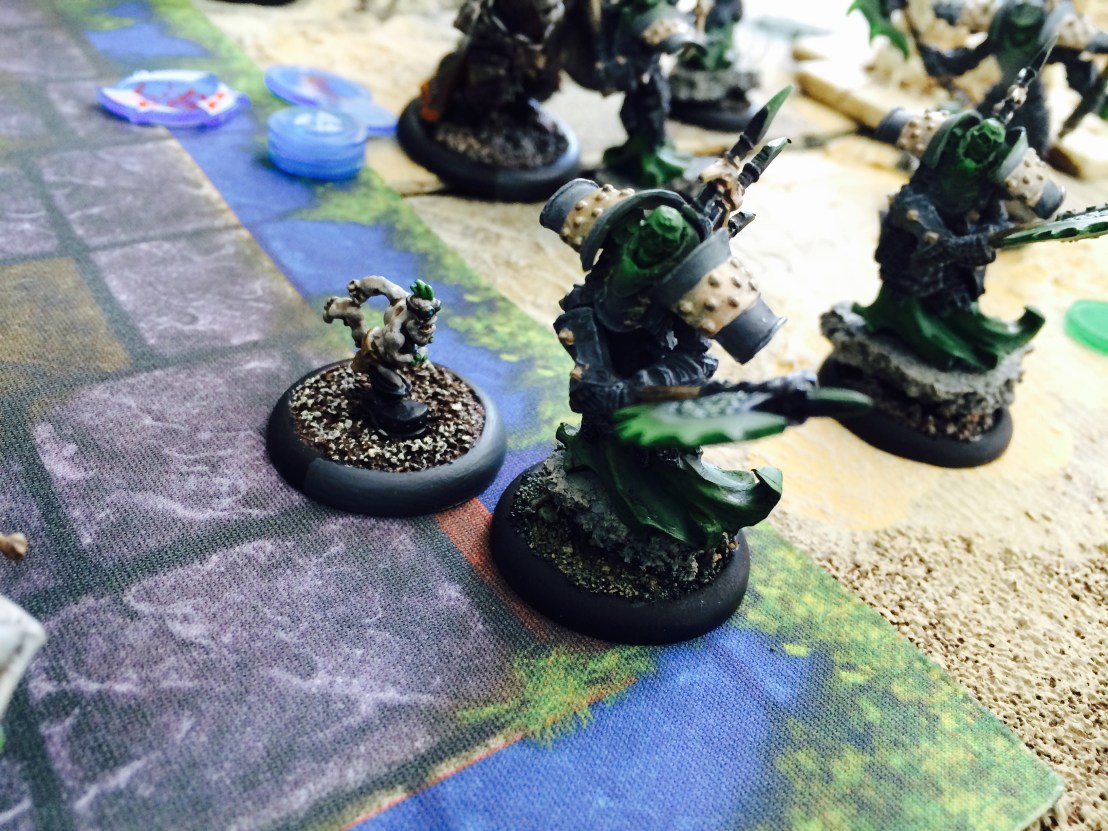 A lone Troll Whelp stands up to the withering menace of a Bane Thrall. Too much work had to be done by Kara in this one: she was the only magic weapon, but it was only ranged, so a lot of her shots had to go into Blackbane’s incorporeal models. But with her ability to see Stealthed models, she was the only one that could really project any threat on the Banes. While the feat helped, it really didn’t stem the tide.
 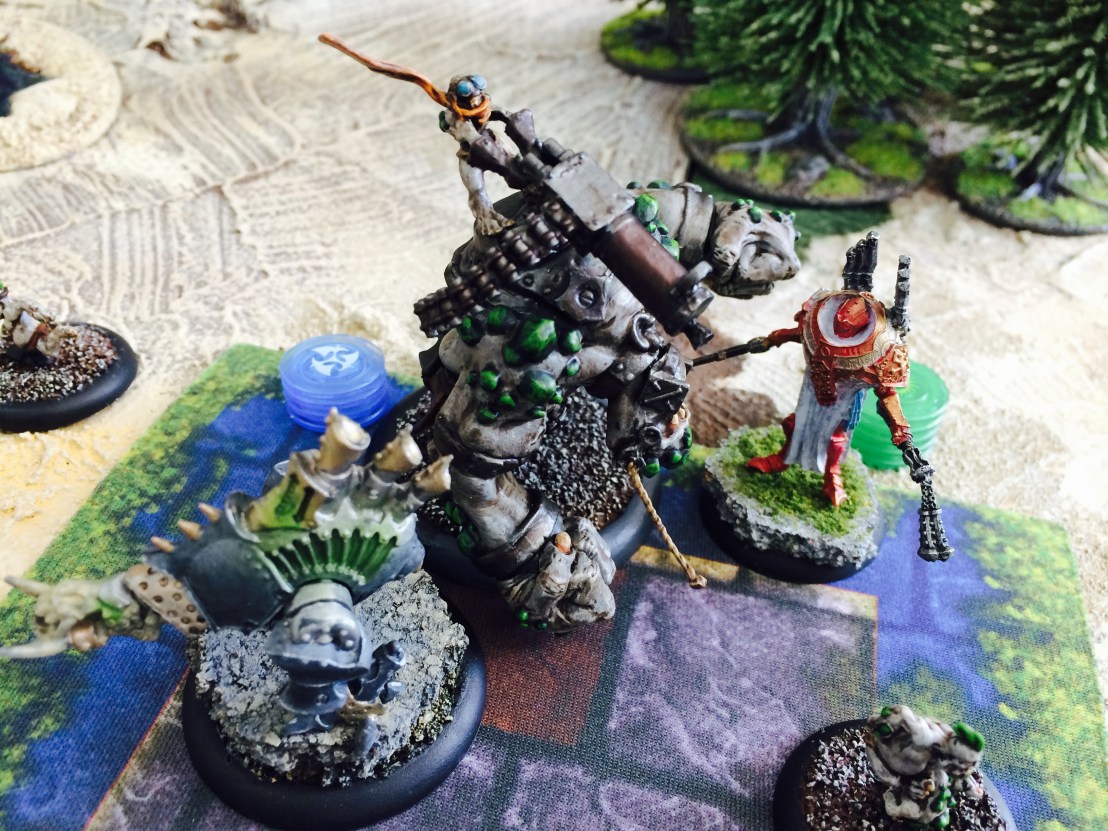 Vindictus himself rolled up to push the attack and clear the zone. Kara was not assassinated, as he was well back on a flag on my half and killing things as they got close. But the Banes cut my warbeasts to ribbons and eventually left him able to out score me with dominating the central zone. It was a fun game, and I’m not sure what all I could have done to be the victor in this one.
  My third Random Boss was
  My opponent had a Khador force that was quick and deadly with Black Dragons and Doomreavers. His random Boss was
 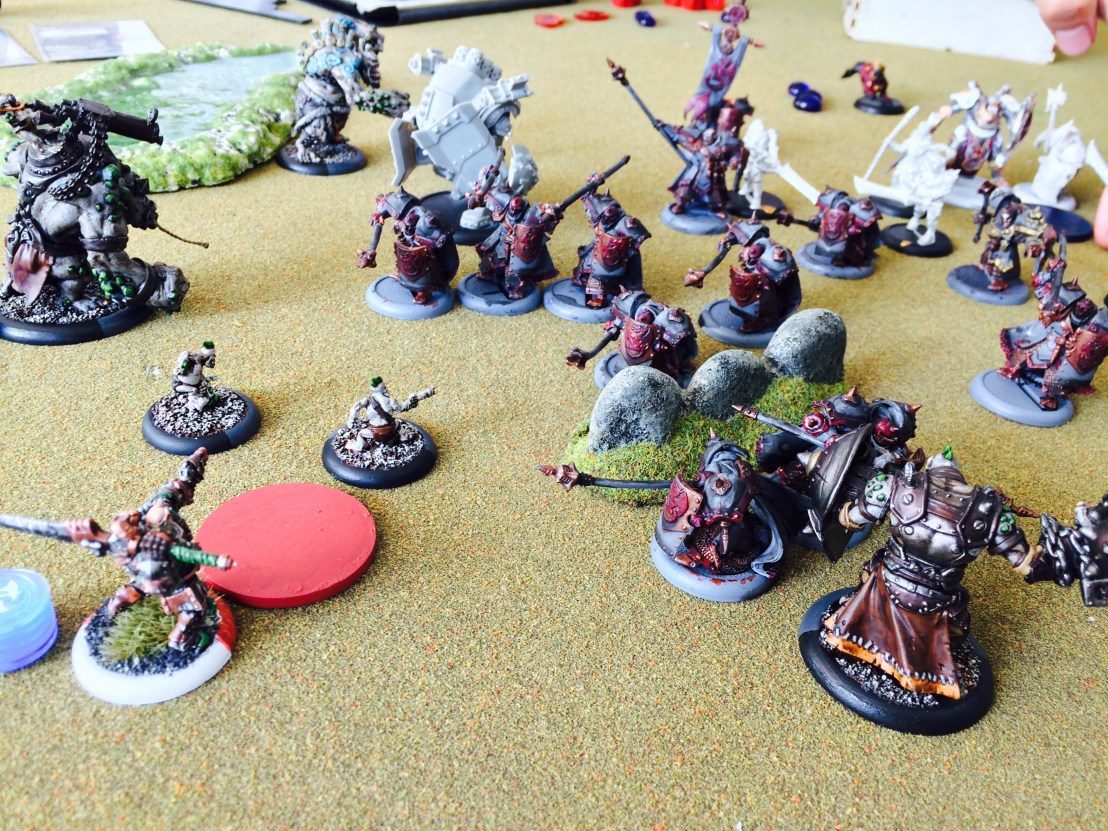 What proceeded to happen was a strange maneuvering game, with very few casualties at first. I got a quick turn of nabbing 2 points of the objective, so I was well on my way. Once his forces started to hit home I could see that I wasn’t going to with the actual battle. So I had to be creative–thank goodness I had the Dire Troll Blizers and their Repulsion animus that pushes opponents away. Through creative use, I was able to slow him down and score again. It finally ended in a situation where if I could just get a few key models pushed away, I’d win the scenario 6 points to 5 points (as he had been getting the middle one flag for a while). Drake did his job, pushing a unit away, Energizering, pushing a few others away, then moving and pushing out a third group. All that was left was the completely healthy Blitzer needing to animus near him, then suffer but a single free strike on his way to move and animus away the last two models. Victory was almost in my grasp. Till the Black Dragon Pikeman’s free strike rolled doubles, and my Dire Troll suffered the Critical Knockdown effect which ended his turn before he could shove out the last two foes and causing my opponent to win 5-4. It was a blast of a game, and my scenario play was a race against his killing power. Really fun time.
 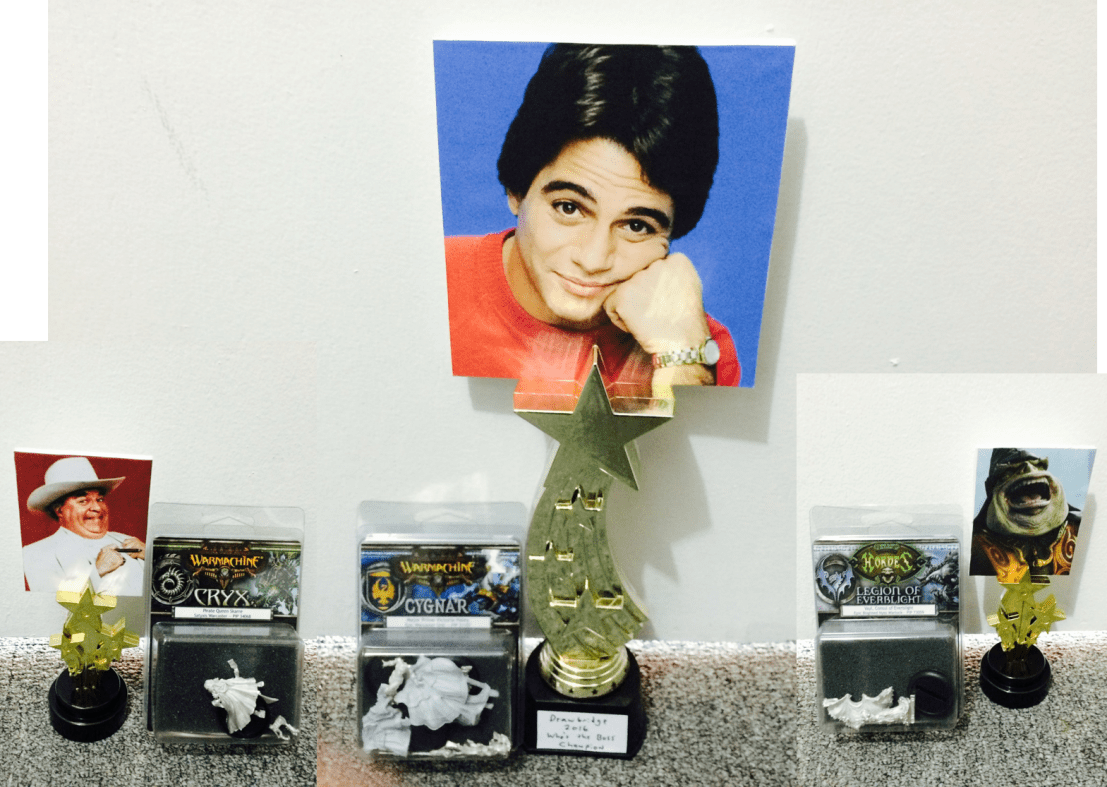 I did up the trophies for the event, as you’ve always got to give out trophies to reward players, as I wrote about
 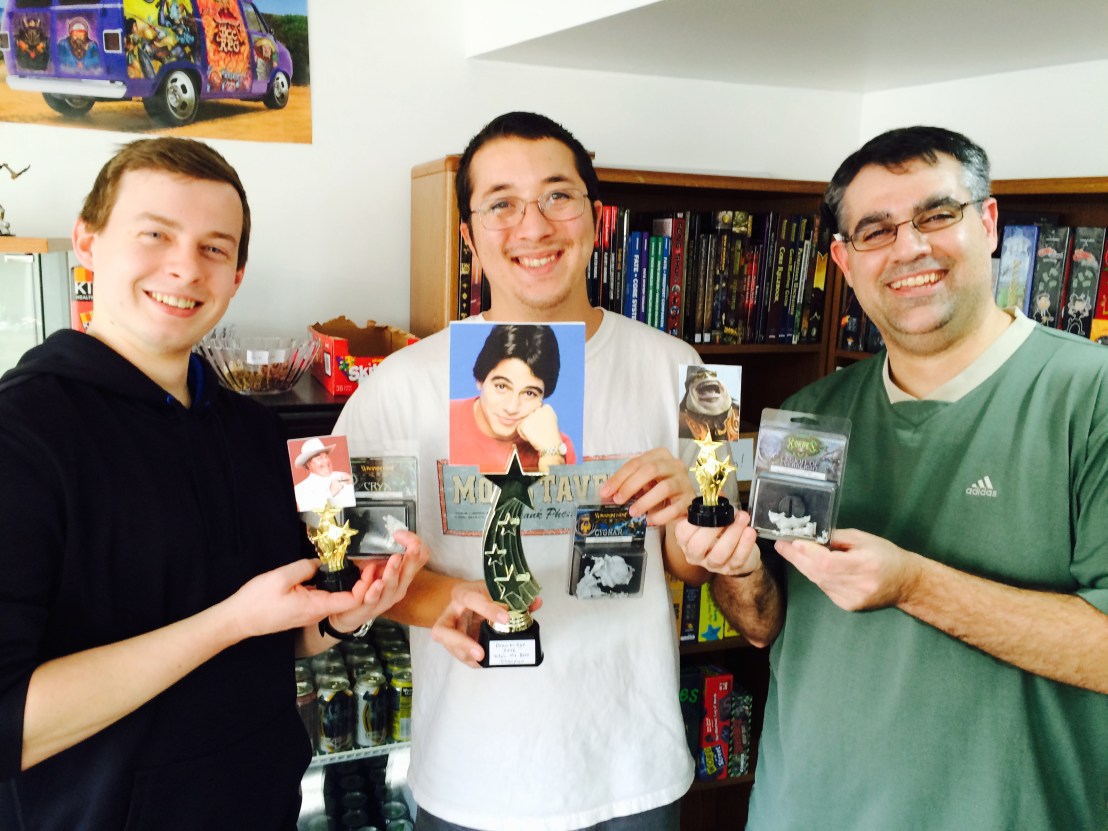 A shot of the winners with their prizes. Matt won the overall Who’s the Boss victor, going undefeated for the event. Andy won best painted for his nifty, and bloody, Minions warlock Midas. And Ryan won the Boss Nass worst caster luck award largely on getting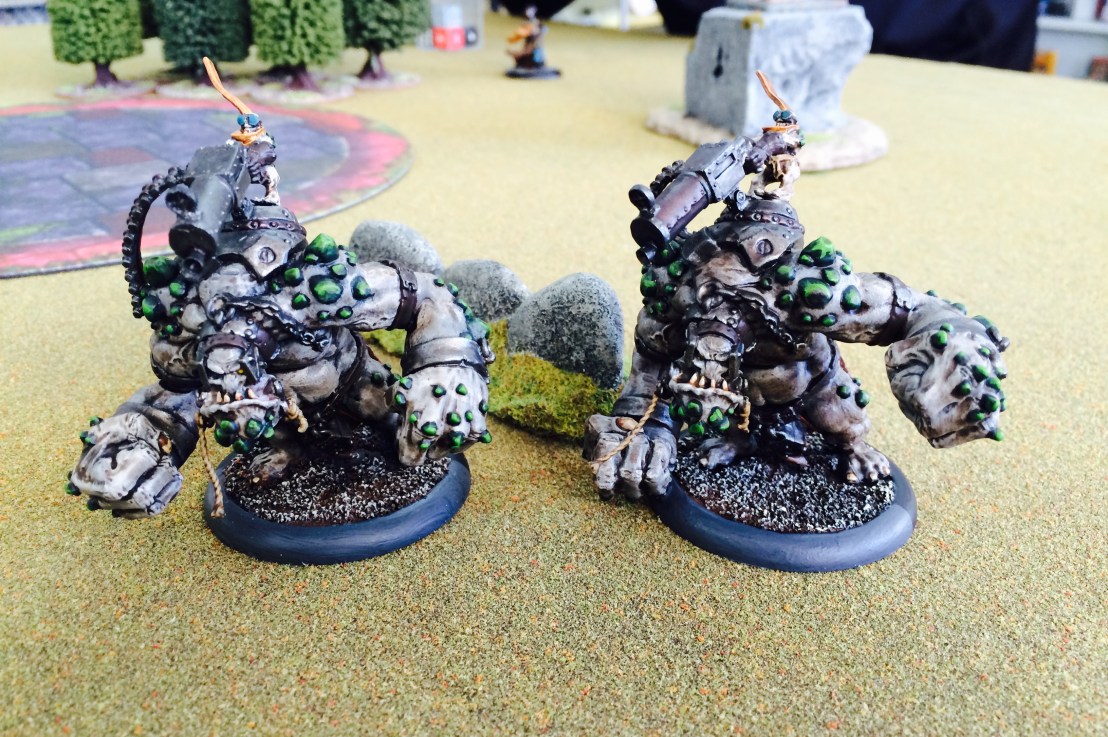
 Hoarluk Doomshaper, Rage of Dhunia counts as 5 points for the painting challenge (Warcasters earn points on Base Size). He was a fun model, as I tried to work on the blue rune glow coming from his staff–making the ones directly under his hand light up like he was pulling magic from them.
 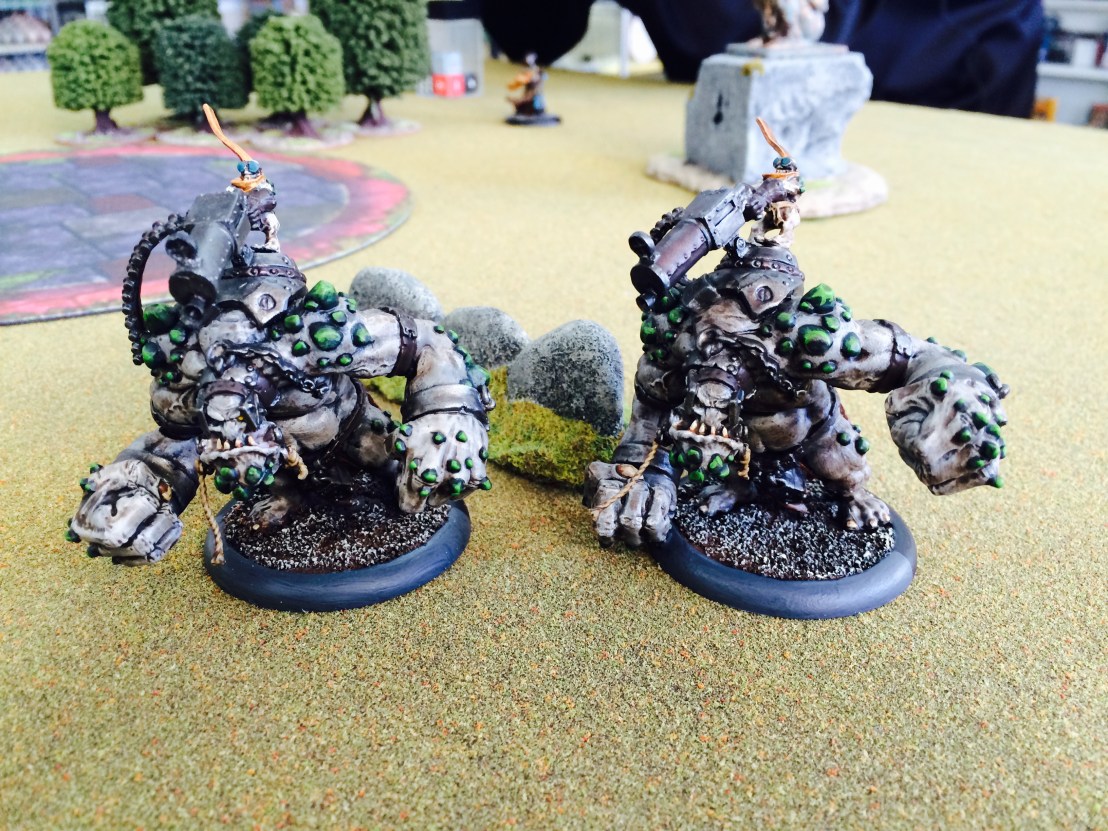 I also finished a second Dire Troll Blitzer (the one on the right is the new guy). I made his pose as different as I could from the other one to set them apart a little while still being the same. This is probably my favorite model in all of the faction (though the
  I also finished up five Troll Whelps. These little dudes are the Fury management system for Trollbloods, and while they’re a pretty bad Fury management system compared to the other Hordes factions, at least they’re something. I got two groups of them at the same time, so I did the similar models together: two shed from Earthborns, two shed from Blitzers (I think, because they’re running?), and one that seems to be an Impaler whelp (the quiver).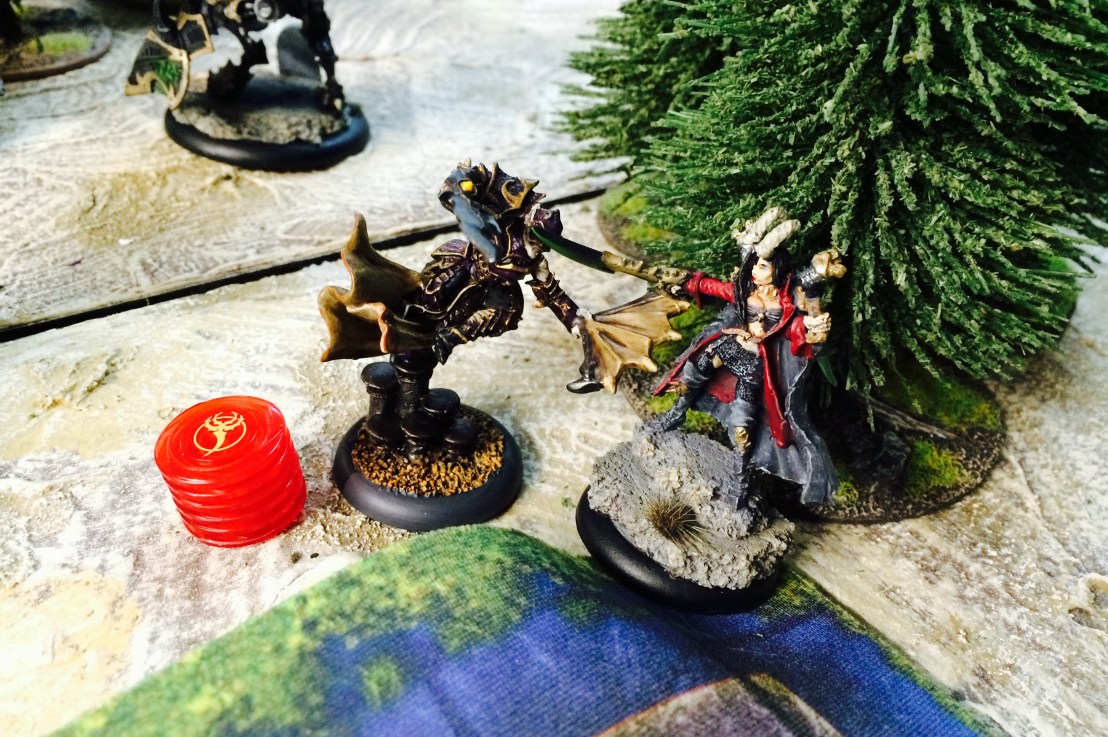
 The force was led by Severius, with Errants, Bastions, Choir, two heavies, a light with an arc node, and a paladin solo. Despite being a dangerous force, Terry’s classic Protectorate painting work is absolutely beautiful.
  My force at the start of turn two. The problem with Morghoul2 is that he needs to get a lot of work done himself to contribute at all, so he’s got to rush up with the rest and hope his high defense holds.
 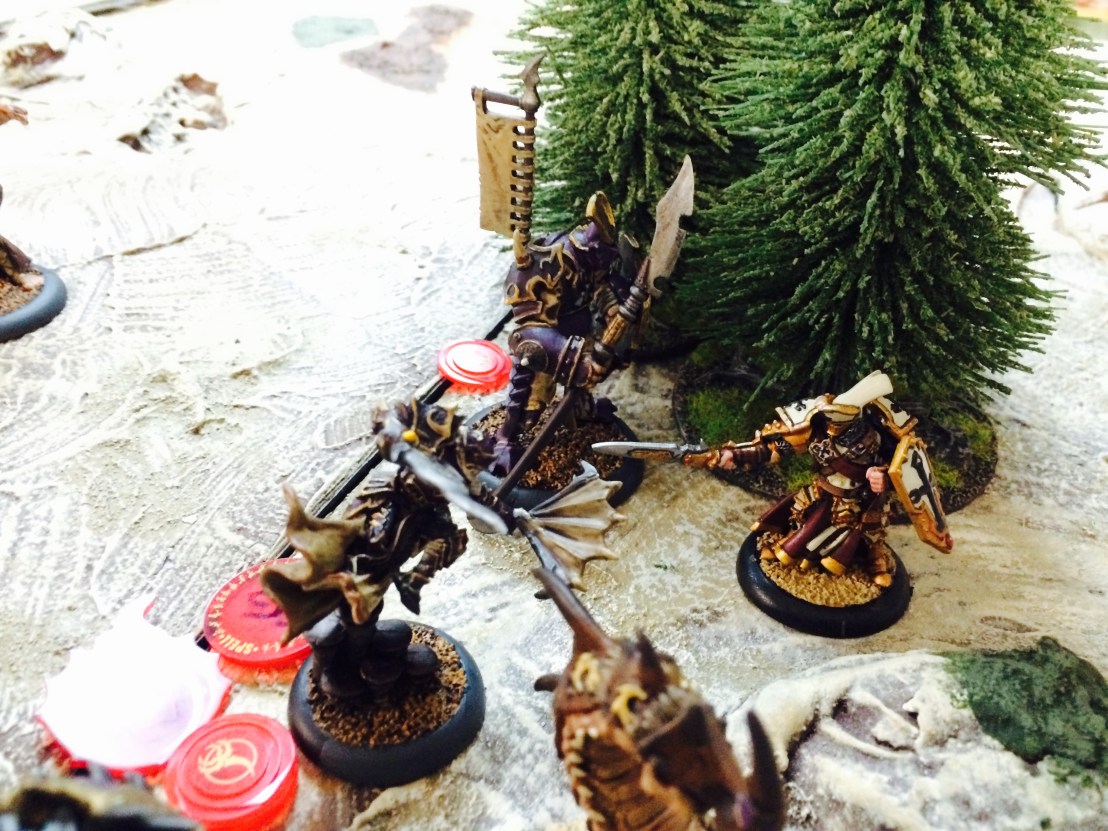 My Warlock after diving into the Errants and clearing out most of them himself. There was a good landing spot where he could take out a number of them with Flashing Blade–then all that’s left is to move the beasts into position around him to minimize attacks back.
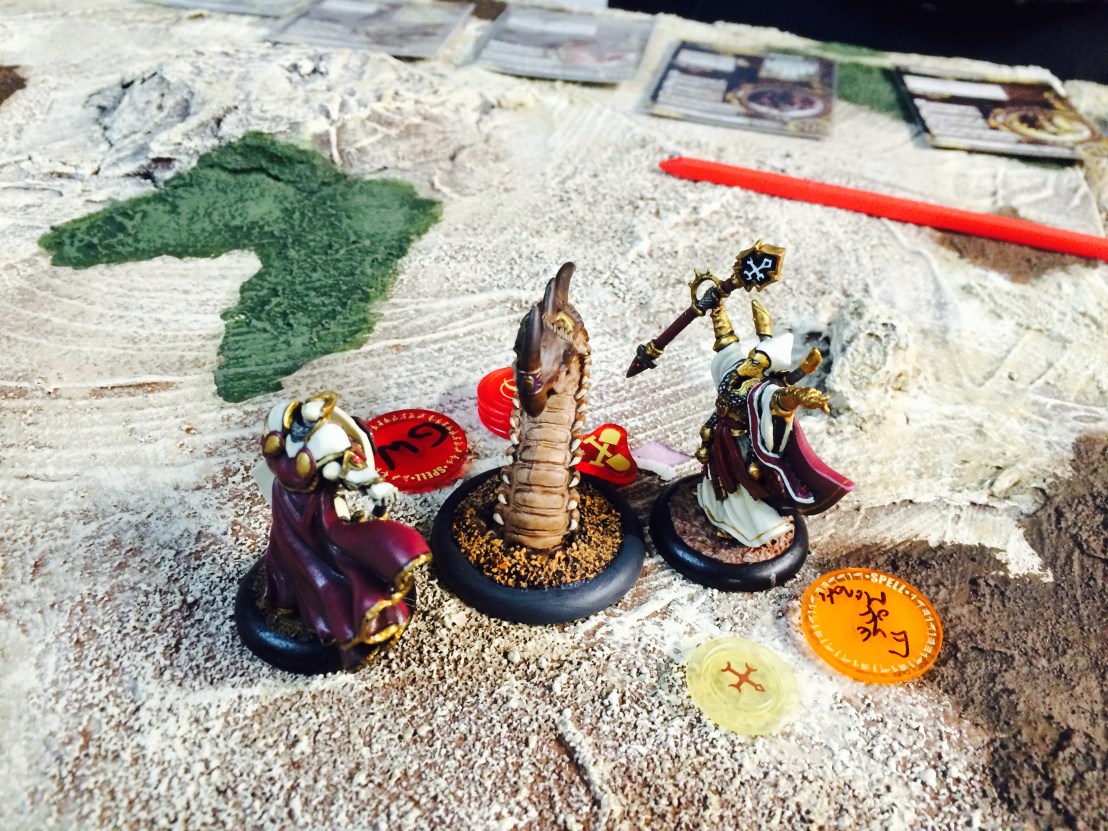 I suffered some pretty heavy losses to the enemy attacks. As is often the case with Skorne, I had a big turn of killing Bastions and putting the hurt on Warjacks and Errants… only to be followed by an equally bloody reprisal turn. The Razor Worm had eaten a Choir member, allowing him to do his Drag Below action to get right up into Severius. The Paladin missed his attacks, so Severius turned around to kill him in melee. While he finished the worm, that left Severius open to my forces getting to him and finishing him off in my subsequent turn.
  As a Skorne player, it was my fault in forgetting Counter Charge. I knew that Barathrum has it, I knew I needed to be careful about it, and yet… My plan to set up a top-of-two assassination shot on Skarre by running my Mortitheurge Willbreaker forward (for control range to allow the slamming Gladiator to buy attacks after the fact) was foiled by Barathrum simply Counter Charnging the Willbreaker and putting him into the dirt. Luckily (or not) he used Drag Below to go back to a point that I could still pull it off. But the Gladiator would end out of control range. For some reason I still made that play, which in hindsight both helped (made a huge distraction for his force by having a Gladiator standing over Skarre) and hurt (I lost my Gladiator).
 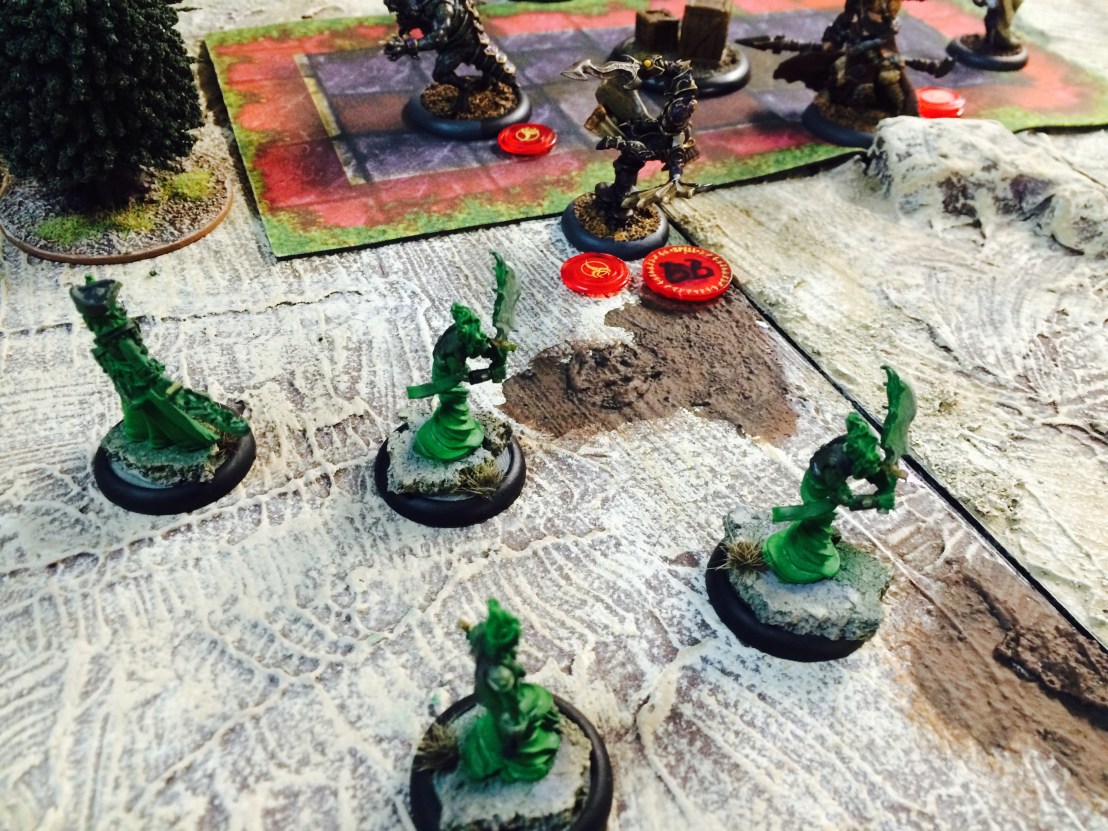 Meanwhile, Morghoul2 was the only source of magic weapon I had besides the Cyclops Shaman. So he spent his turn putting up Beat Back, charging Blackbane’s Ghost Raiders, and then sliding around using Flashing Blade to clear them out.
 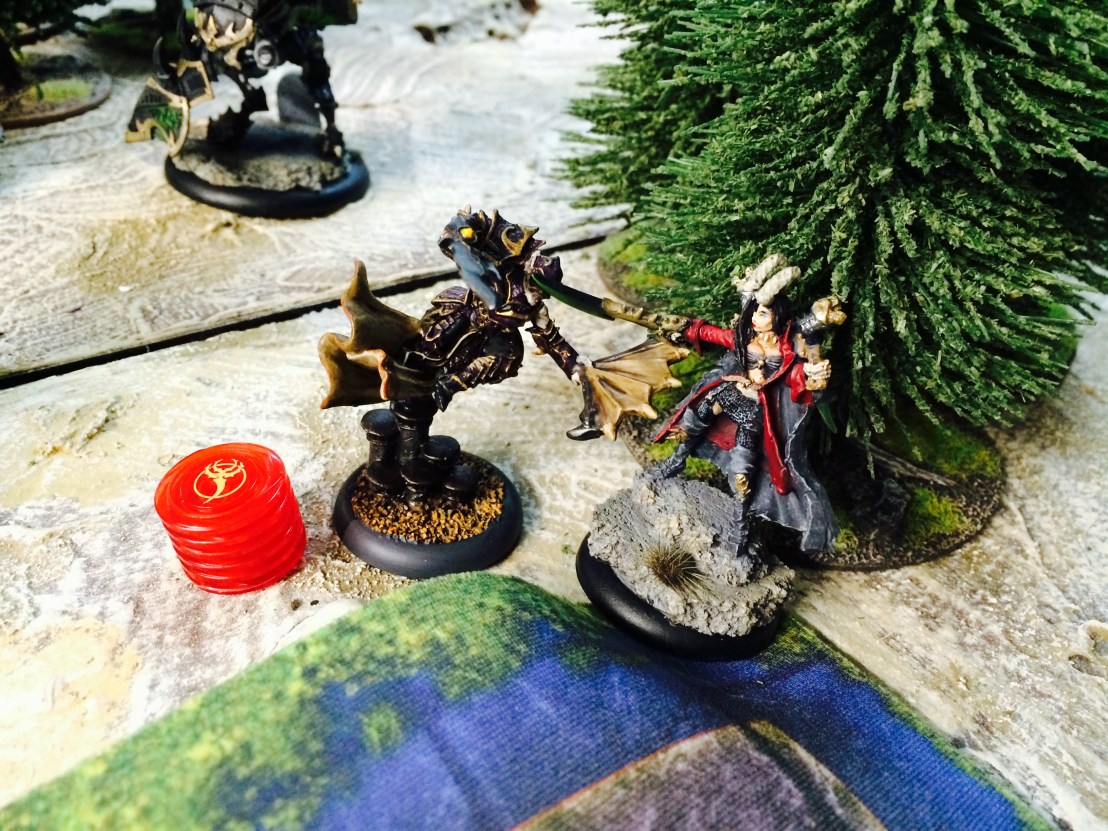 As the battle continued, as always with Morghoul2, my side started to lose the attrition war. Too many weaponmaster Bane Thrall attacks took their toll on my medium and heavy warbeasts, and things were looking grim. I had placed Morghoul2 up near the Banes thinking he’d have to do some fancy footwork with more Beat Back to clear them all out. Then I realized that Skarre was standing at the edge of the zone and was likely within range–and was without focus. I just needed to hit with the fan to blind her, and while it was close (he is kinda feeble for a Lord Assassin) he finally managed to finish her off.
