
It’s time. Another round of one of the best events at Drawbridge Games: Knight Night Fight Night! The game where people bring some of the big baddies of the game to slug it out for glory and to be added to the Knight Night Fight Night Trophy! This is the 4th incarnation, and this time we’re going extra BIG with it! It will be taking place on Thursday, January 30th, 2025 with setup at 6:30pm and first dice thrown at 7:00pm sharp. As always, we’ll have a door prize drawing, so just participating gives you a chance to win!
This time year it’s time for Tag Teams again, where everyone gets a paired team of two Knight-class models. Players can either field two models themselves, or two players can team up as a Tag Team. We also are going to let players “go big” this year if they wish. While it’s Knight Night, this is a good chance for people to field a bigger titan if they so wish to–the point is to keep us modeling, of course! So if you’ve got that Warhound, Ta’unar, or something else massive you’re tinkering with, know it can be included–the one caveat is that you don’t get a Tag Team partner if you field anything larger than Knight class.
Event Rules
Teams of two Knights (can be a single player who brings two, or pairs of players who each have one) will be placed in a central, circular Royal Rumble arena. The goal is to be the last model standing–knocking all of other competitors “out of the ring”–and that last standing model wins the event for their team.
To start the event, all teams will have the points of the two models in their team calculated. The highest two PL total teams will have their models start in the ring. After each round, the next two teams in PL are added to the ring (making their grand entrances, with entrance music if so desired).
Every round of combat all participant Knights in the ring are dealt a playing card, and play turns will run in that order: lowest numbers first, with suit order high-to-low in reverse-alpha to break numerical ties, so Spades > Hearts > Diamonds > Clubs, with Aces low. The active Knight will move, shoot, can charge and fight. Note that models attacked won’t swing back (there’s no ordinary combat phase). The goal is to incapacitate opposing Knight models by taking all of their wounds, which represents knocking them out of the ring (over the top rope). There are a few different special rules we’ll be using that will both help this happen, and give Knights a chance to keep fighting in the ring.
“Recover In the Corner” action: Declare at the start of your turn. Roll 1d6 and recover that many wounds. Can move (including advancing) but cannot fire any weapons, charge, or make any melee attacks until the start of its next turn.
“Re-roll Chip”: Every Knight gets one re-roll chip. Every Tag Team who put up a promo (posted on the Drawbridge Events Facebook page and/or Discord) gets a second re-roll chip per player participating in that promo. The player with the best promo (judged by Enrico) gets a third re-roll chip. Re-roll chips can be exchanged or traded as you wish during the game with other players. They can be spent to re-roll any one d6 roll (including the “Out of the Ring” table or the result of a “Recover in the Corner” action). They can also be spent to get rid of the card you’re dealt at any point for turn order, and be dealt a new random card from the deck. Note that no one will have CP’s to keep things simple, this is a sort of replacement for that.
“Out of the Ring” chart: Whenever a model is reduced to 0 wounds, they immediately must roll on the following chart (any model rules that might trigger on “when reduced to zero wounds” such as exploding are ignored). Conceptually a Battle Royale is about throwing your opponent out of the ring and their feet hitting the ground (indicating they’re out). While we don’t have an actual ring to be thrown out of, these are the results when the participants take those devastating finishing attacks.
| Roll | Result |
| 1 “I’ll get you back” | Both feet hit the ground and this model loses. However, they’re not quite ready to accept that. They immediately get a single turn of shooting to try and take an opponent with them (using lowest profile), and then are removed from the board. |
| 2 “Ouch, he’ll feel that one” | Both feet hit the ground and this model loses. It is removed from the board. |
| 3 “Thats a tough break, J.R.” | Both feet hit the ground and this model loses. It is removed from the board. |
| 4 “Hanging on the ropes” | The Knight hangs on, just barely. It is restored to 1 remaining wound, and cannot be targeted any further this round until it acts or until the start of the next round if it has already acted this round. |
| 5 “Push thru the pain” | This model grits its teeth and keeps on fighting. Immediately roll a d6 and restore that many wounds to the model. This model cannot be targeted/damaged any further during the current opponent’s activation. |
| 6 “You just made me angry” | This model channels the punishment into newfound strength. Immediately restore the model to 12 wounds. This model cannot be targeted/damaged any further during the current opponent’s activation. |
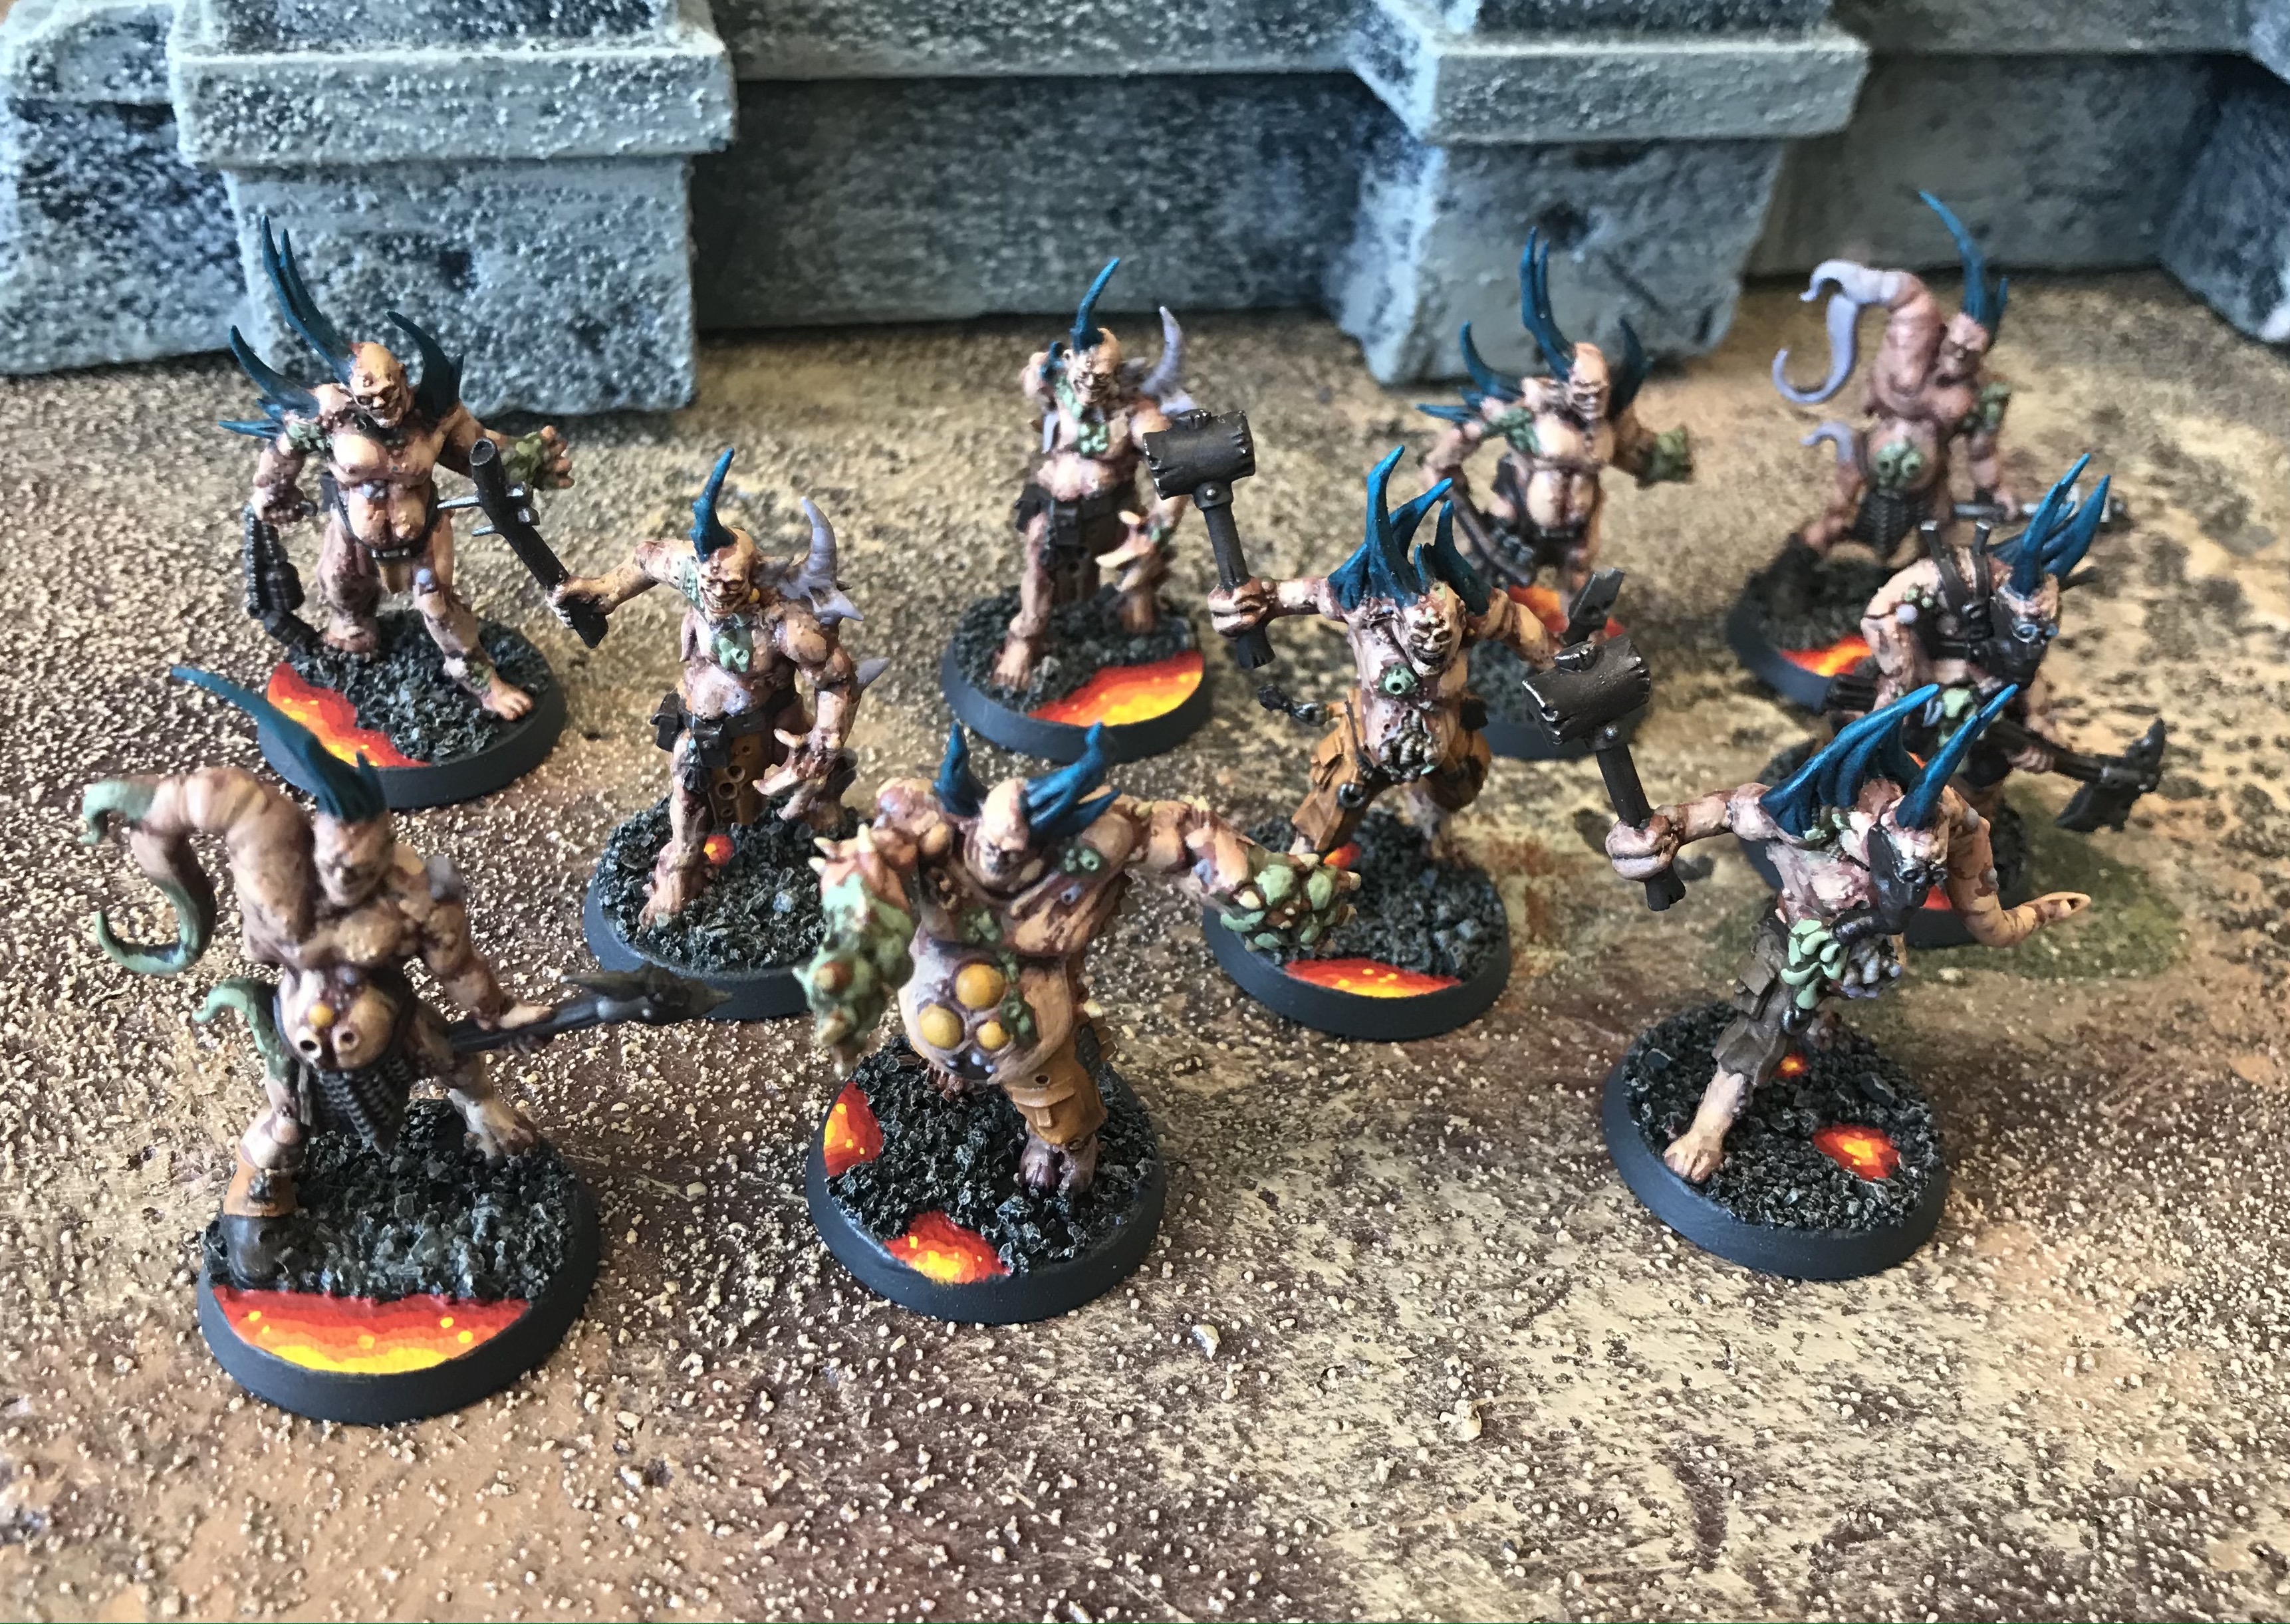
Painting Requirements: All models participating in Knight Night must be painted to a tabletop standard and based. Part of this hobby is, well, the hobby, so I want to encourage people to paint and get models finished for events. There will be additional chances at prizes for those who paint up a new Knight model for the event.
Tag Team: Players can choose to field two Knights from the following lists, or bring one Knight and team up with another player. You can choose and coordinate teams in advance, and we can also pair up likely allies on the day of the event–so don’t let having just a single Knight limit you. Come and have fun and game with new and old folks in the community alike. Activations are separate by Knight model, but victory goes to the team (even if one of the team member Knights has been eliminated). And we’ll have an extra Knight model with rules on hand in case we have uneven numbers to make certain all who show up can join in the fun.
Knight Options and Choices
Knight Options: Players can choose any non-character Knight from the Imperial Knights or Chaos Knights codex with gear allowable from the data sheet (no relics or warlord traits). No army rules, detachment rules, or upgrades that aren’t part of the basic datasheet entry for the Knight will be used. These are vanilla versions of the data sheets folks. I
When is a Knight not a Knight: We’re not able to allow in every Xenos and Chaos faction, but applications to field other types are allowable if they’re comparable in stature to a Knight (note they may not be comparable in points).
- Stormsurge
- Wraithknight
- Gorkanaut
- Morkanaut
- Stompa
- Lord of Skulls
- Seraptek Heavy Construct
- Trygon
- Mawloc
Go Big: The following is a list of allowed “go big” options. These are “wrestlers” so big that they can be expected to take on a tag team just solo (think Andre the Giant, the Big Show, or Happy Humphrey).
- Warhound Titan
- Reaver Titan
- Warlord Titan
- Revenant Titan
- Phantom Titan
- Hierophant Bio-Titan
- Ta’unar Supremacy Armor
- Gargantuan Squiggoth


 My second match was against Les’ Circle Orboros force–a beast-heavy list led by Kromac.
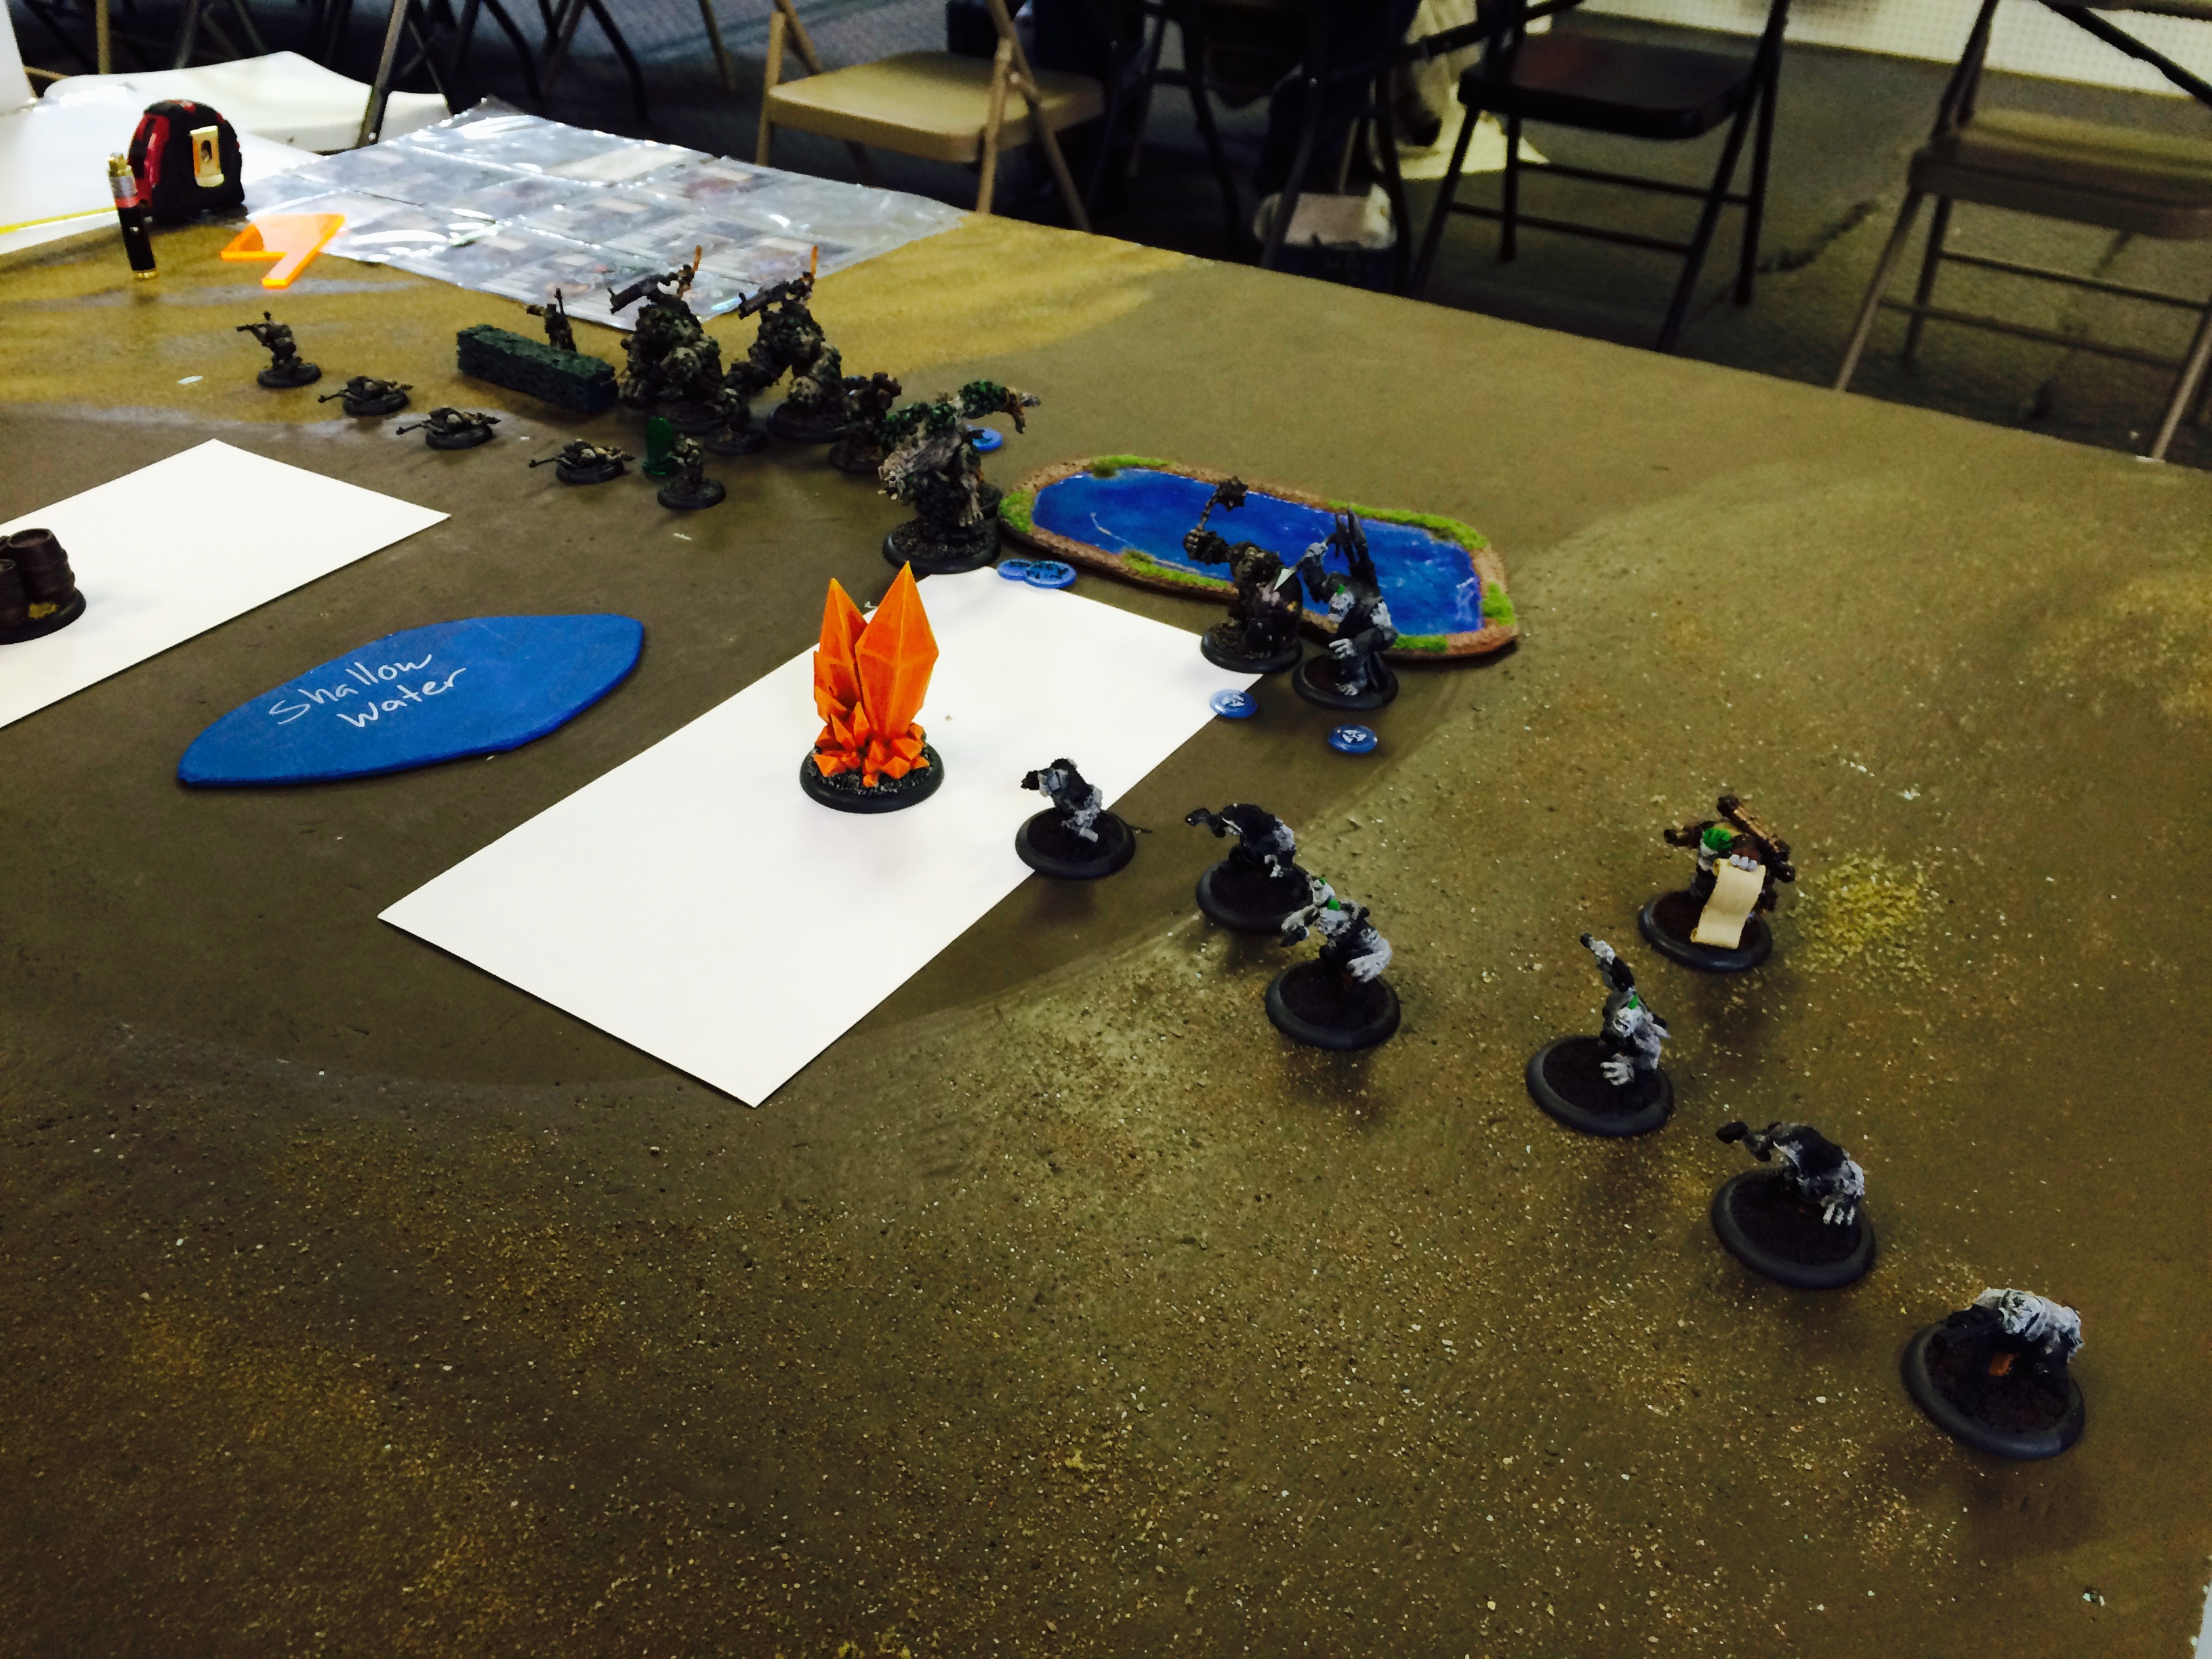 My list on their side of the battlefield. I was hoping that the Sorcerer could do some work by shutting off Pathfinder–hoping to catch his forces on one side of that center lake with the Sorcerer doing his thing on the far side. Alas, that was hardly what happened.
 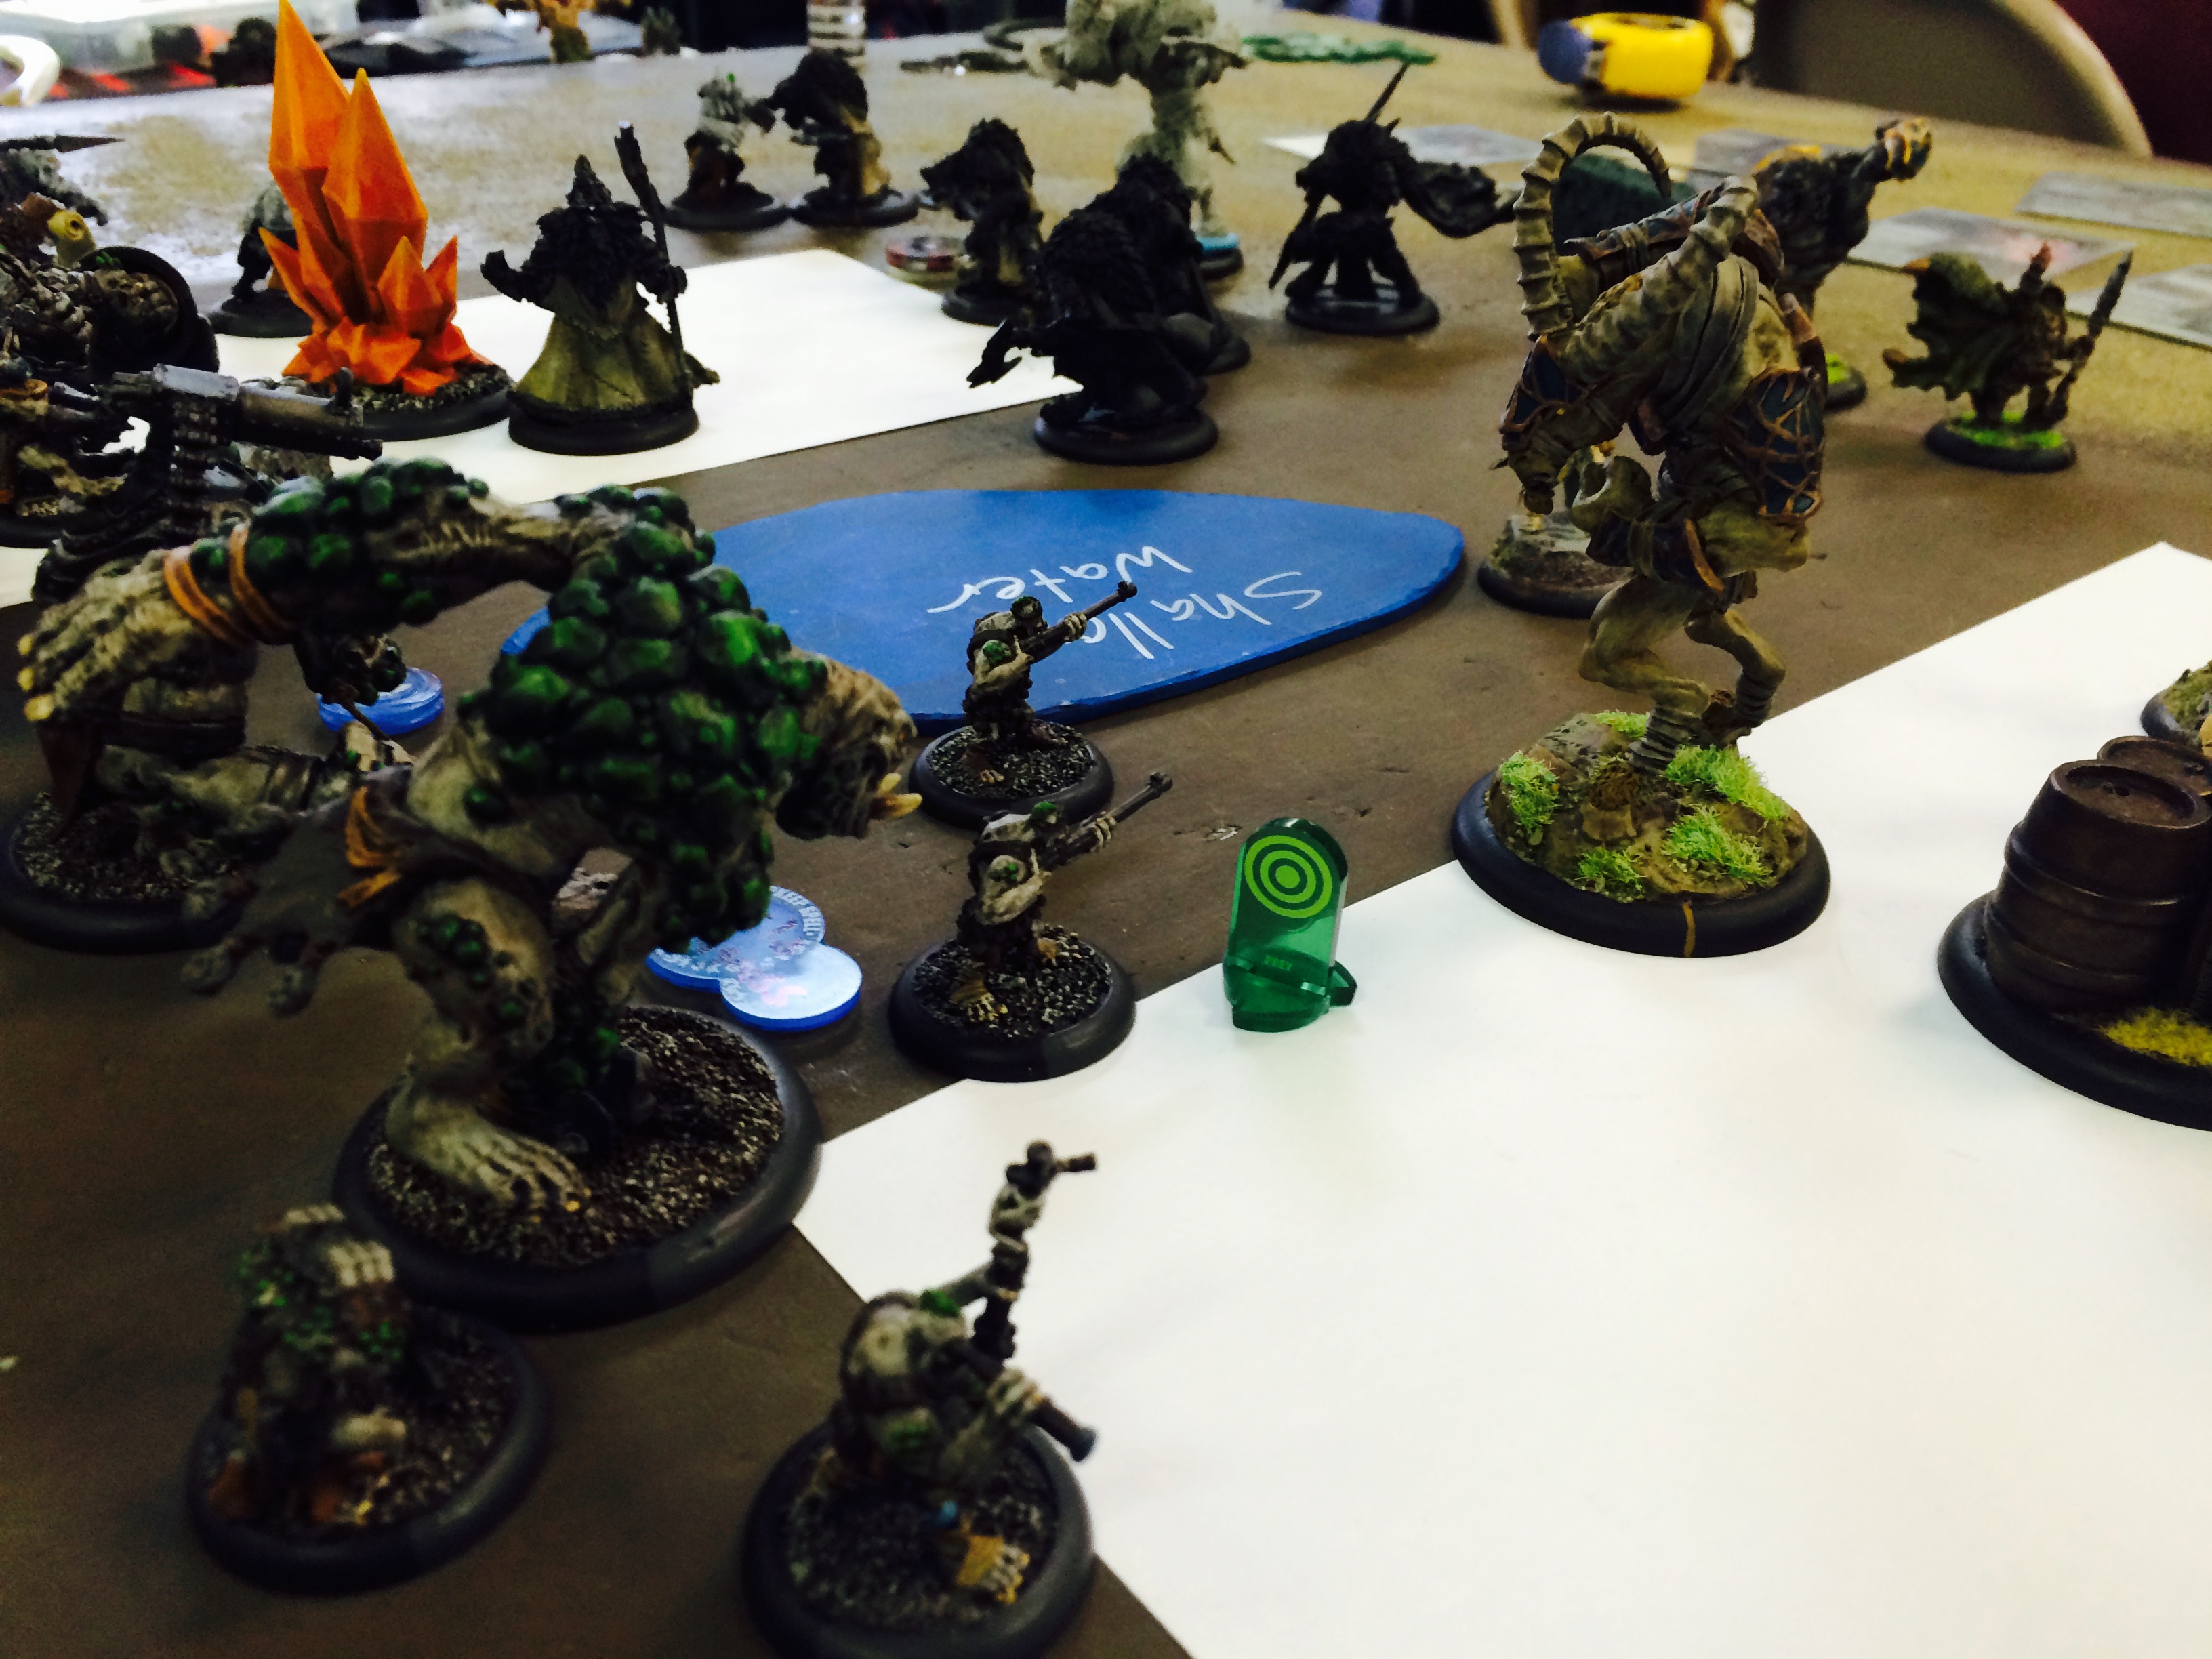 I lost the Earthborn to the Ghetorix, as Kromac’s ability to get beasts deep and everywhere is just amazing. Sensing the jaws closing again, it was time for another attempt at ill-advised assassination run. Kromac was close enough that my Dire Trolls Blitzers could get some shots on him, and then Doomshaper2 could potentially Primal Shock from the closer one. I did just that, but Dire Troll Blitzers are just terribly awful shots who need to boost too often. Because of that, the hits didn’t quite do enough damage… leaving him able to simply take some of the hits and not transfer, so that as I worked through the couple of transfers I was left without a way to finish the job. He quickly killed Doomshaper2 in return to end the game.
  Third game was against Bill’s Mercenary-heavy Caine2 list. I felt like I had a decent shot against this list, as long as I could build my defensive fortress for Doomshaper2 each turn closer to Caine2, I could eventually launch a feat-driven assassination into him to finish him off.
 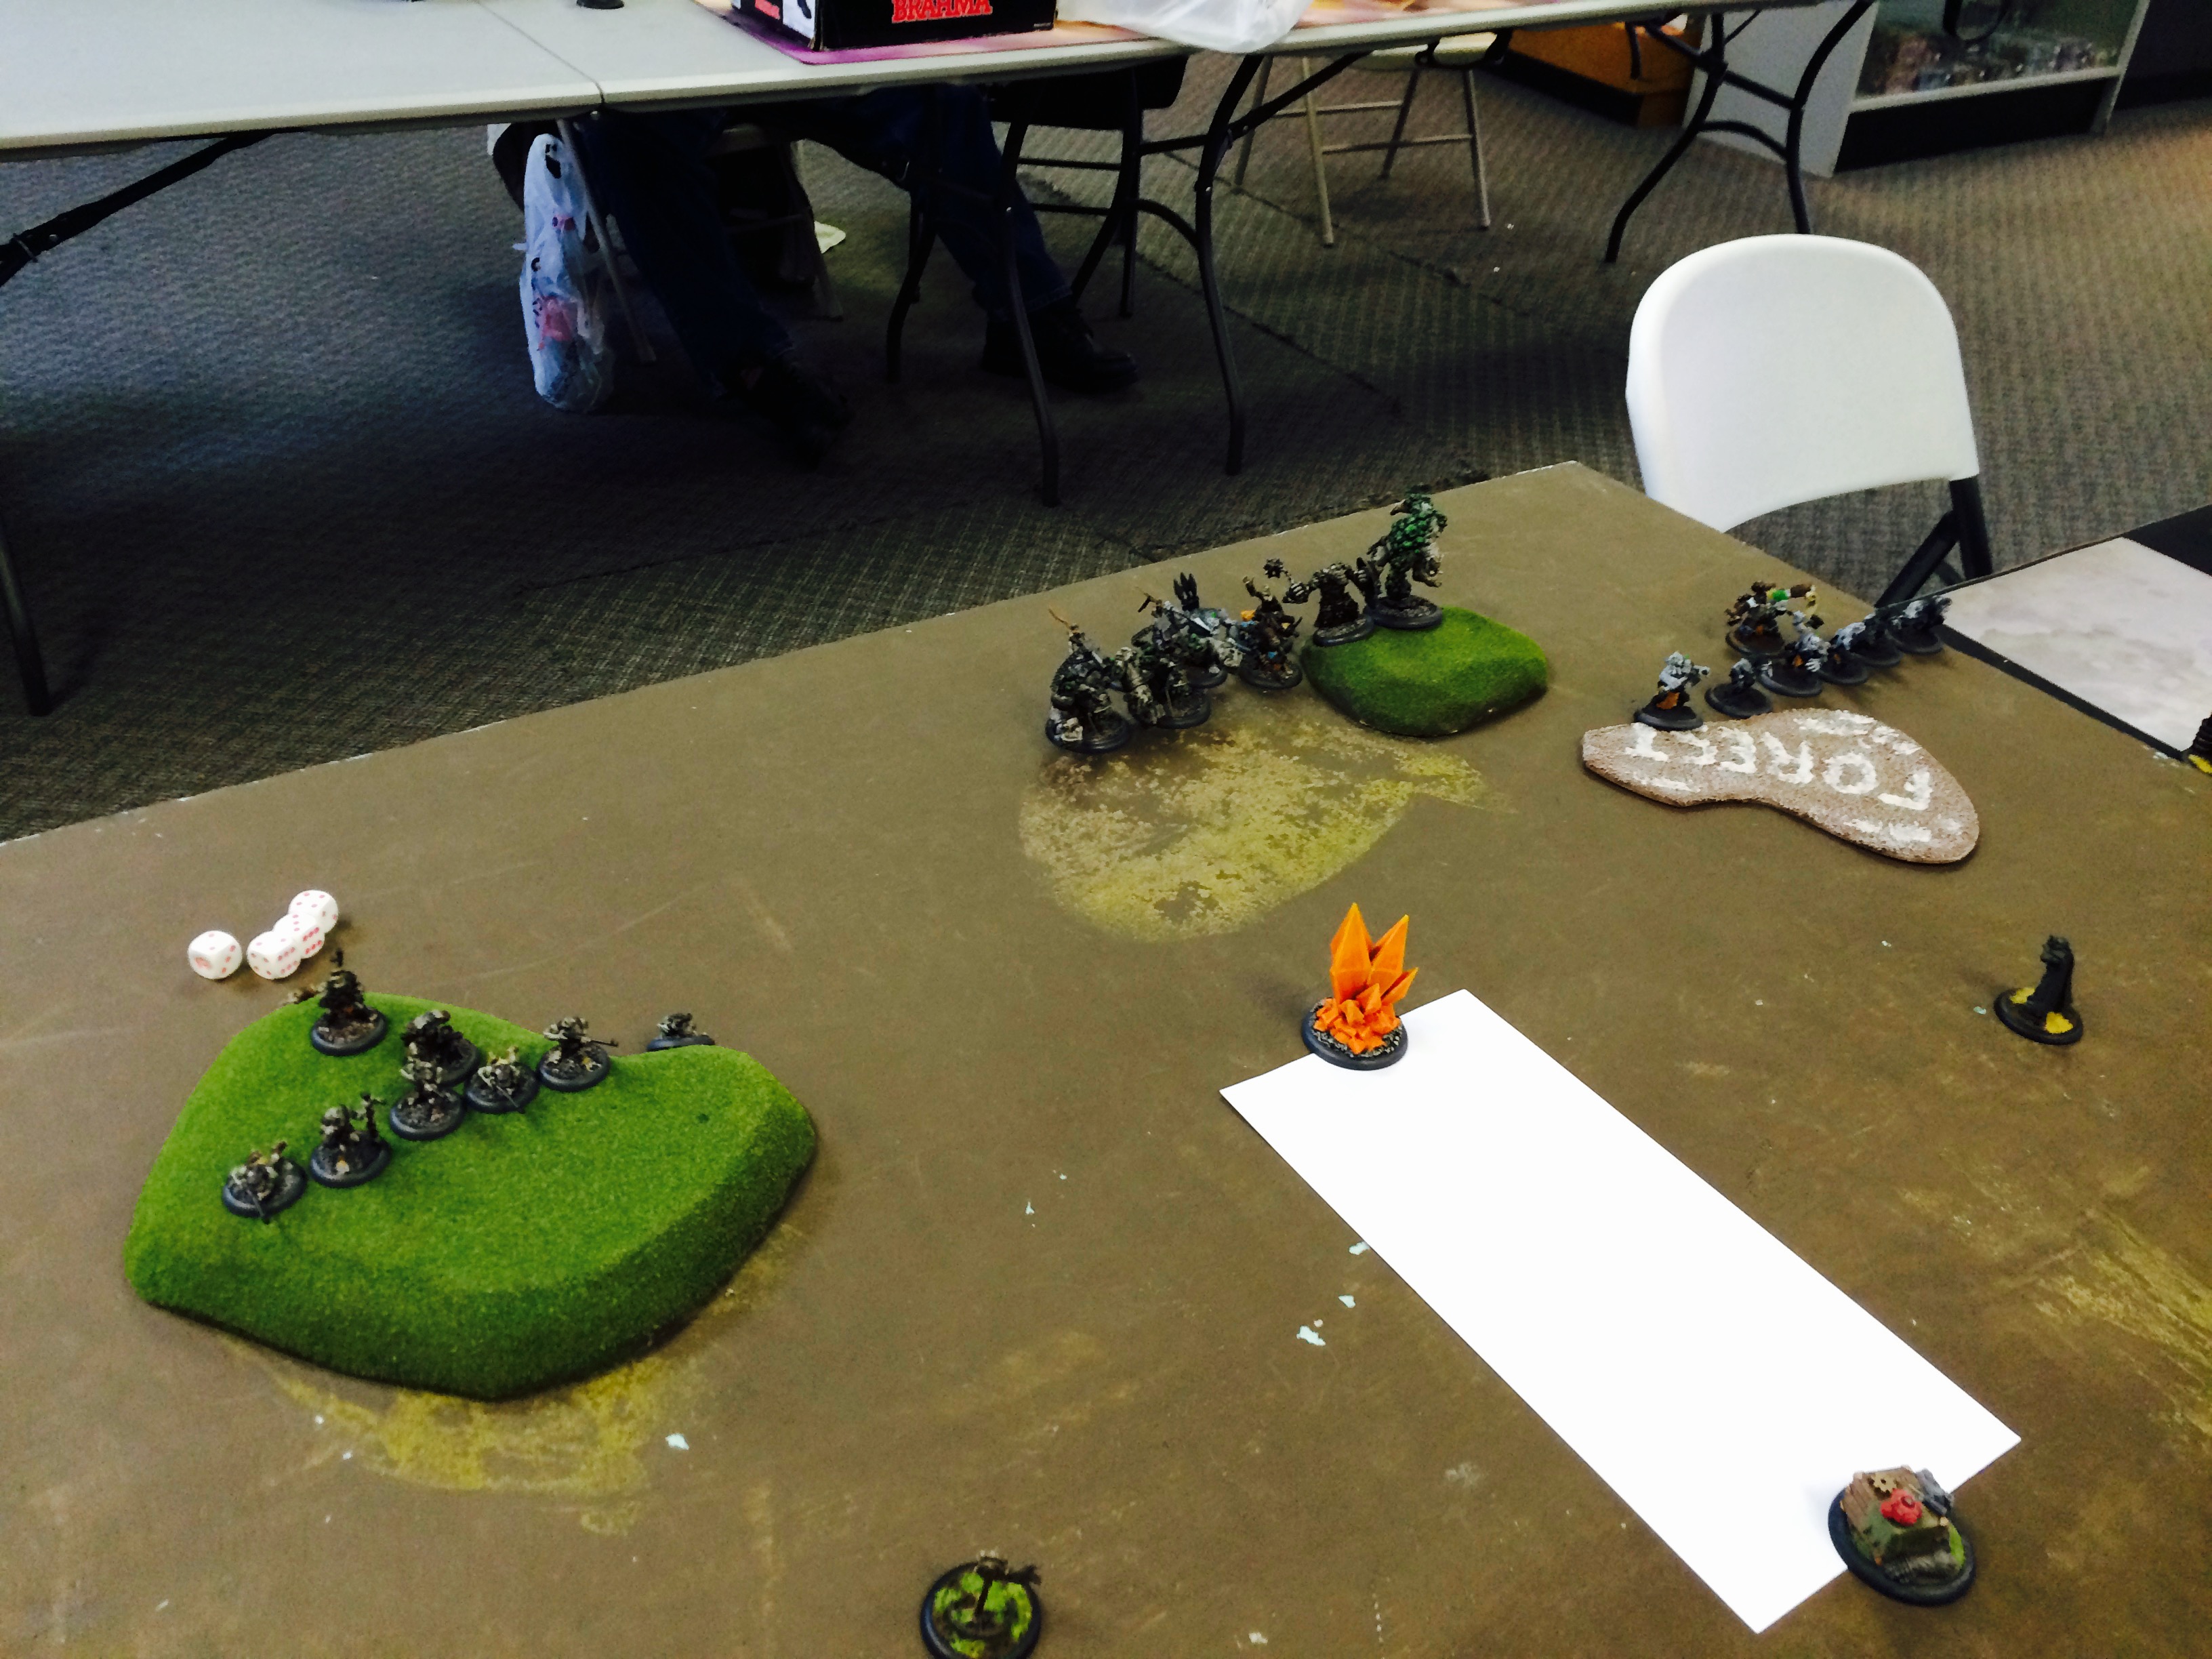 My forces arrayed with a refused flank, ready for the wall of troll warbeast meat to advance right into the enemy guns.
 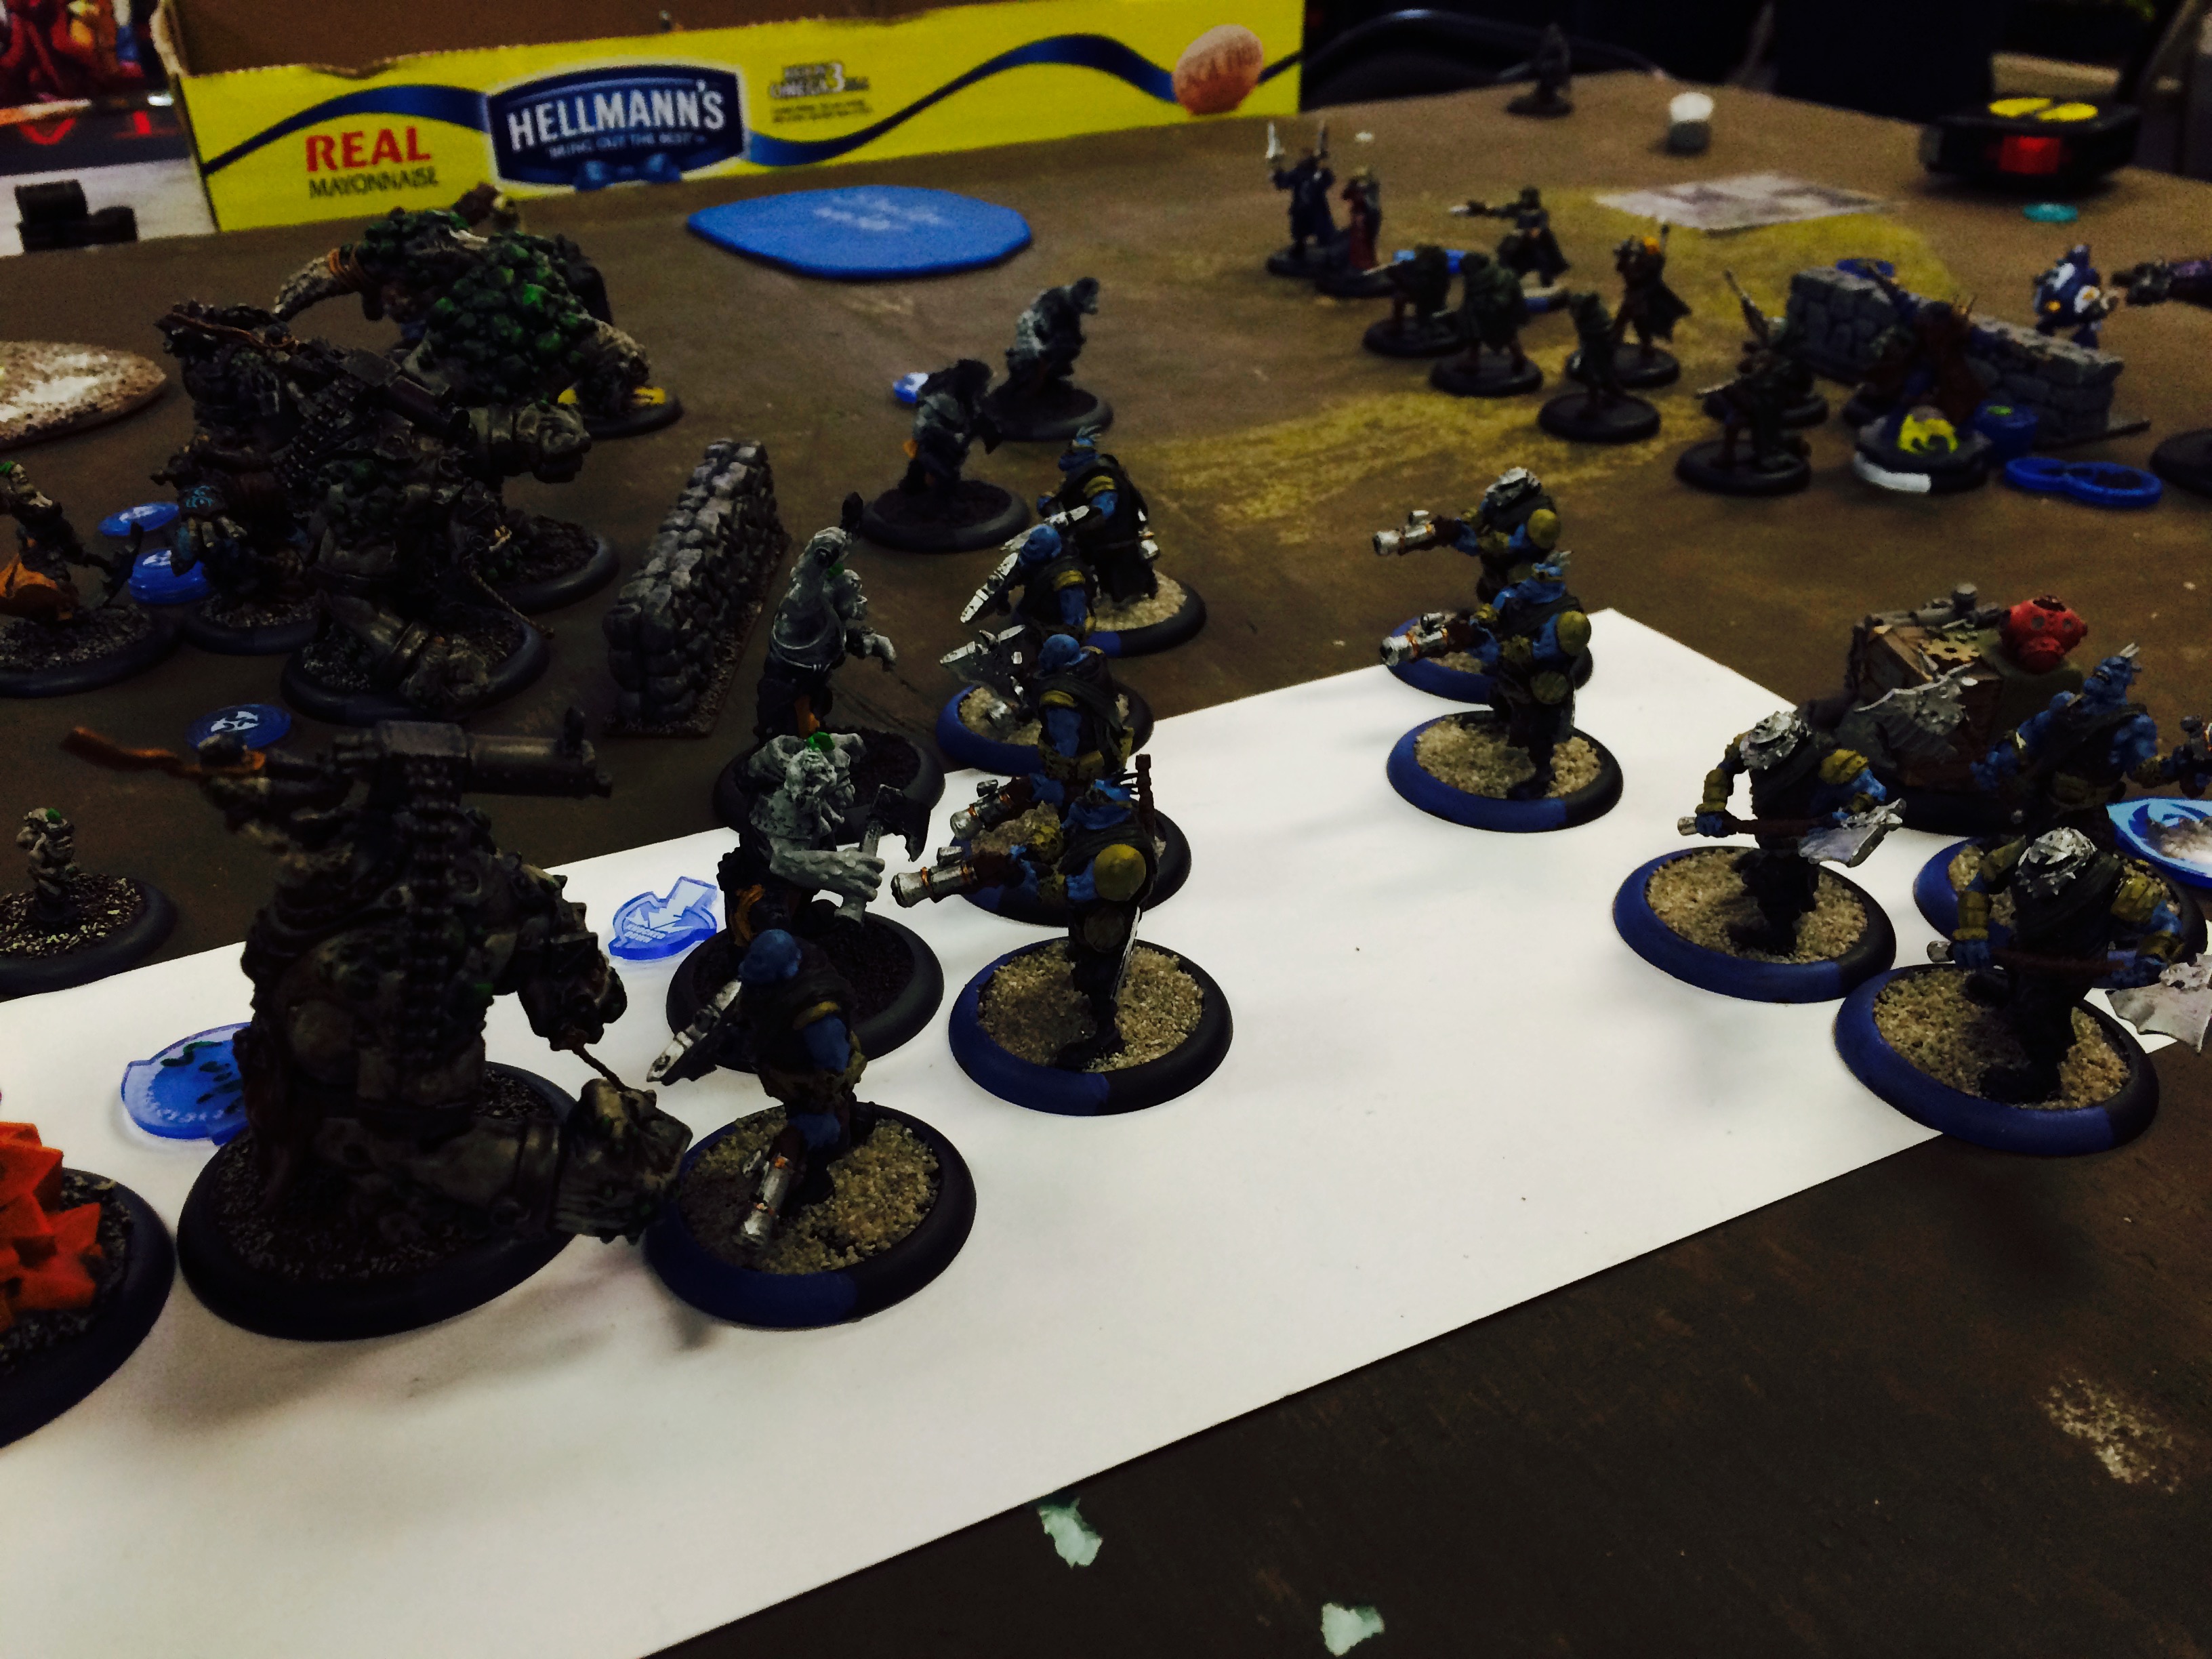 This was probably my best-played game of the tourney. I did a few good things, and felt like I started to get better use out of my two Dire Troll Blizters (not just saving them to be assassination threats). They needed to get work done, and that meant getting situations against multiple targets where they could shoot and swing (and snack).
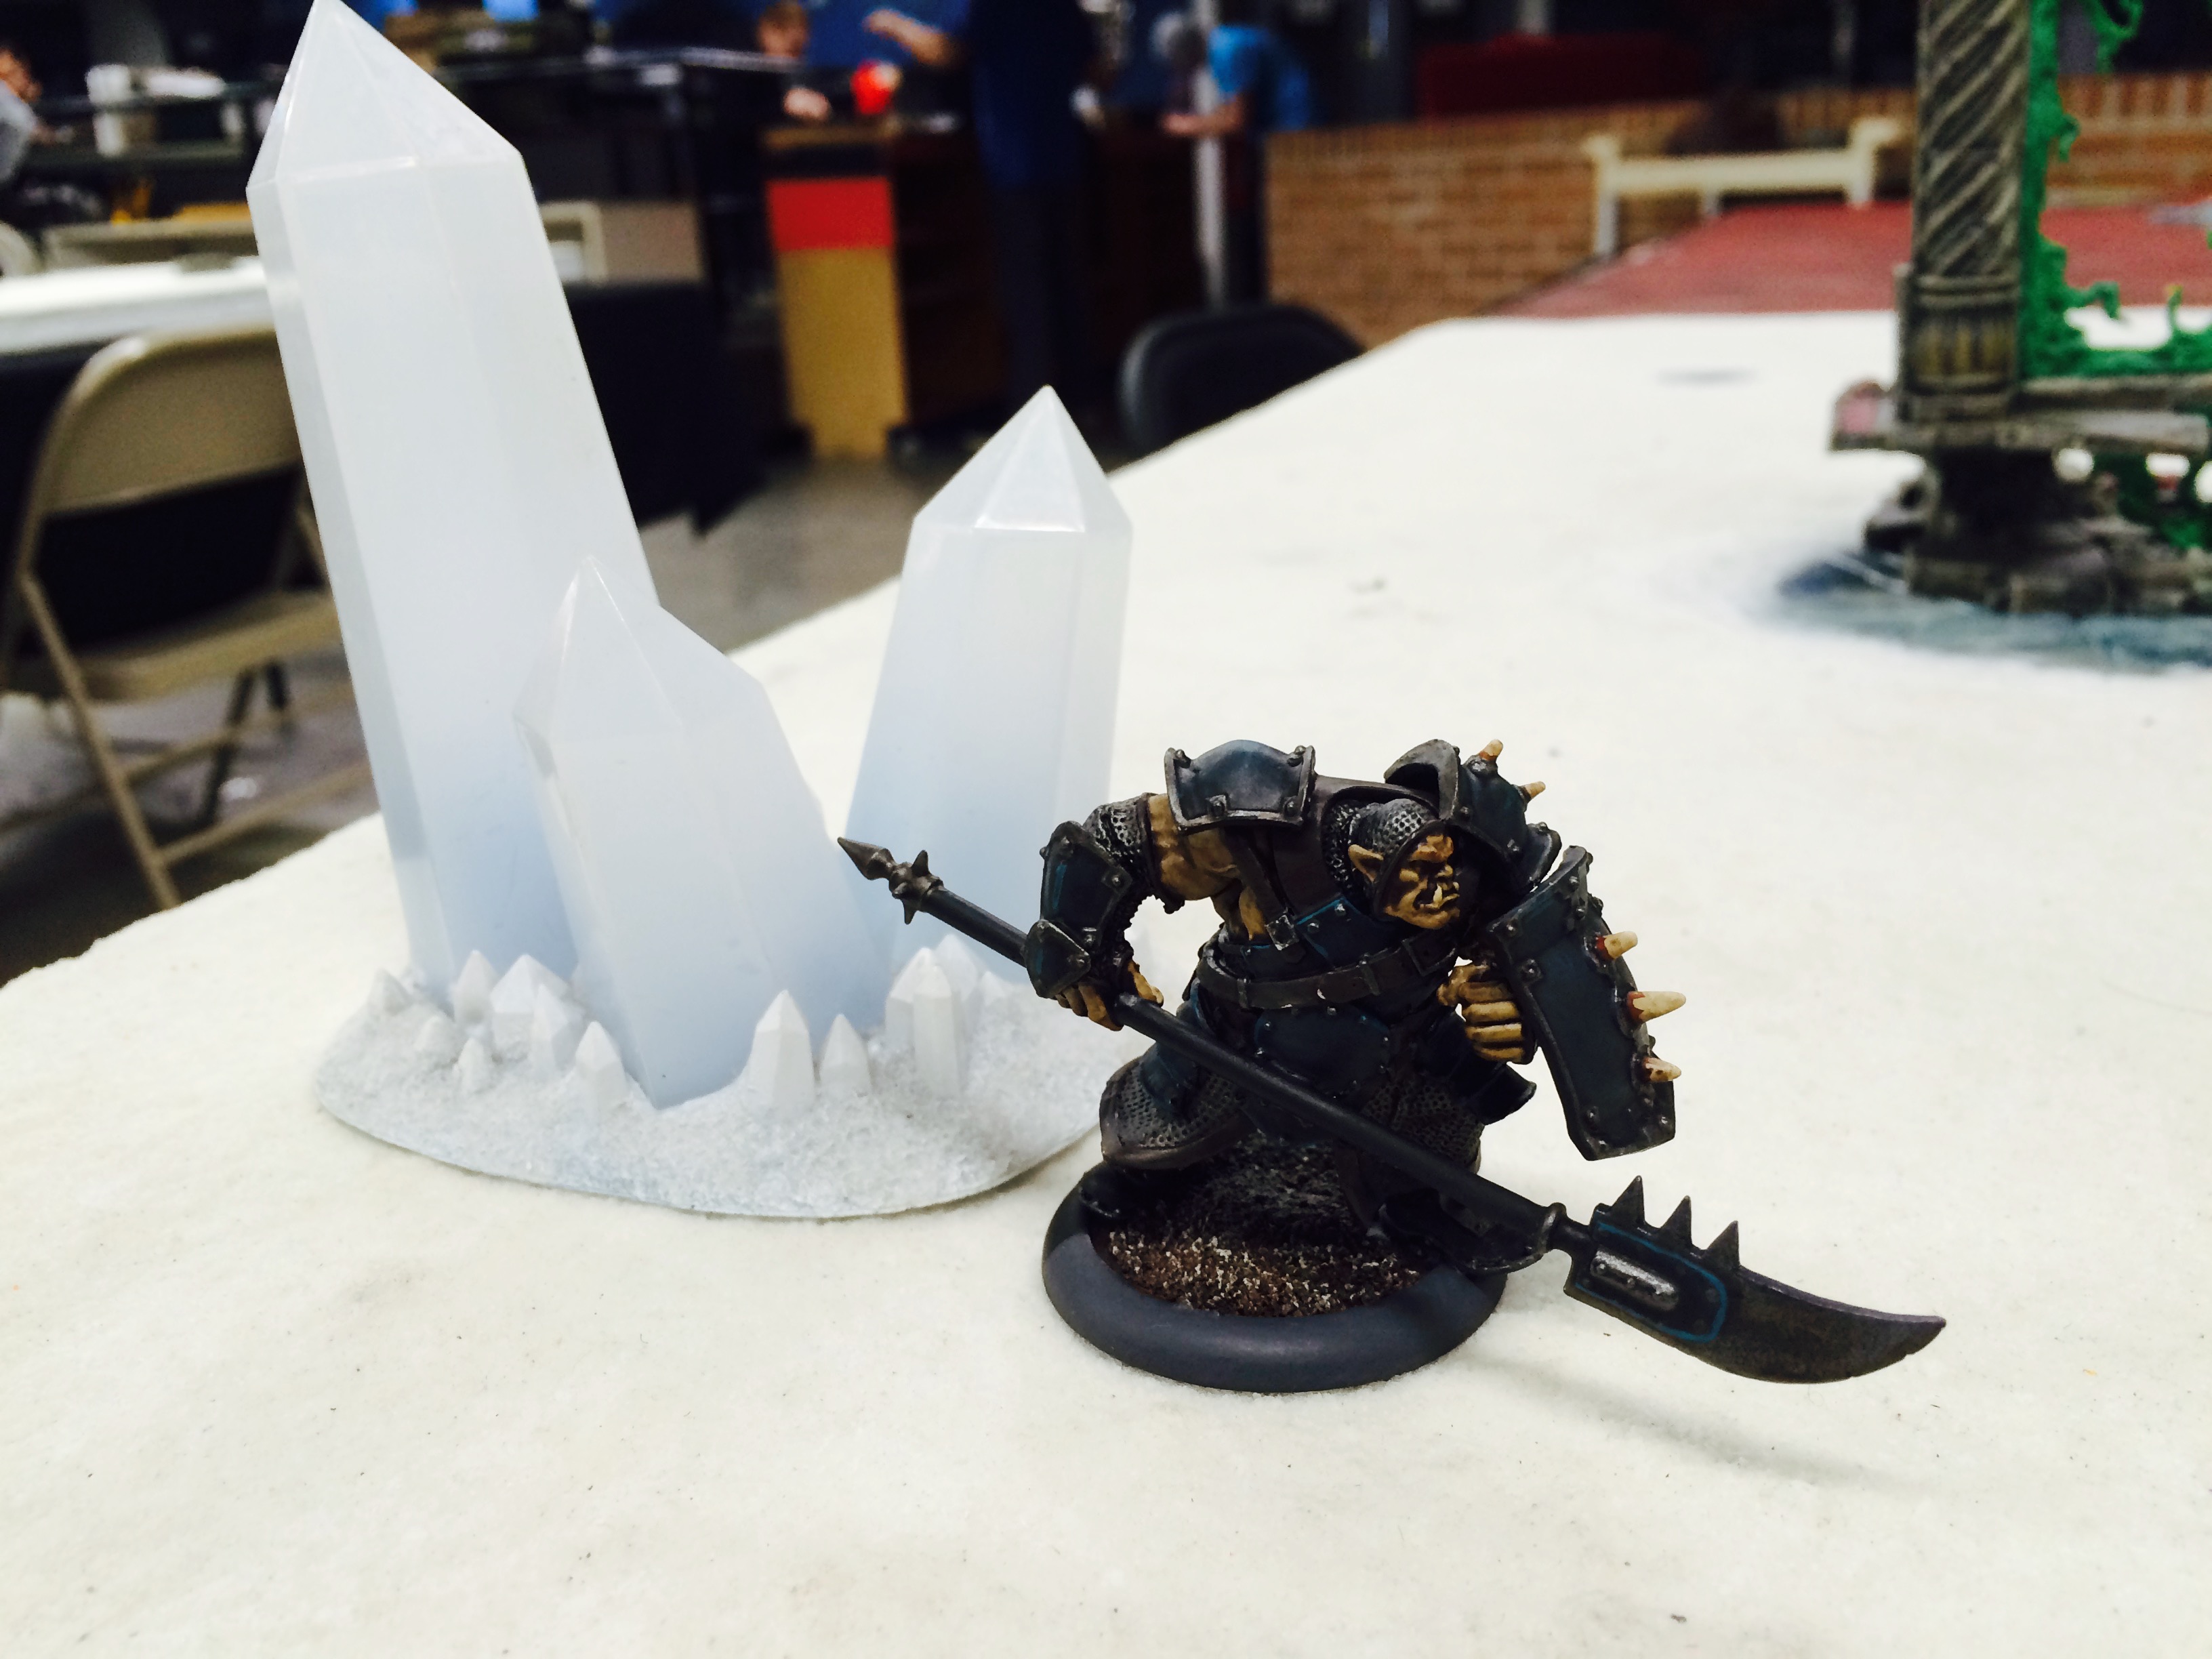
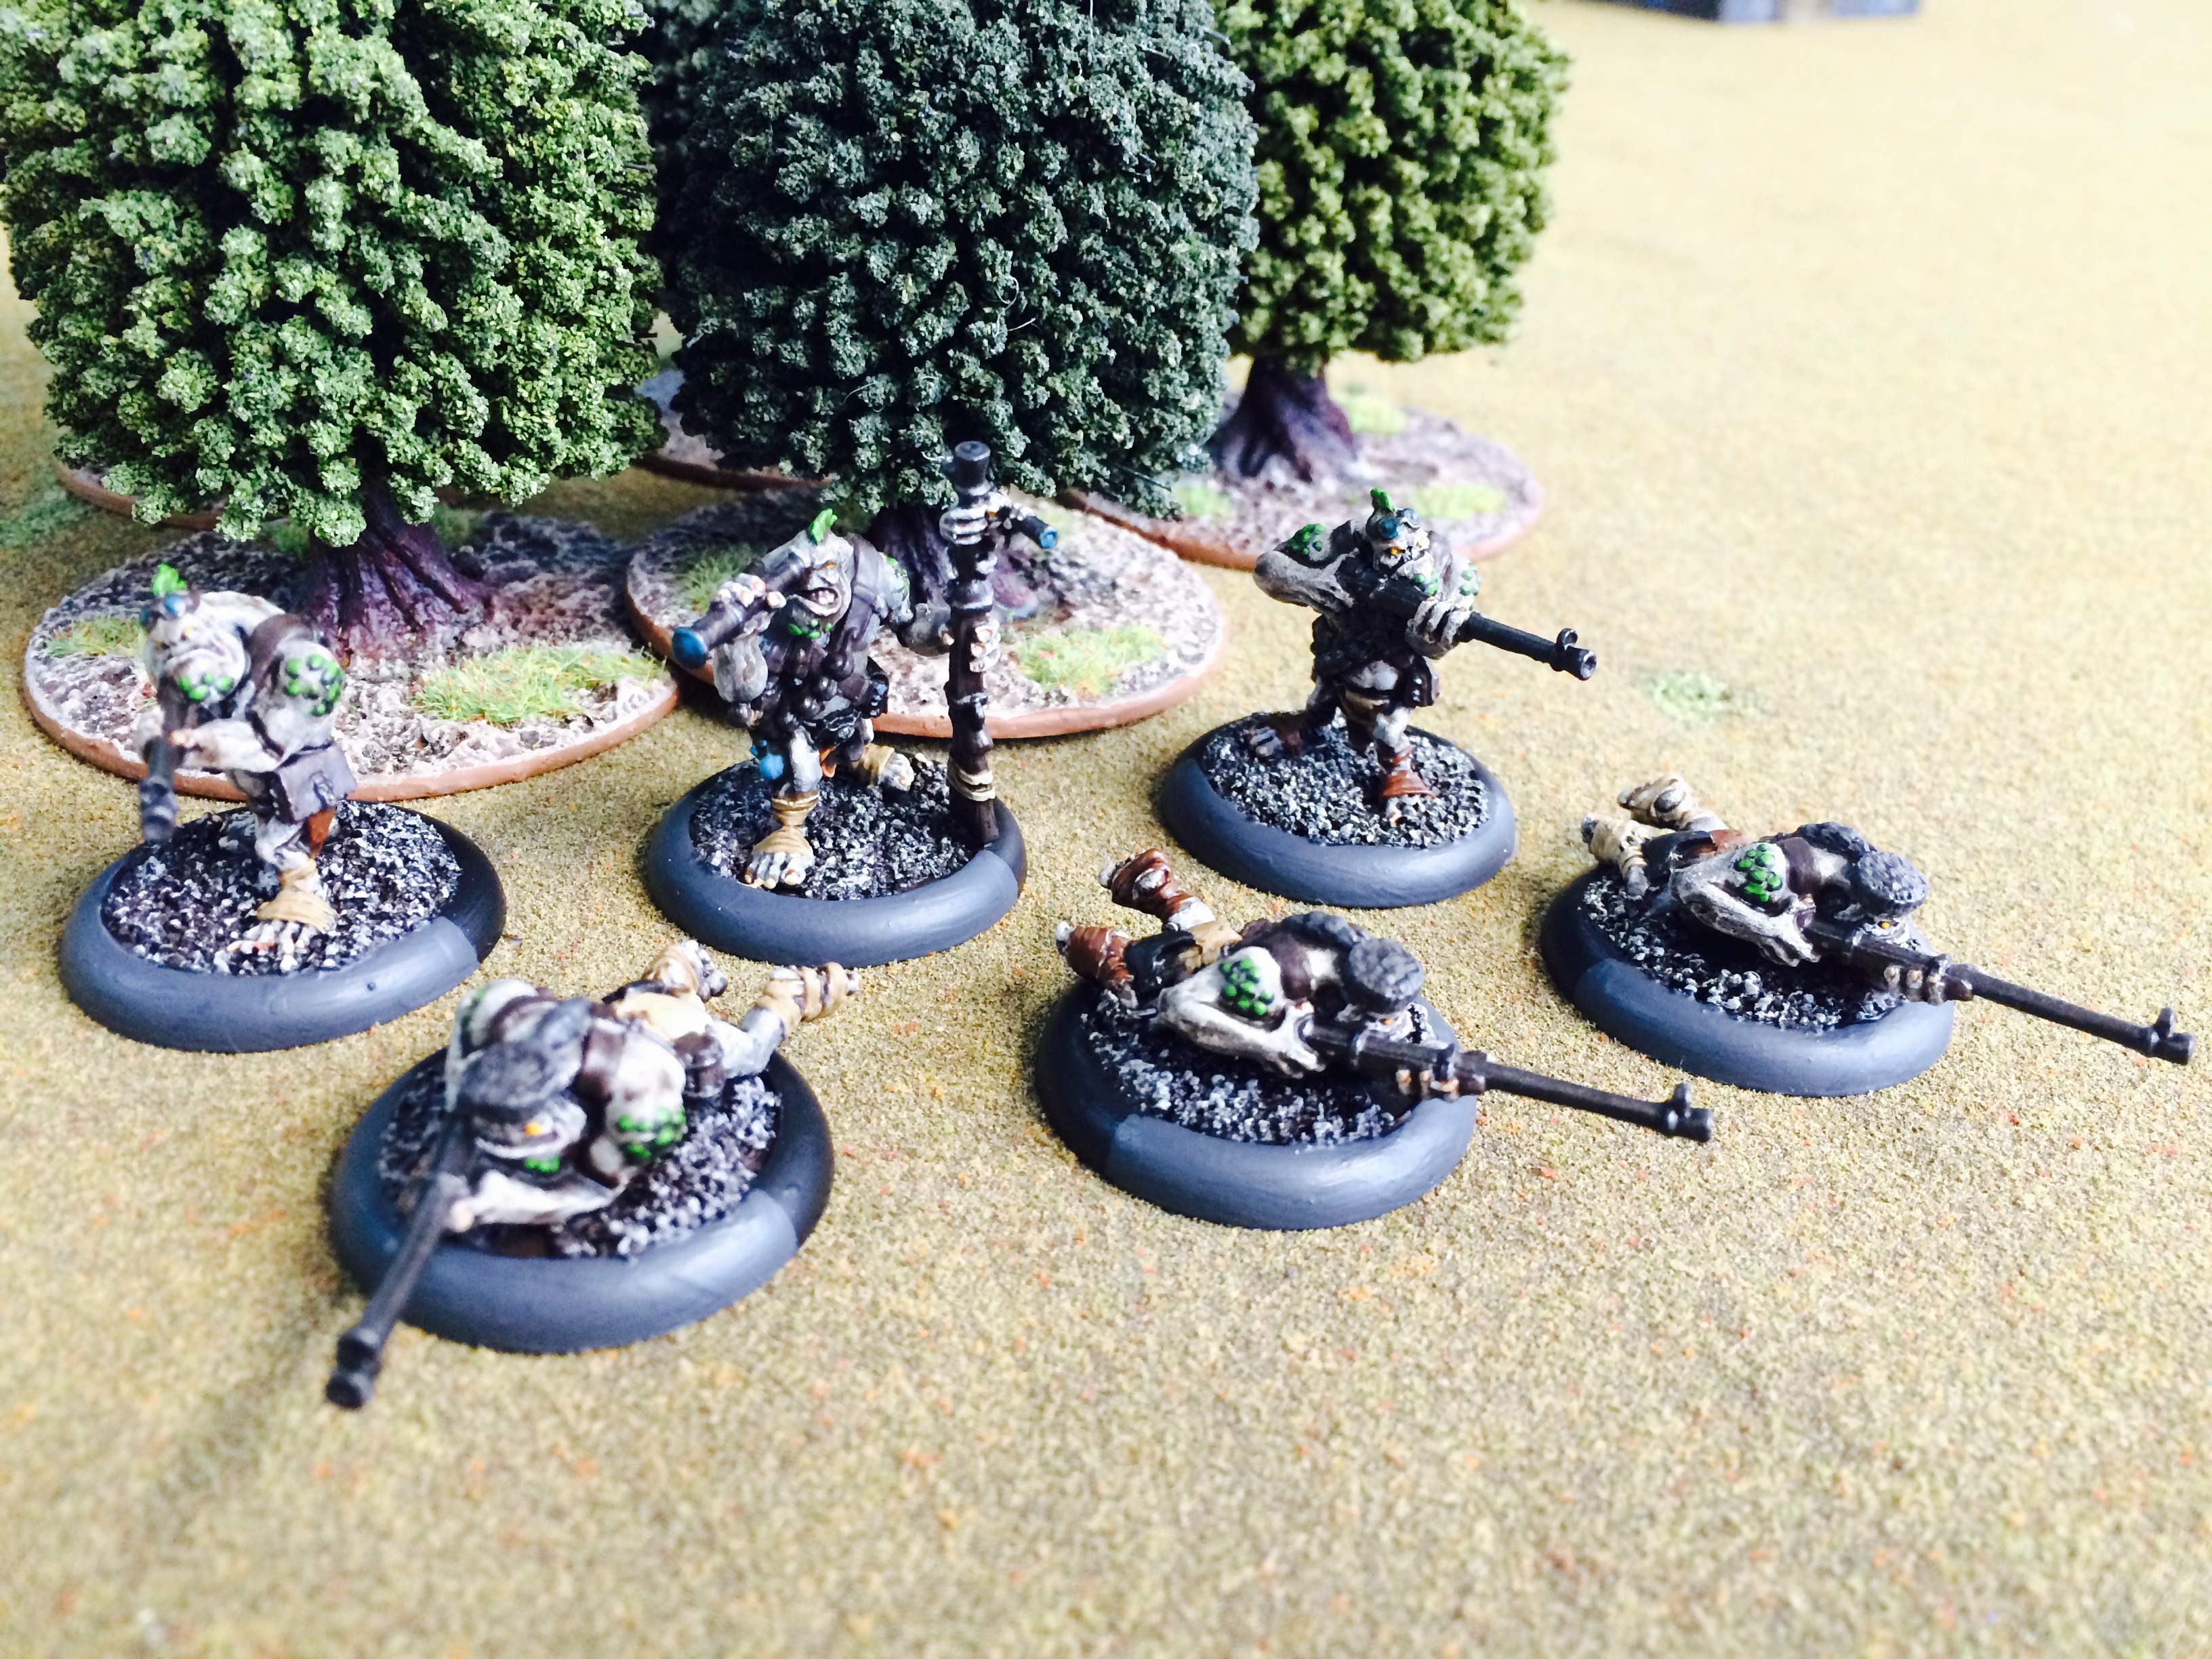 Pyg Bushwhackers add 5 points to my total. I think they turned out really nicely.
  The Skorne Void spirit on the right adds another 2 points. I also added the Heap of Corpses that I created and painted myself as we’re doing some terrain modeling competition as part of the league.
  My Hexeris2 list with the Platoon included. The list is pretty shooty, with the Platoon intended to be a skirmish screen and contest objectives while the shooting core whittles the foe down.
 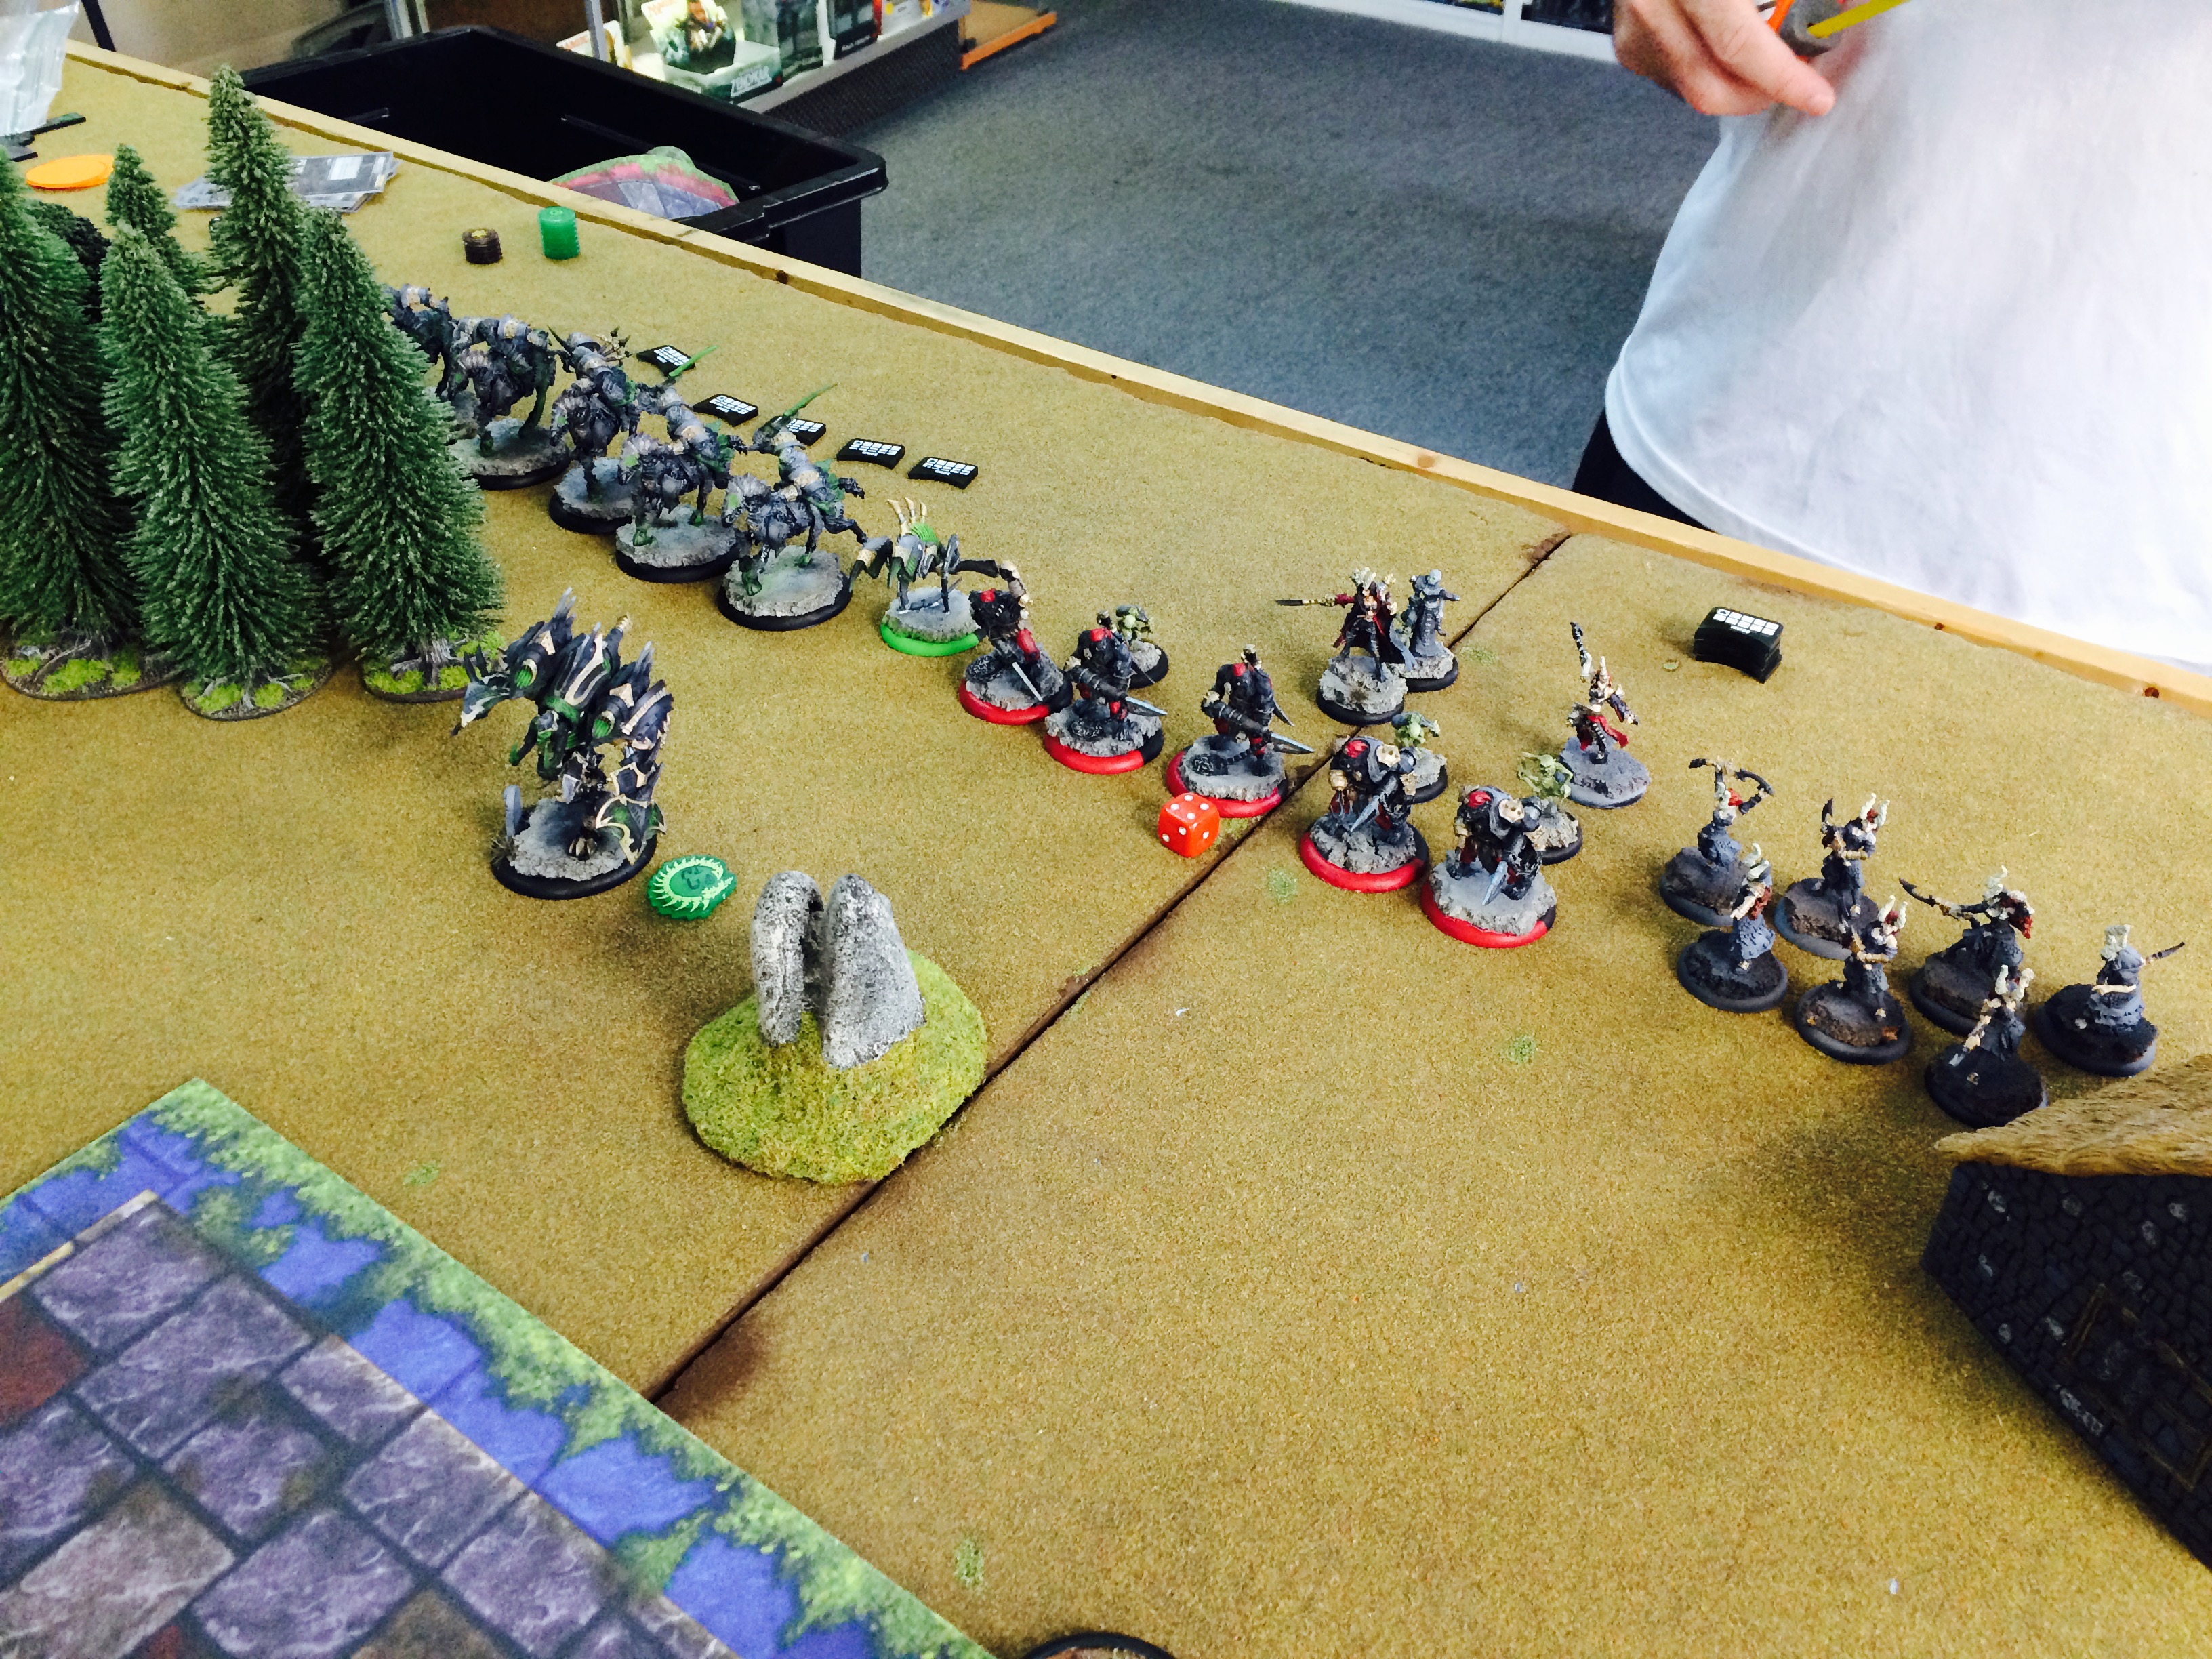 My opponent Ryan’s Cryx. Led by pSkarre and containing the Cryx Platoon, this was going to be a tough fight for my force.
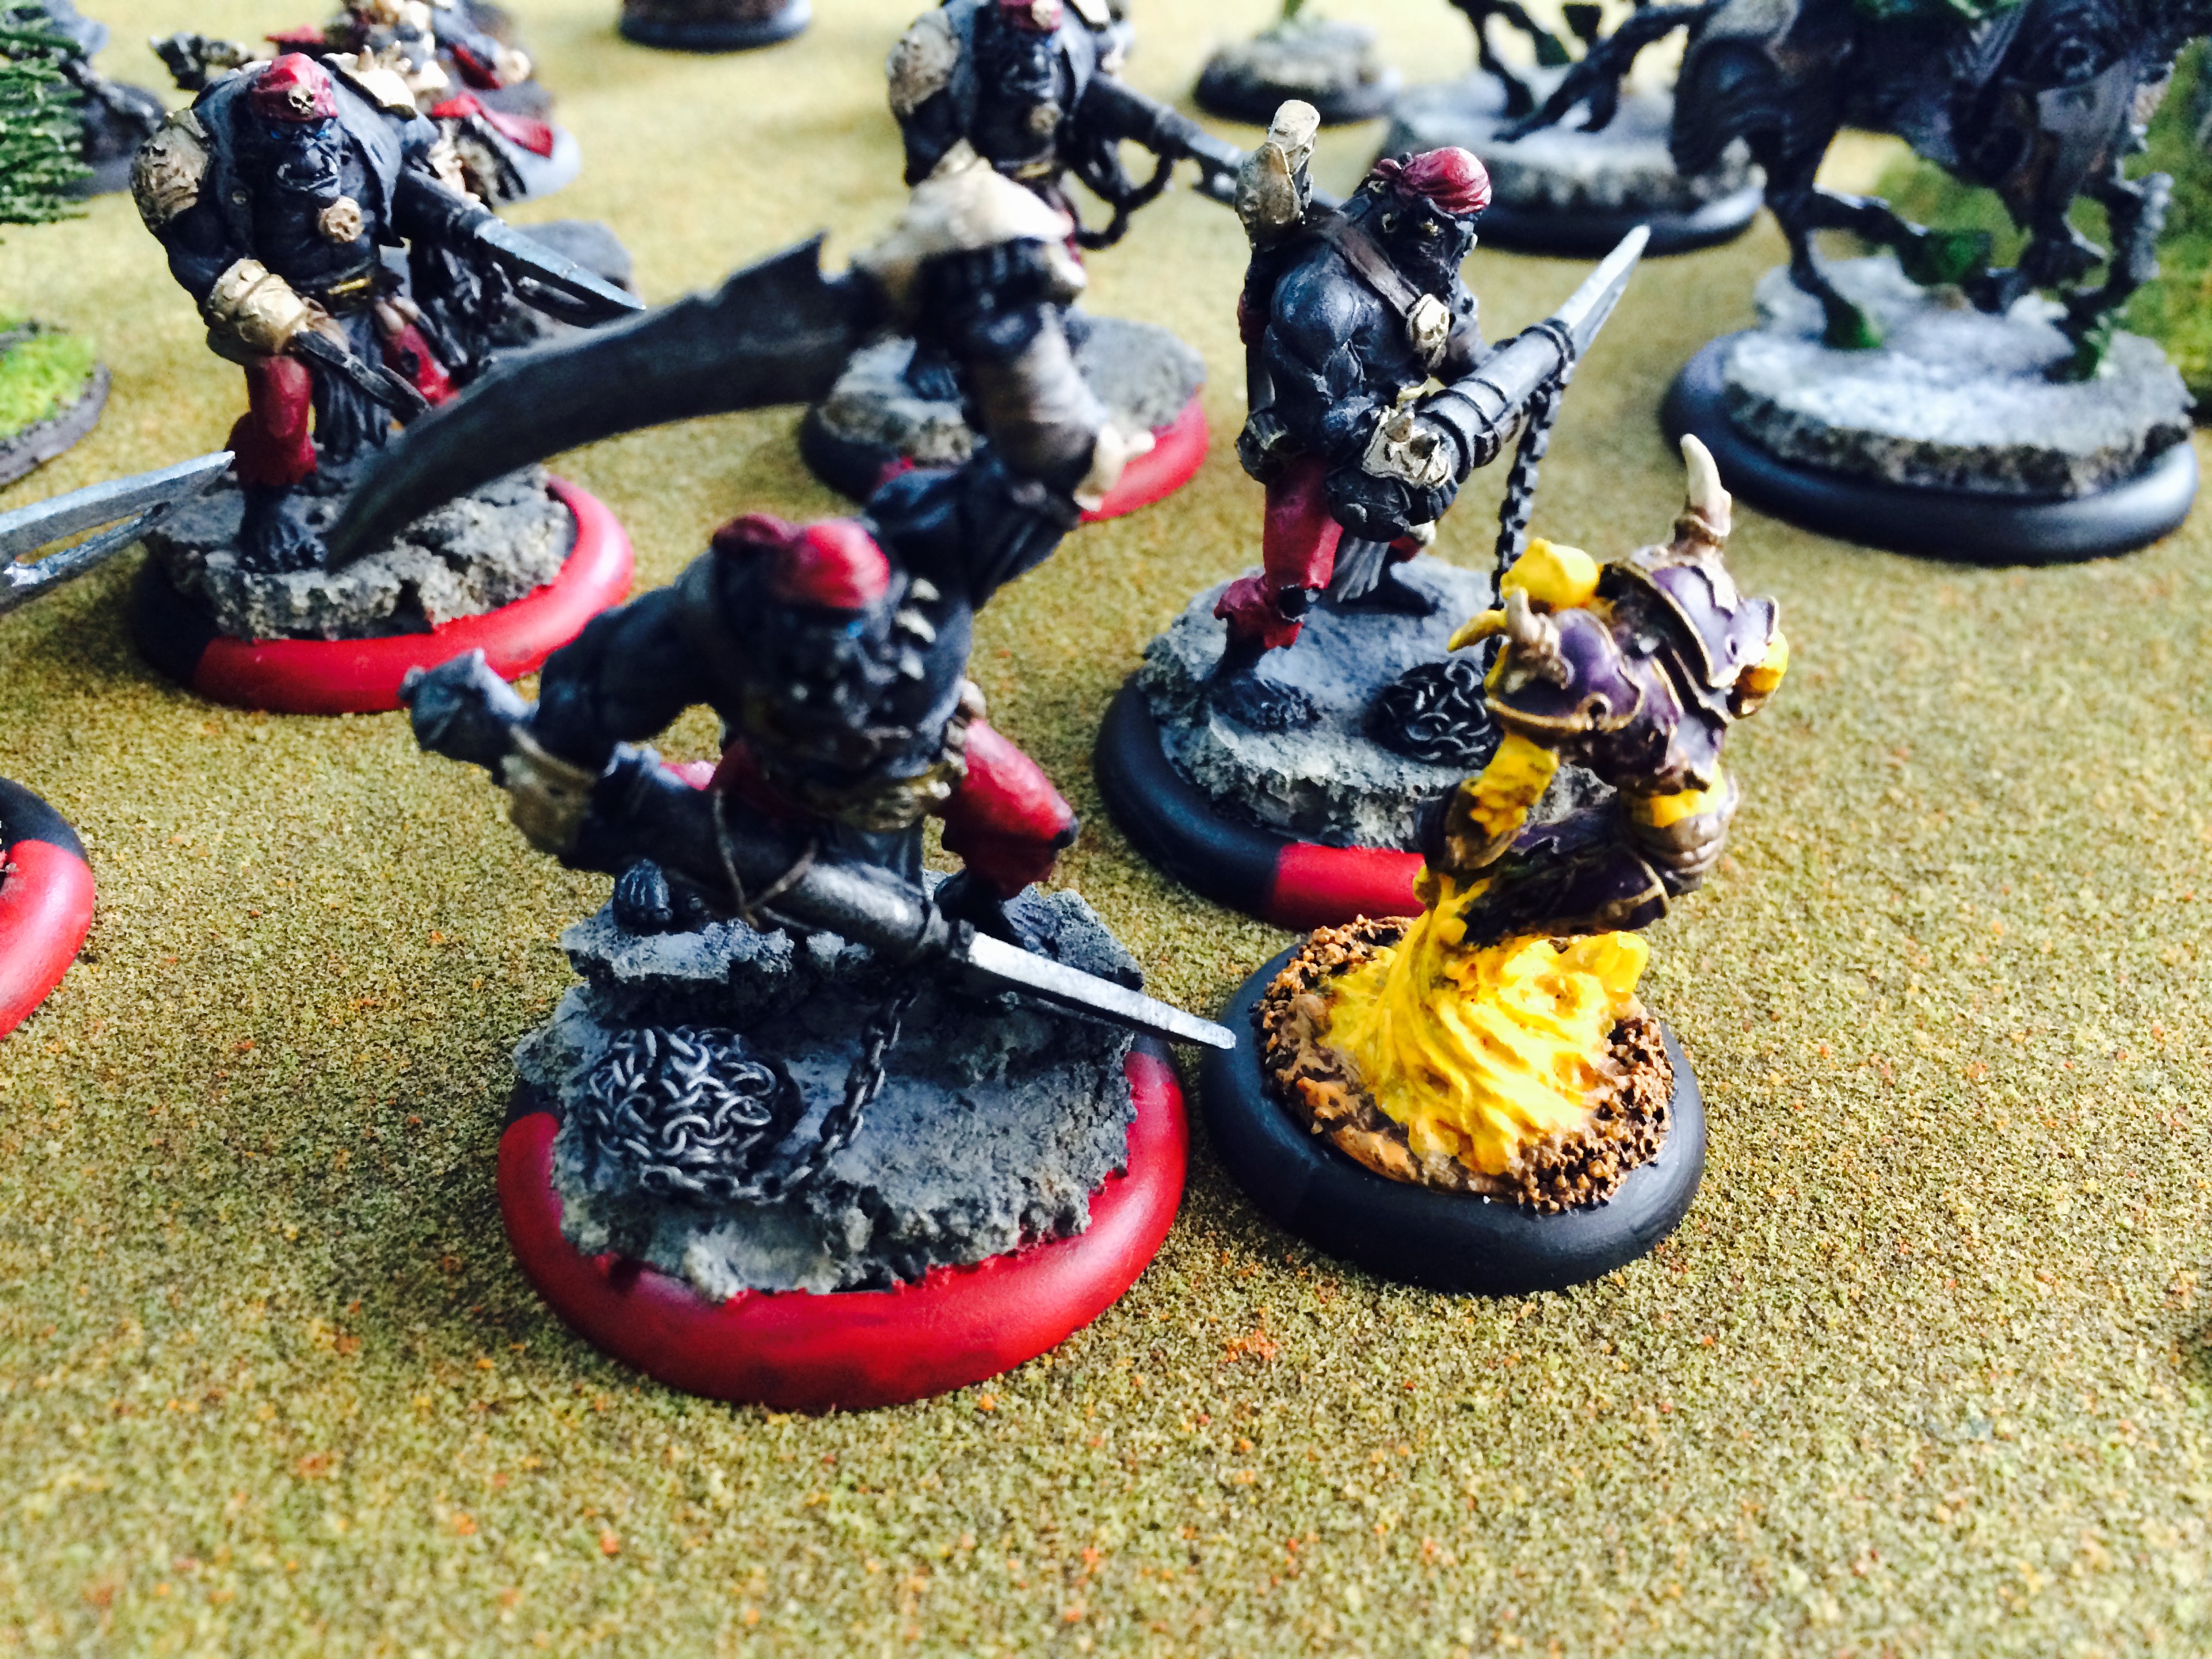 Platoon on Platoon action… the Void Spirit slowed the Black Ogrun crew down, and took a free strike at the last one to leave his range (but missing, of course).
 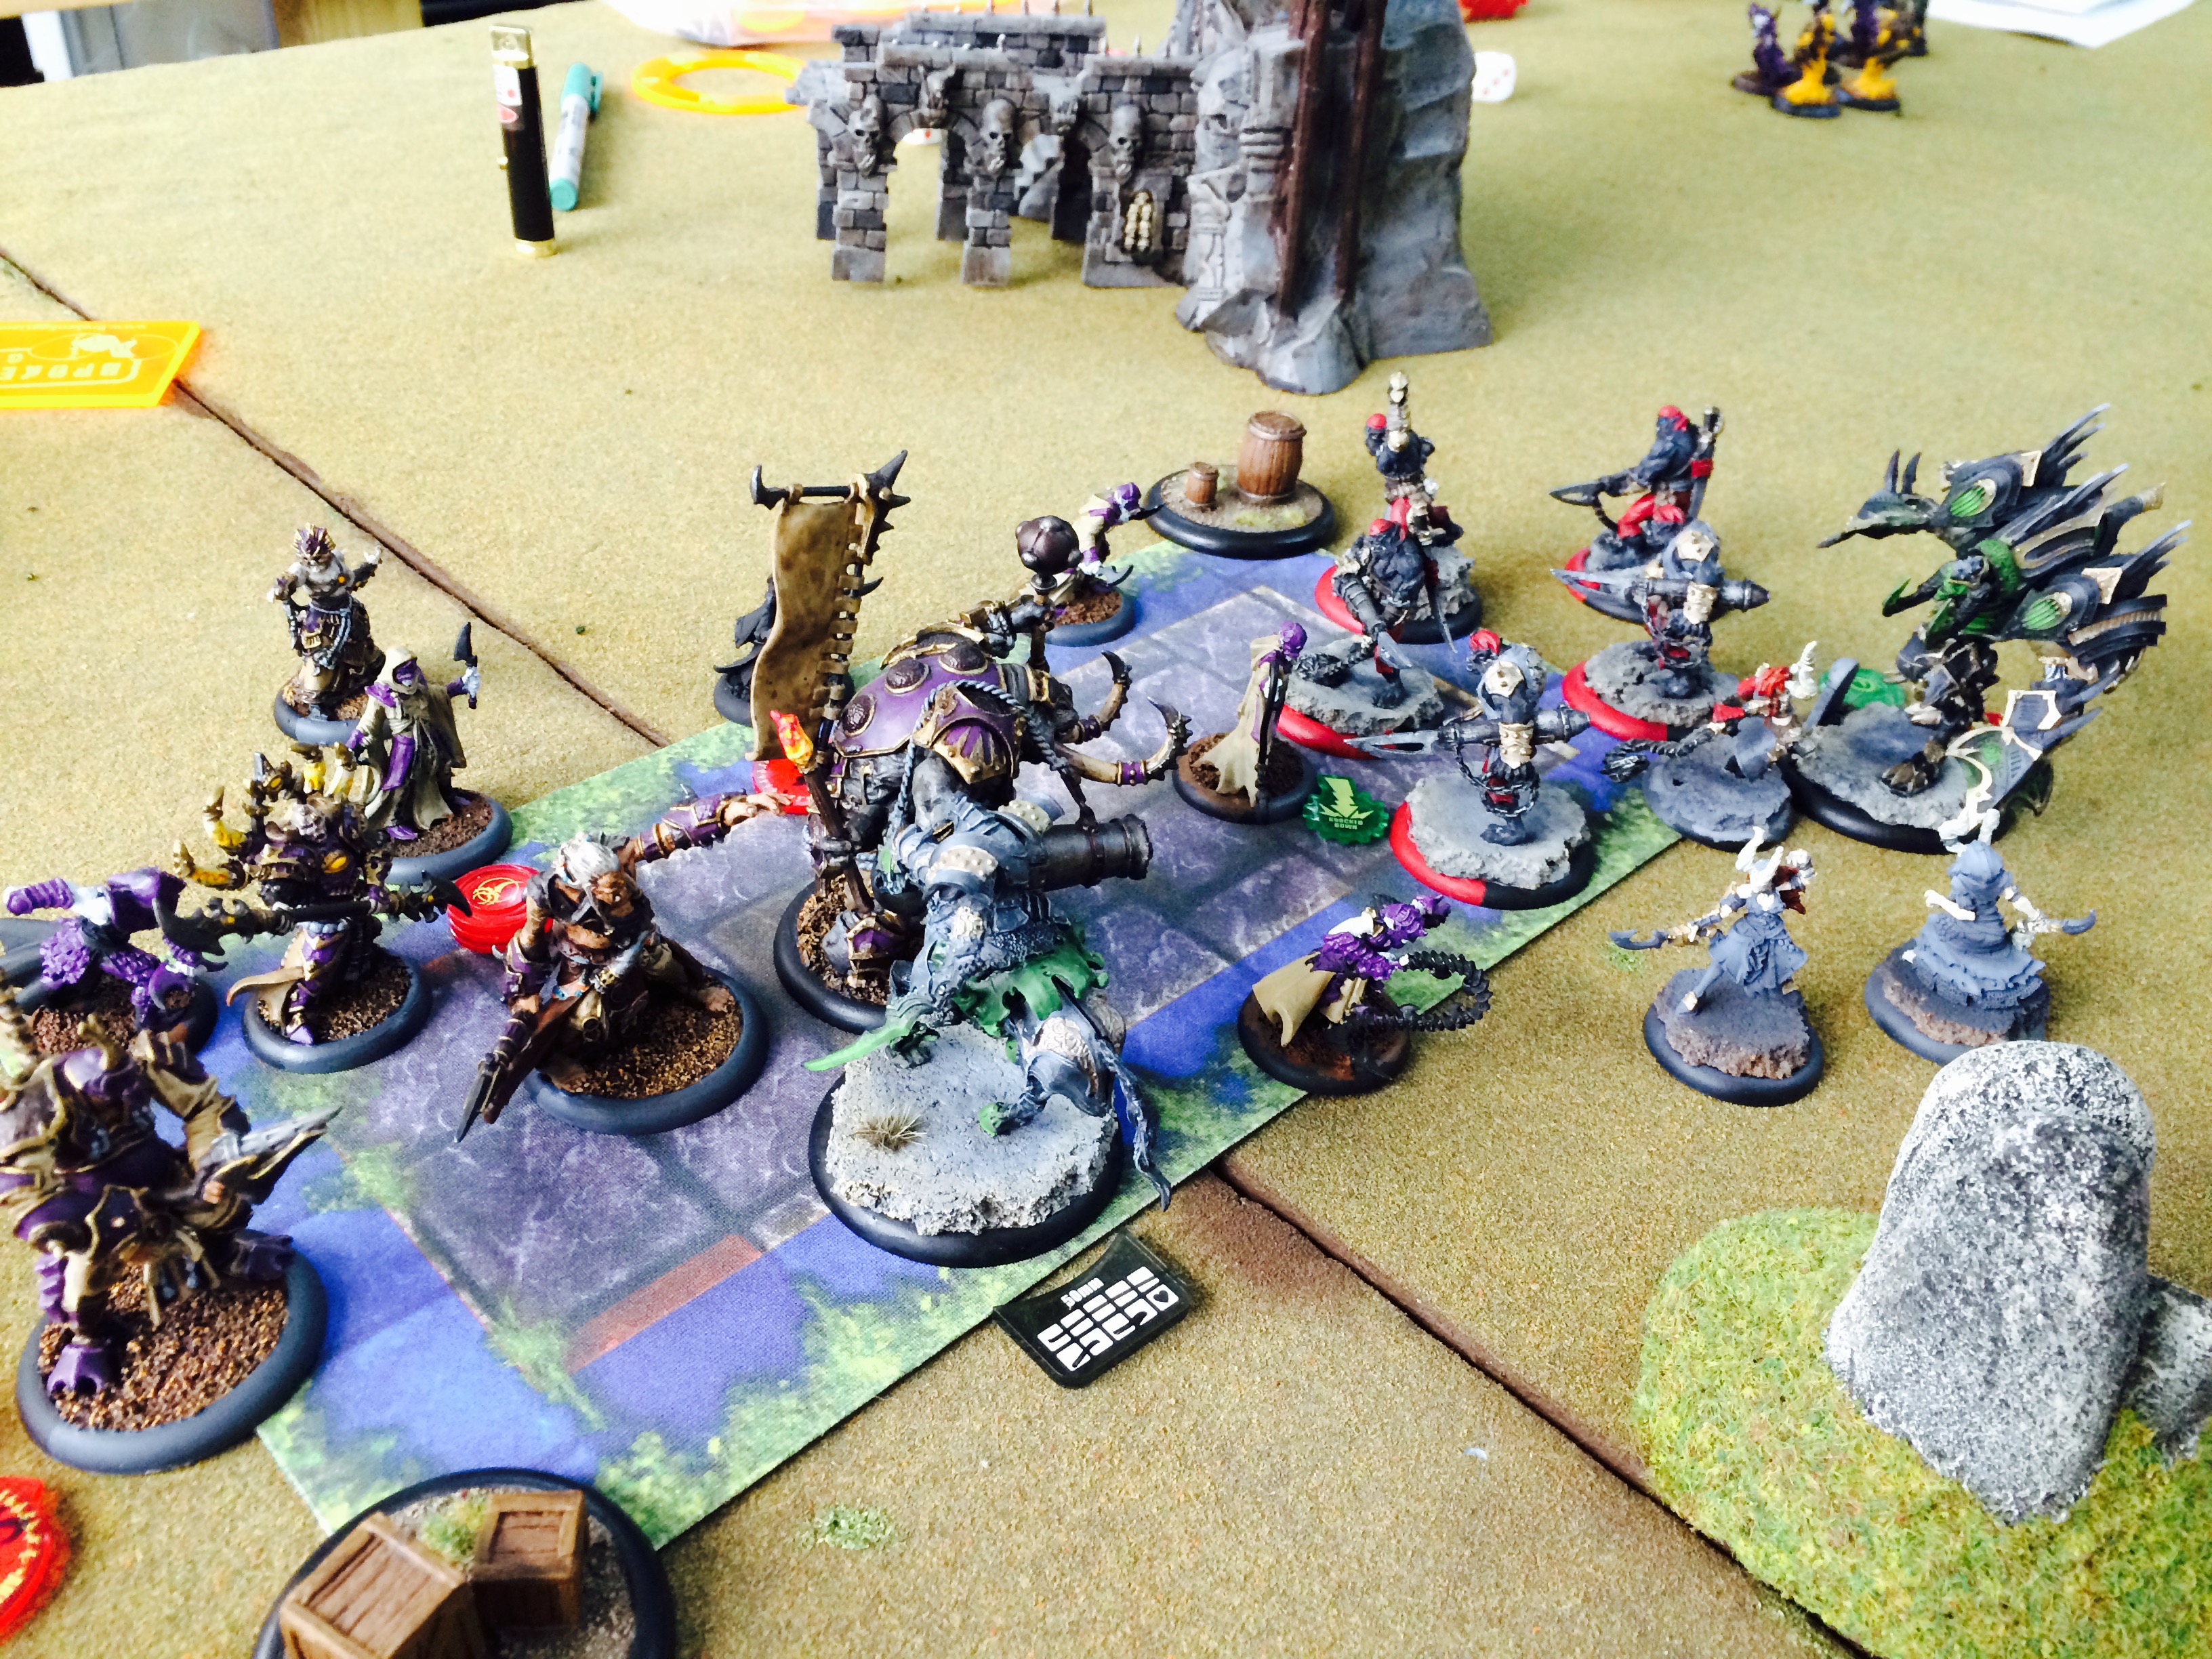 The center was a jammed, overlapping mess. Skarre has a real advantage in a grind situation, so I had to get some quick success or Hexy2 would not be able to finish things.
 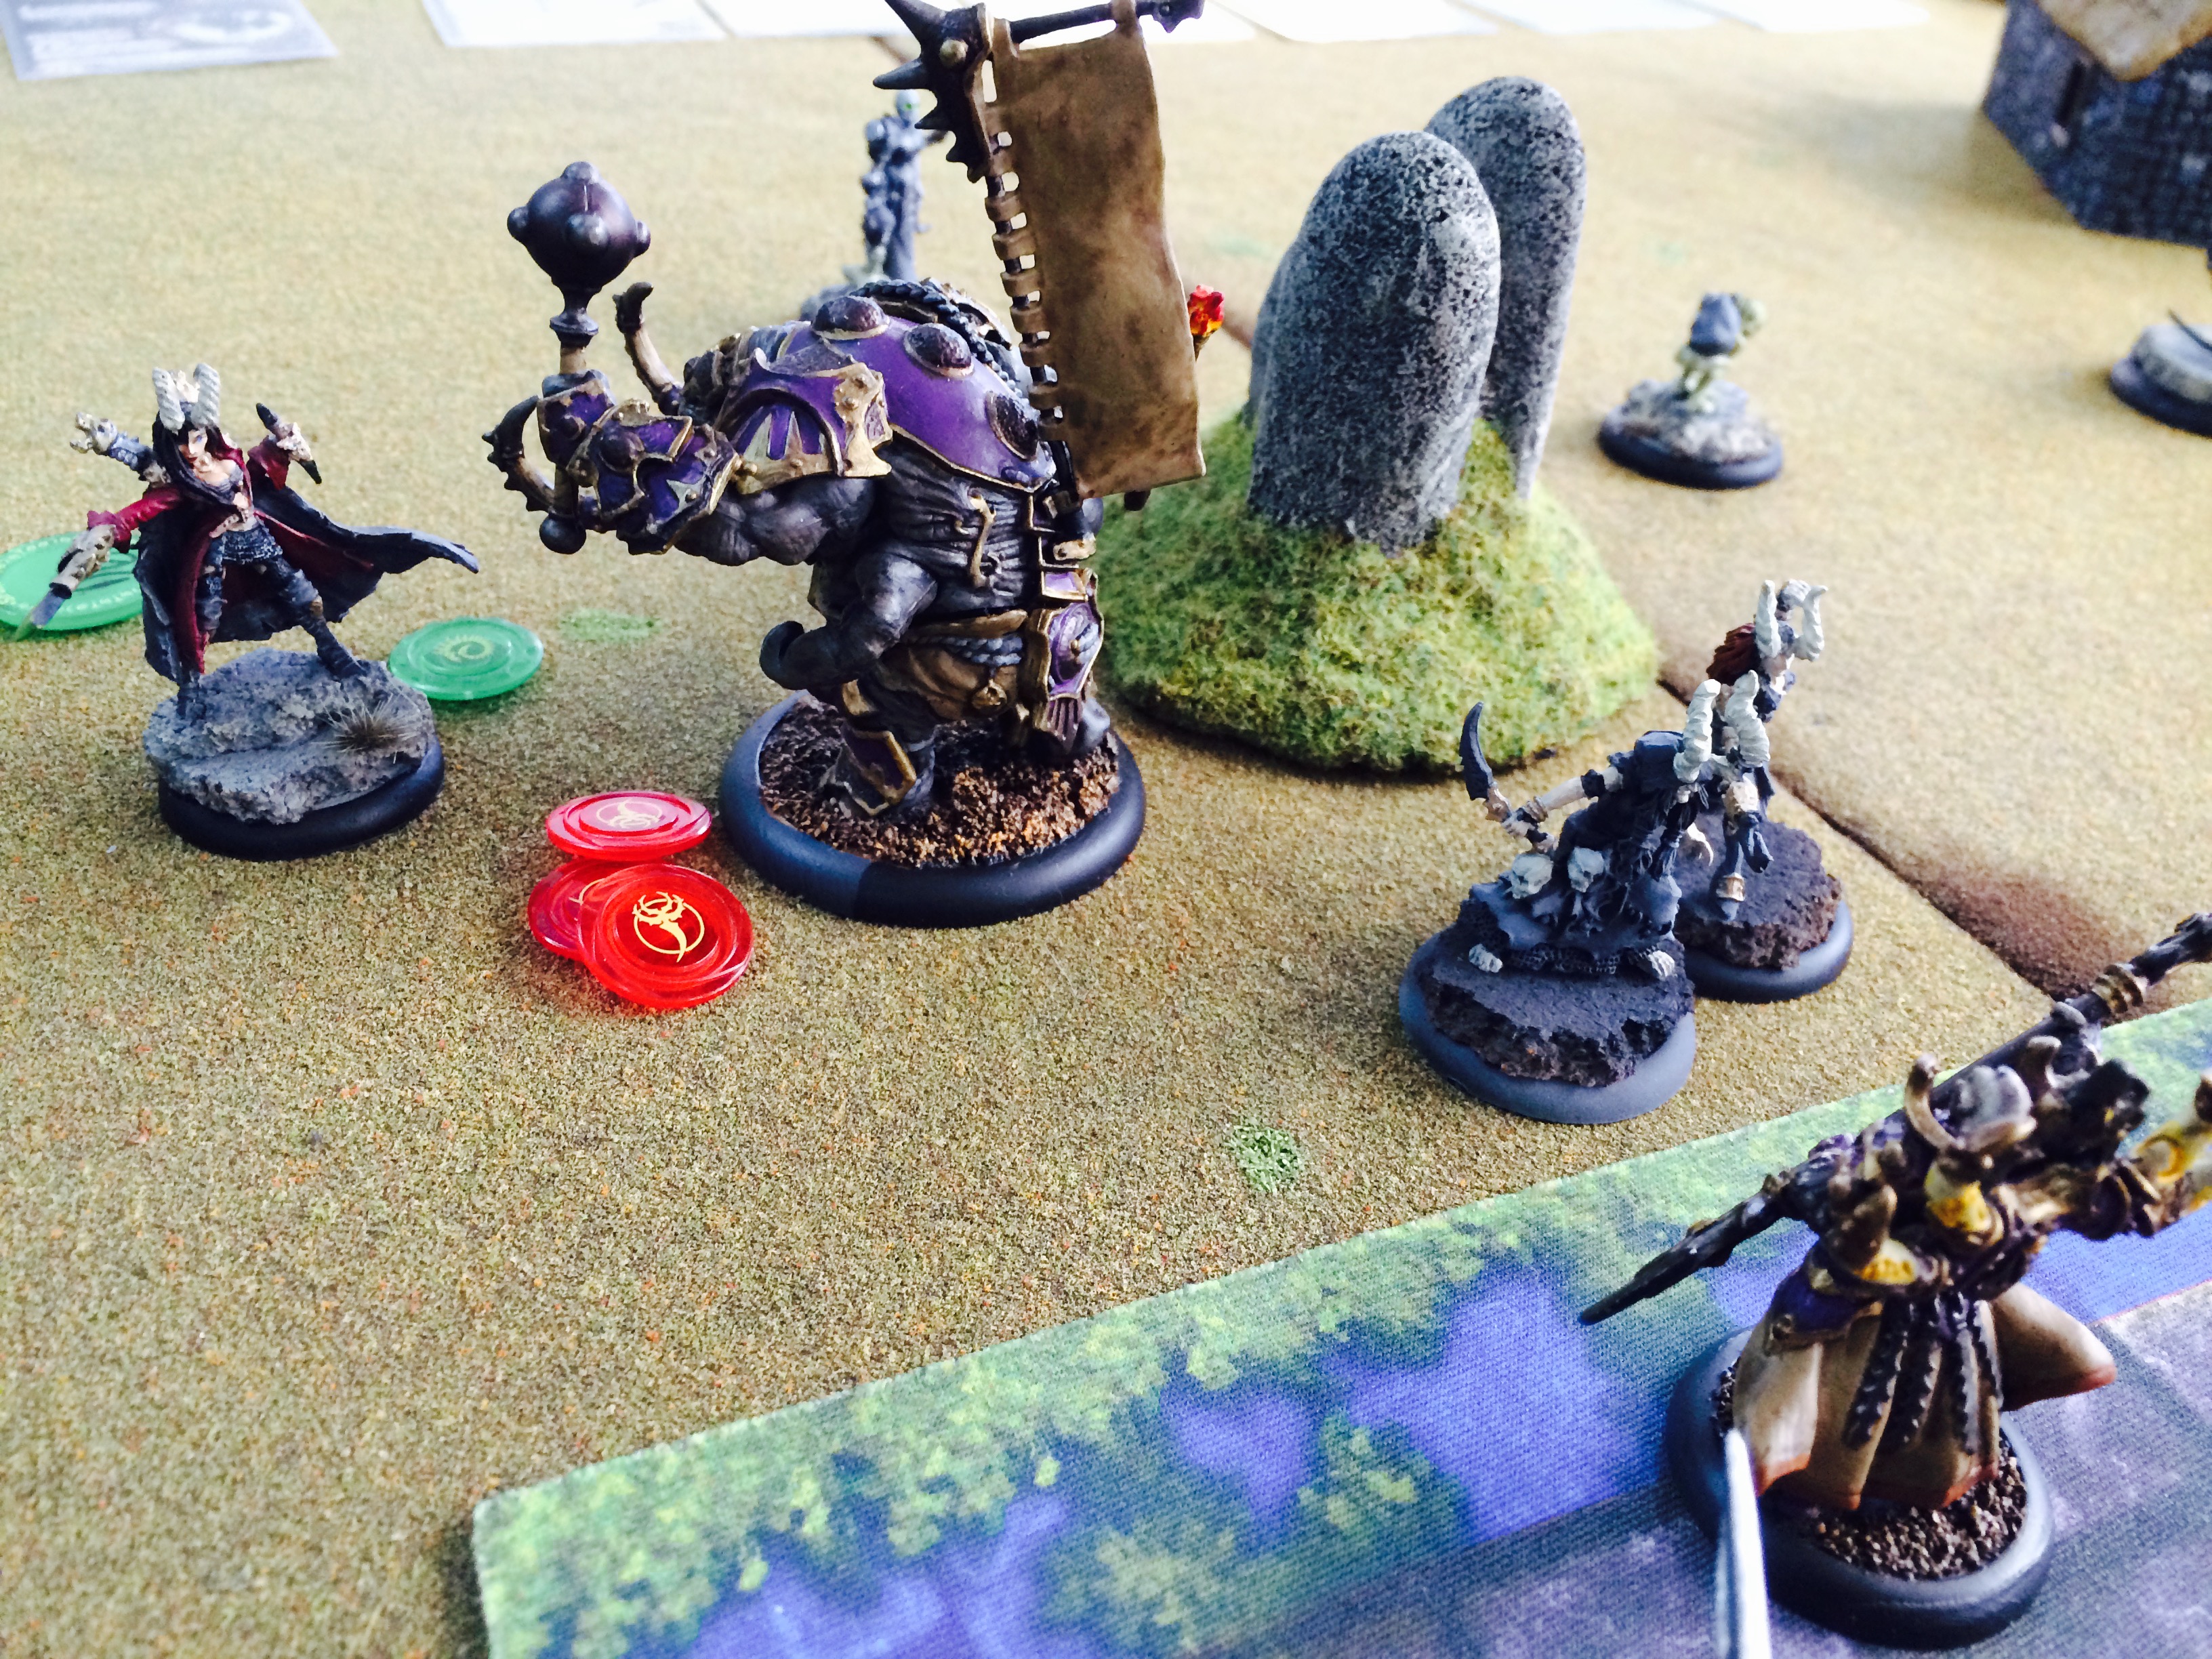 The Cannoneer is normally a shooter, but this time he had to clear the path with his melee ability (and present his back to Hexeris2 as a Ashes to Ashes target should I need an easy defense to hit). Skarre was on only a single Focus point, so Hexeris2 charged and lit into her with his spells (all the more powered by his feat). He cut her down with a final blast of magical force.
  The second game saw my Skorne Platoon defending a safe house that my opponents were trying to get a military officer into. It’s a great little mission that plays well with the small forces.
  Andy’s great-looking Minions Platoon for the league were my opponents.
  The clash with the Croaks was just too much for my forces in this scenario. I had a couple of shining moments where the granted Poltergeist ability for the Platoon made for good protection, ultimately I wasn’t able to seal down enough space nor able to reach out and take out the Military Officer.
 This brings me to 37 points painted this far in 2016. I’m a 10th of the way to having painted a point per day! I did him in the colors I’m doing the rest of my Cryx in, as he’s likely to only ever hit the table alongside my Cryx force.
 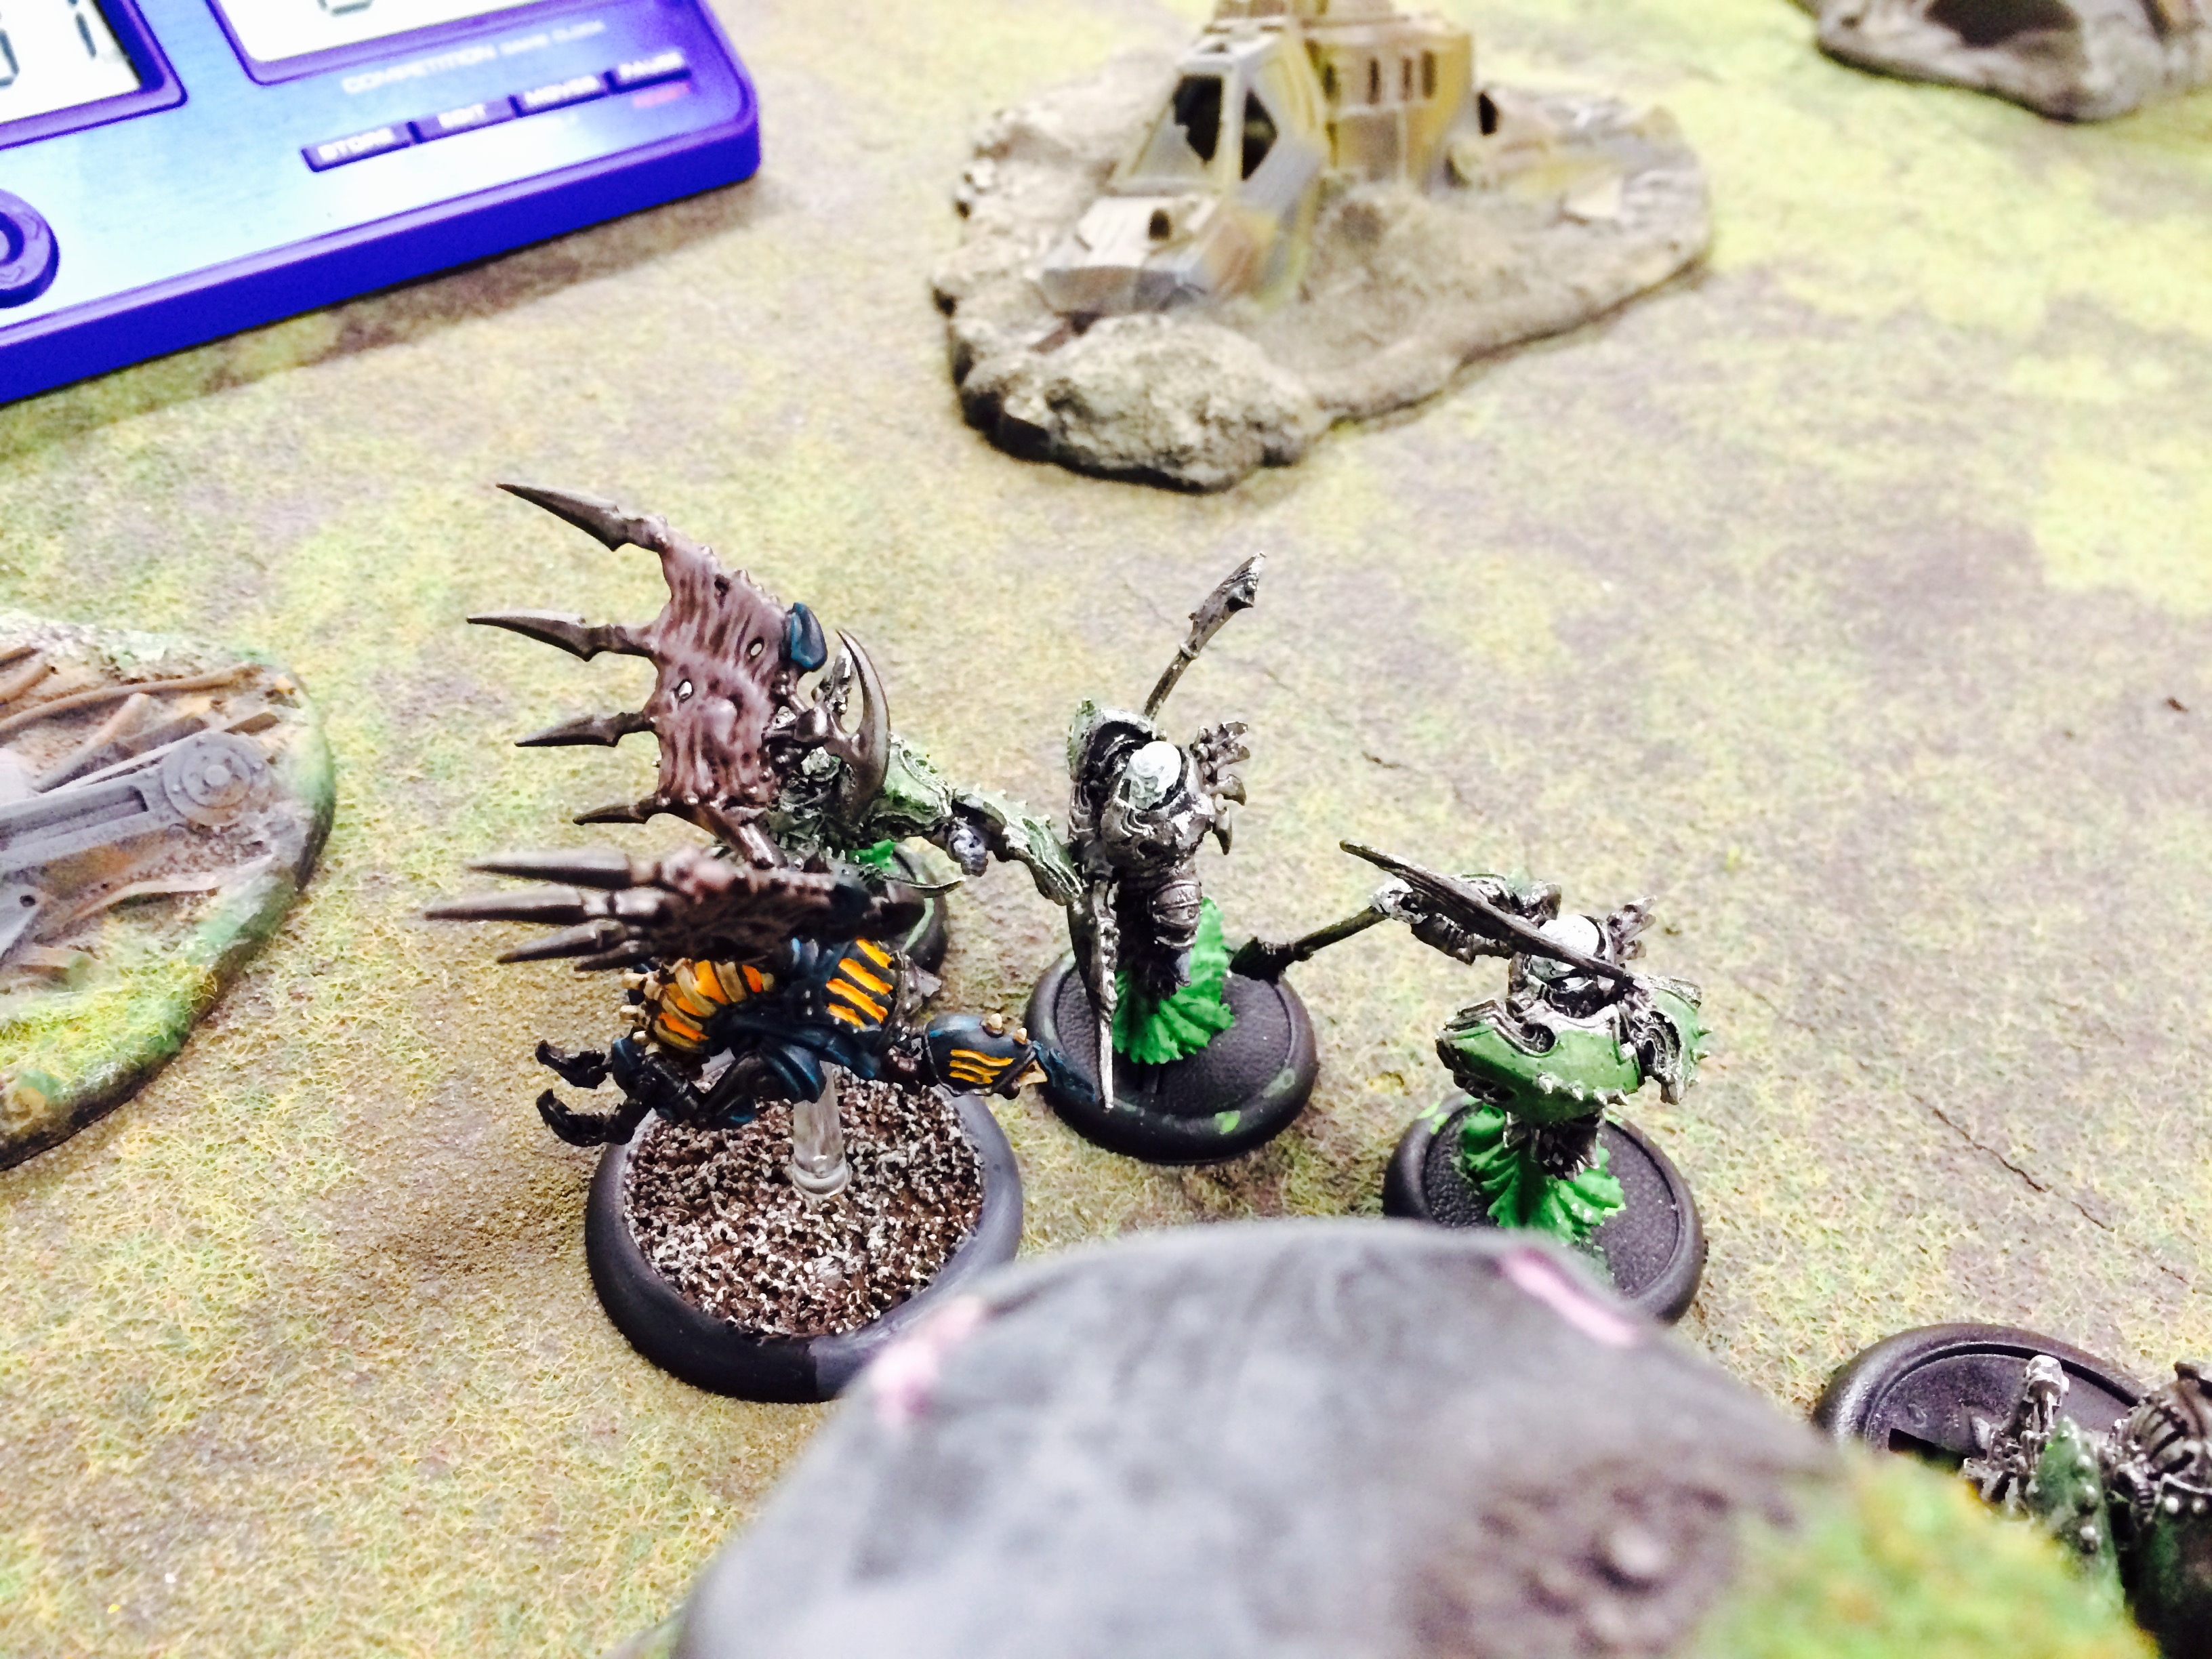 First up was a pretty balanced Skarre list run by Ian. My Shrike actually did a pretty impressive job in this game. I got jammed by a group of Satyxis Raiders early, so to make sure I could contest I had to use Goreshade3’s feat on the top of turn two. The good news was, that meant the Shrike auto-hit on a long line of tramples and he soared a whopping 13 inches (thanks to Infernal Machine) and obliterated one half of the jammers in a literal fell swoop. The rest of the game he spent dodging attacks from the Bane Knights thanks to his high defense, until one finally tagged him and destroyed the little birdjack.
 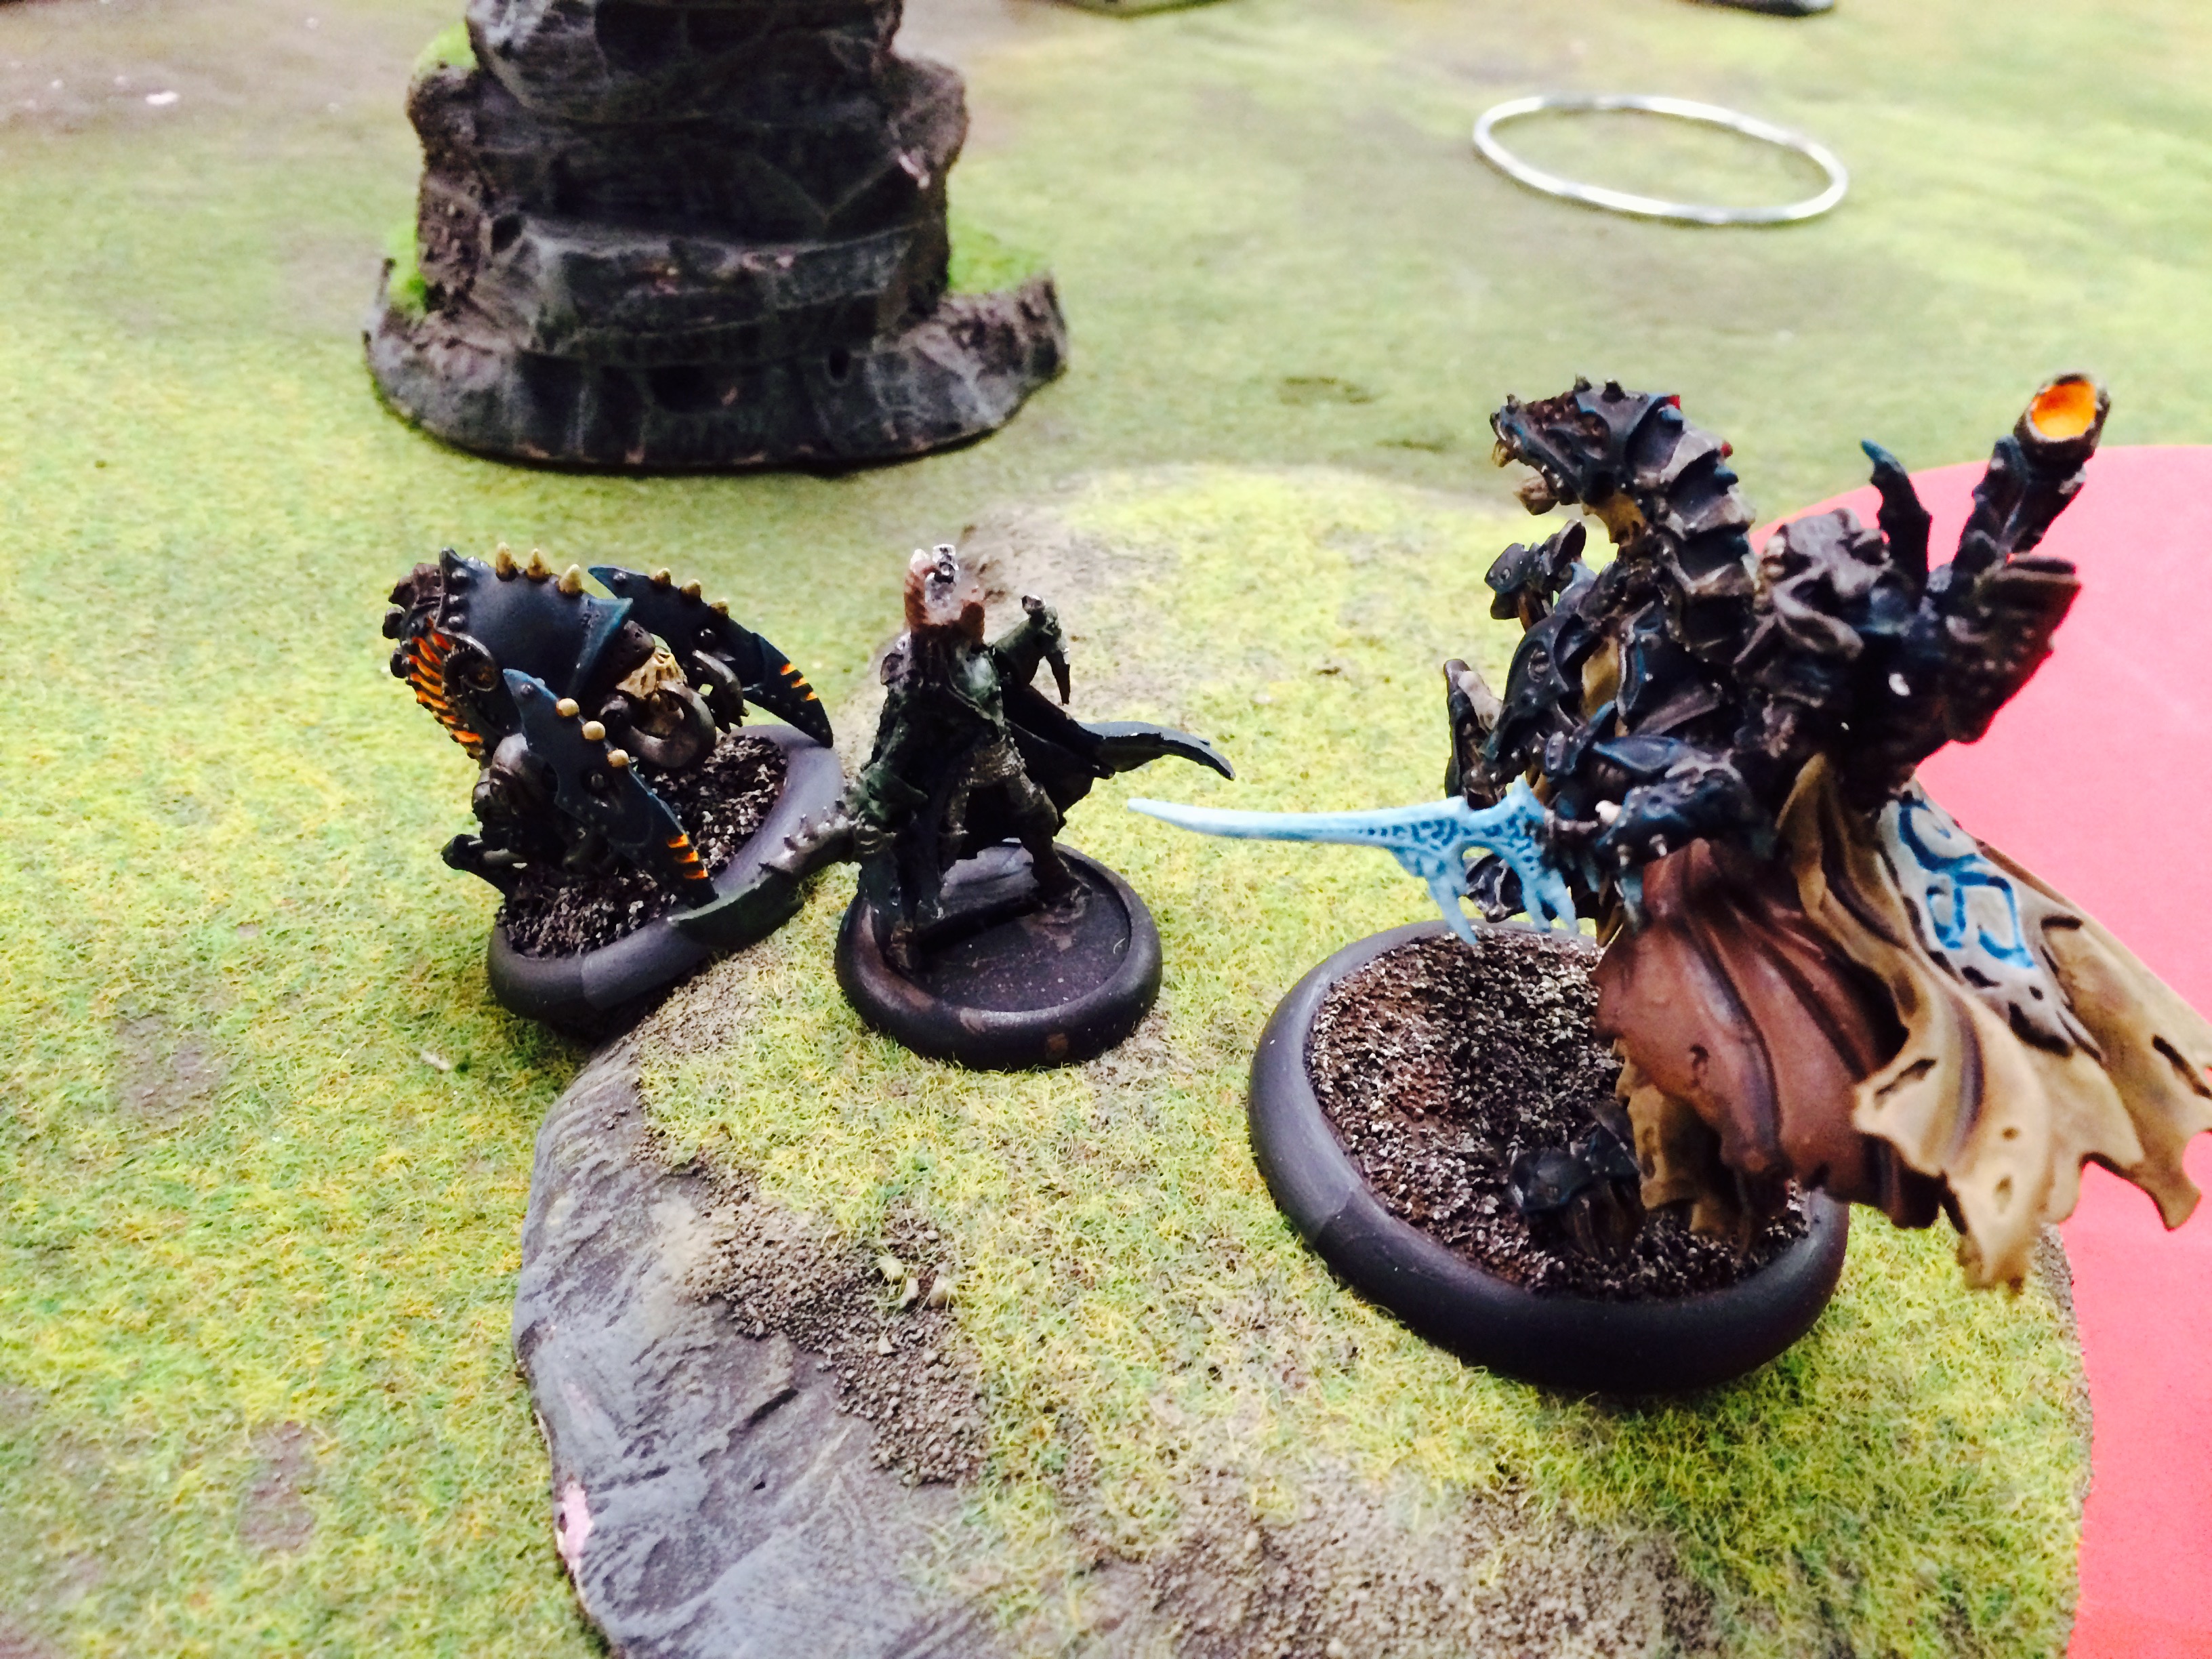 Skarre’s alpha strike really hurt, especially the Soulhunters simply annihilating my Revenant Crew. However Goreshade3 was able to rush back and apply some scenario pressure, dominating the zone and getting some points for me while my opponent never quite cleared their zone. It meant that Skarre needed to go for the assassination, but it didn’t quite take. Goreshade was left in range of Skarre with a Helldiver behind her: the little jack surfaced, headbutted her to the ground, and Goreshade3 finished her with a charge.
  Round Two I faced Cryx again. This time I was facing Ryan, who dropped his Goreshade3 versus mine. Our lists were pretty different except for Mechanithrals and Bile Thralls, and Ryan got the first turn–which proved to be pretty decisive. He played his Bile Thralls up, charged and destroyed some with Goreshade3, then used Mockery of Life to get them placed even further up the field. A variation I should have done to him if I had gone first–but instead I had to play a bit defensively and creep around the sides.
  My Goreshade3 played up to the objective between two forests, recognizing that if I was going to do anything I’d need to increase the scenario pressure a bit.
 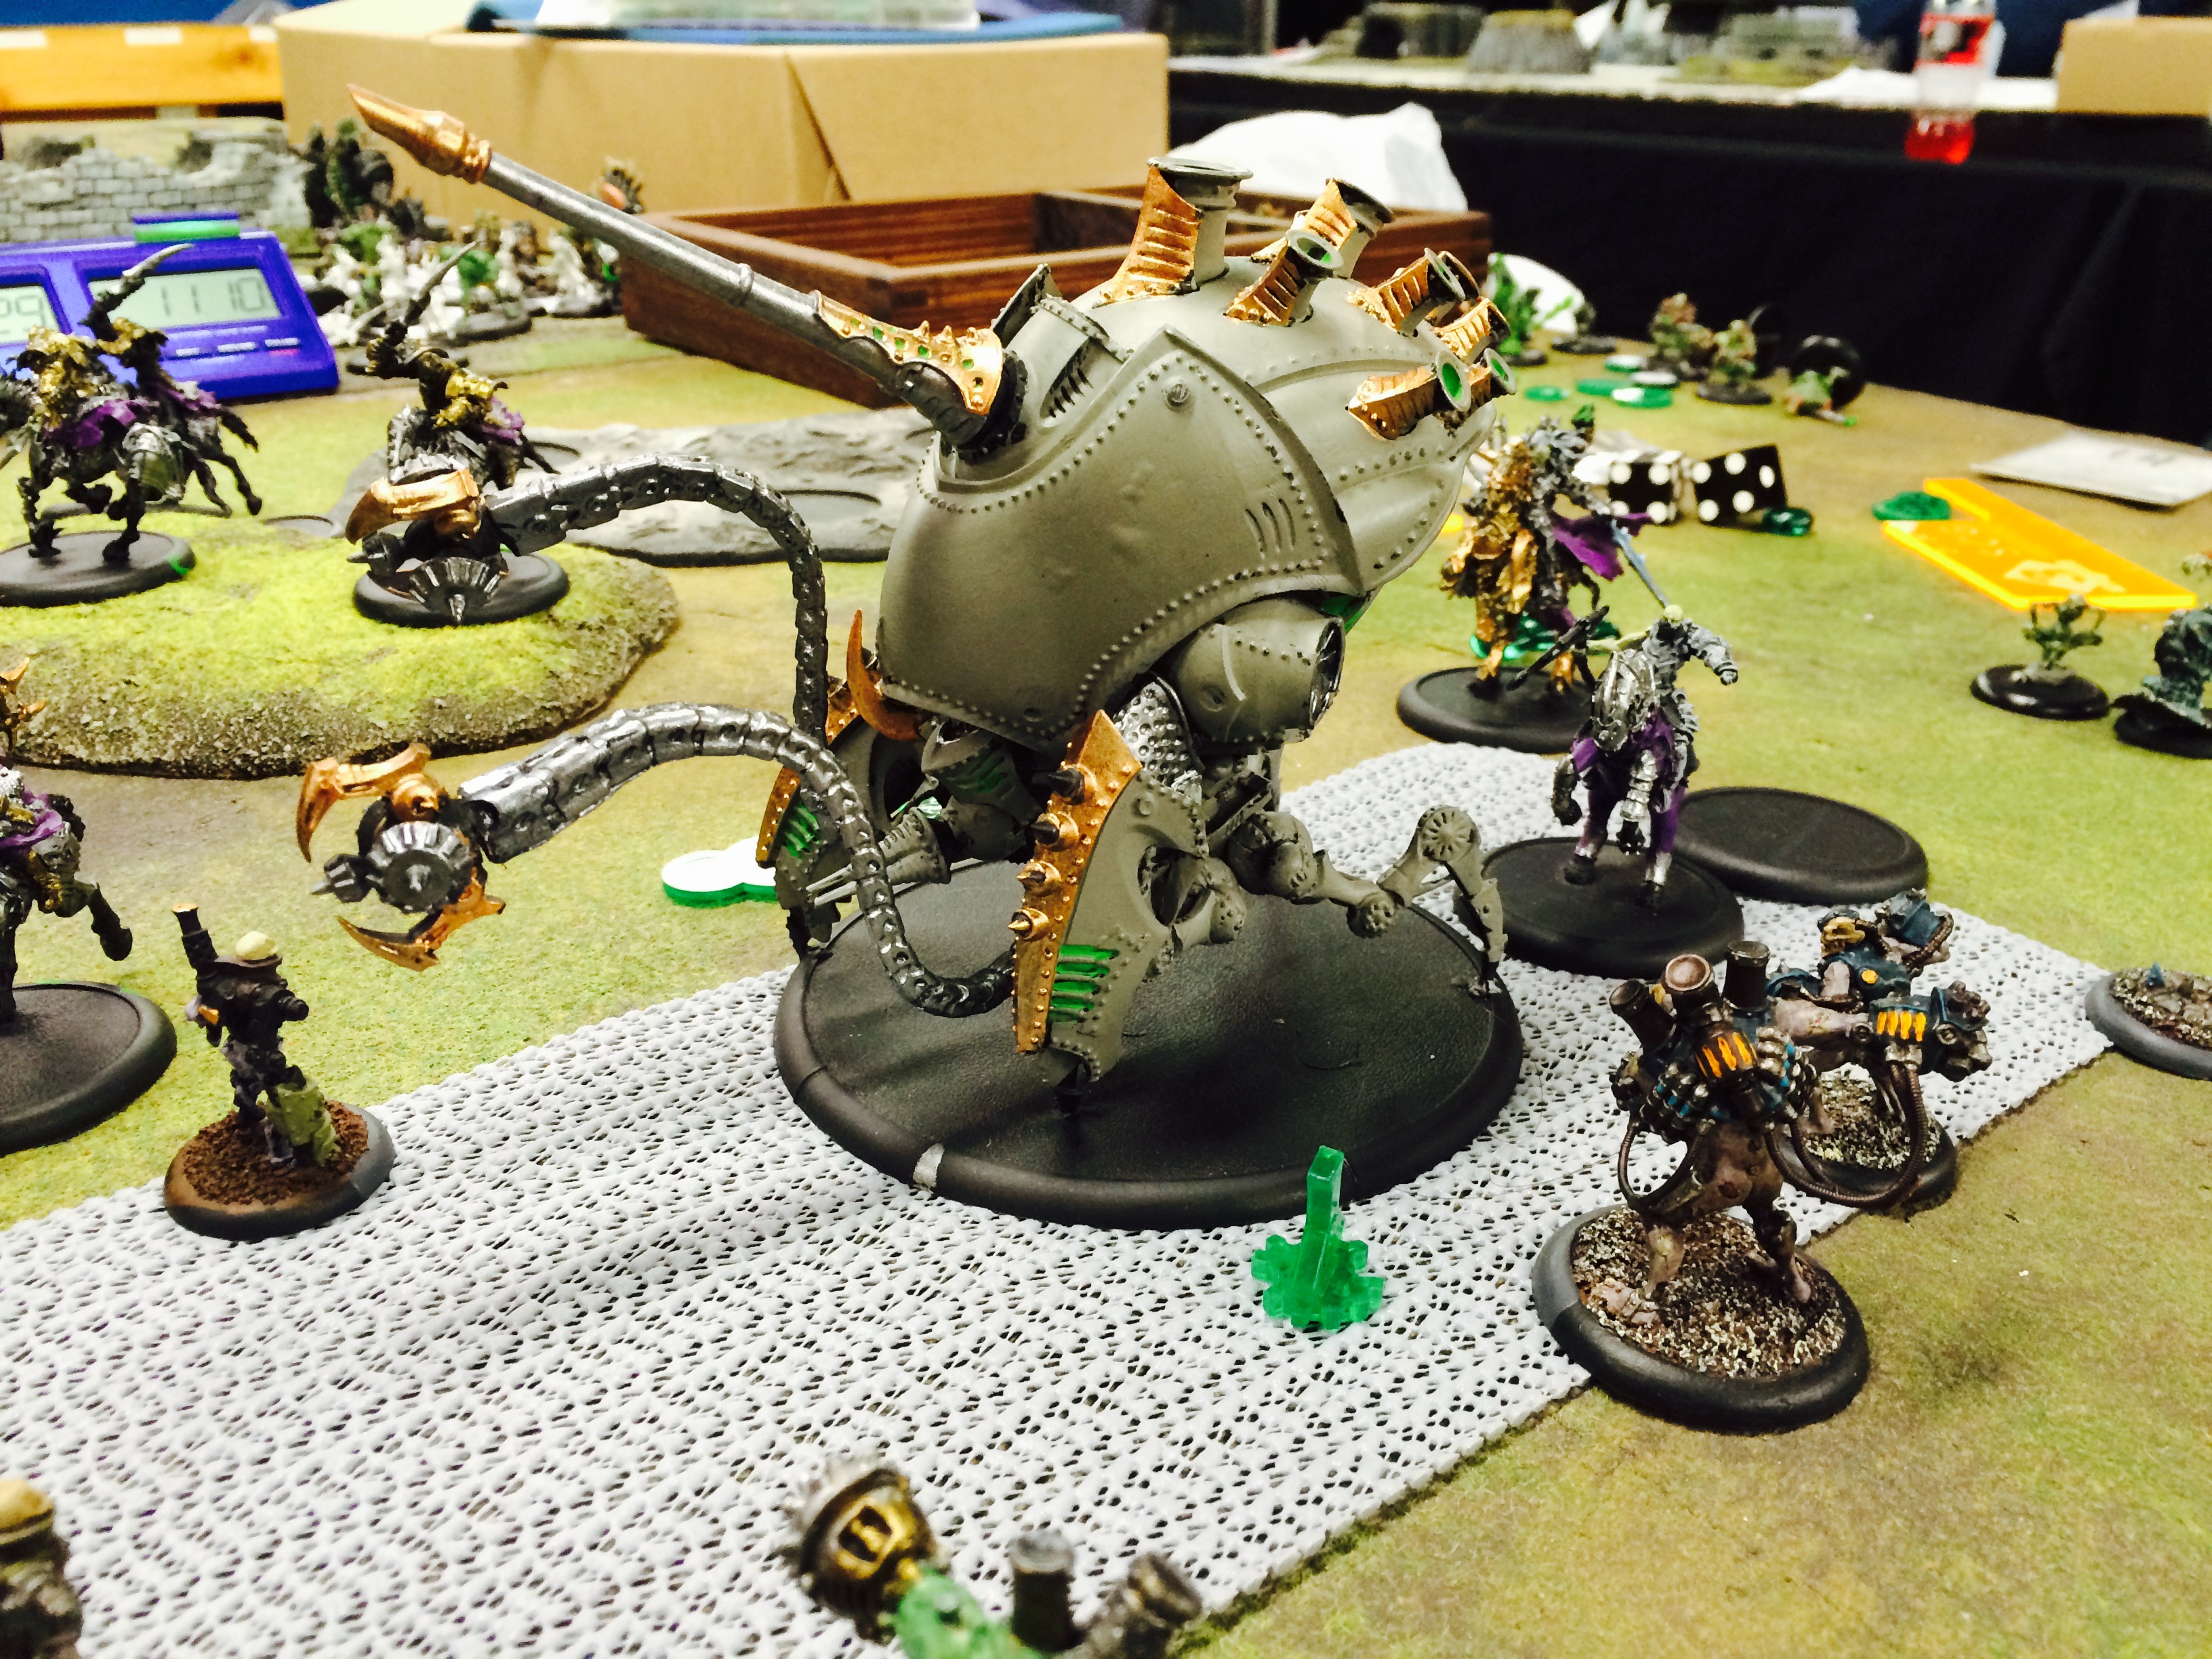 The problem was that I had to keep flooding the middle to keep him from scoring, and the Kraken and Bane Riders kept him well ahead of the curve. I kept the pressure up as much as I could, but once he got my objective dead and dominated the center for a round, it was all over but the taxes for most part. I crowded the zone once more, but his Kraken did its thing and I was too little too late. Still a fun game, as Ryan is always a great opponent who I learn a lot from when I play (he went on to win first place in the event).
  My third round match was against Justin’s gorgeously painted Khador force. Just look at that Behemoth. He fielded Vlad, which meant that my forces would have to sell themselves dearly–whenever he attacked me he was sure to hit and damage because of the added dice. I started my pressure early with the Mechanithralls and Revenant Crew, and while they did indeed die in droves they at least took some stuff with them–in particular heavily damaging the Behemoth.
 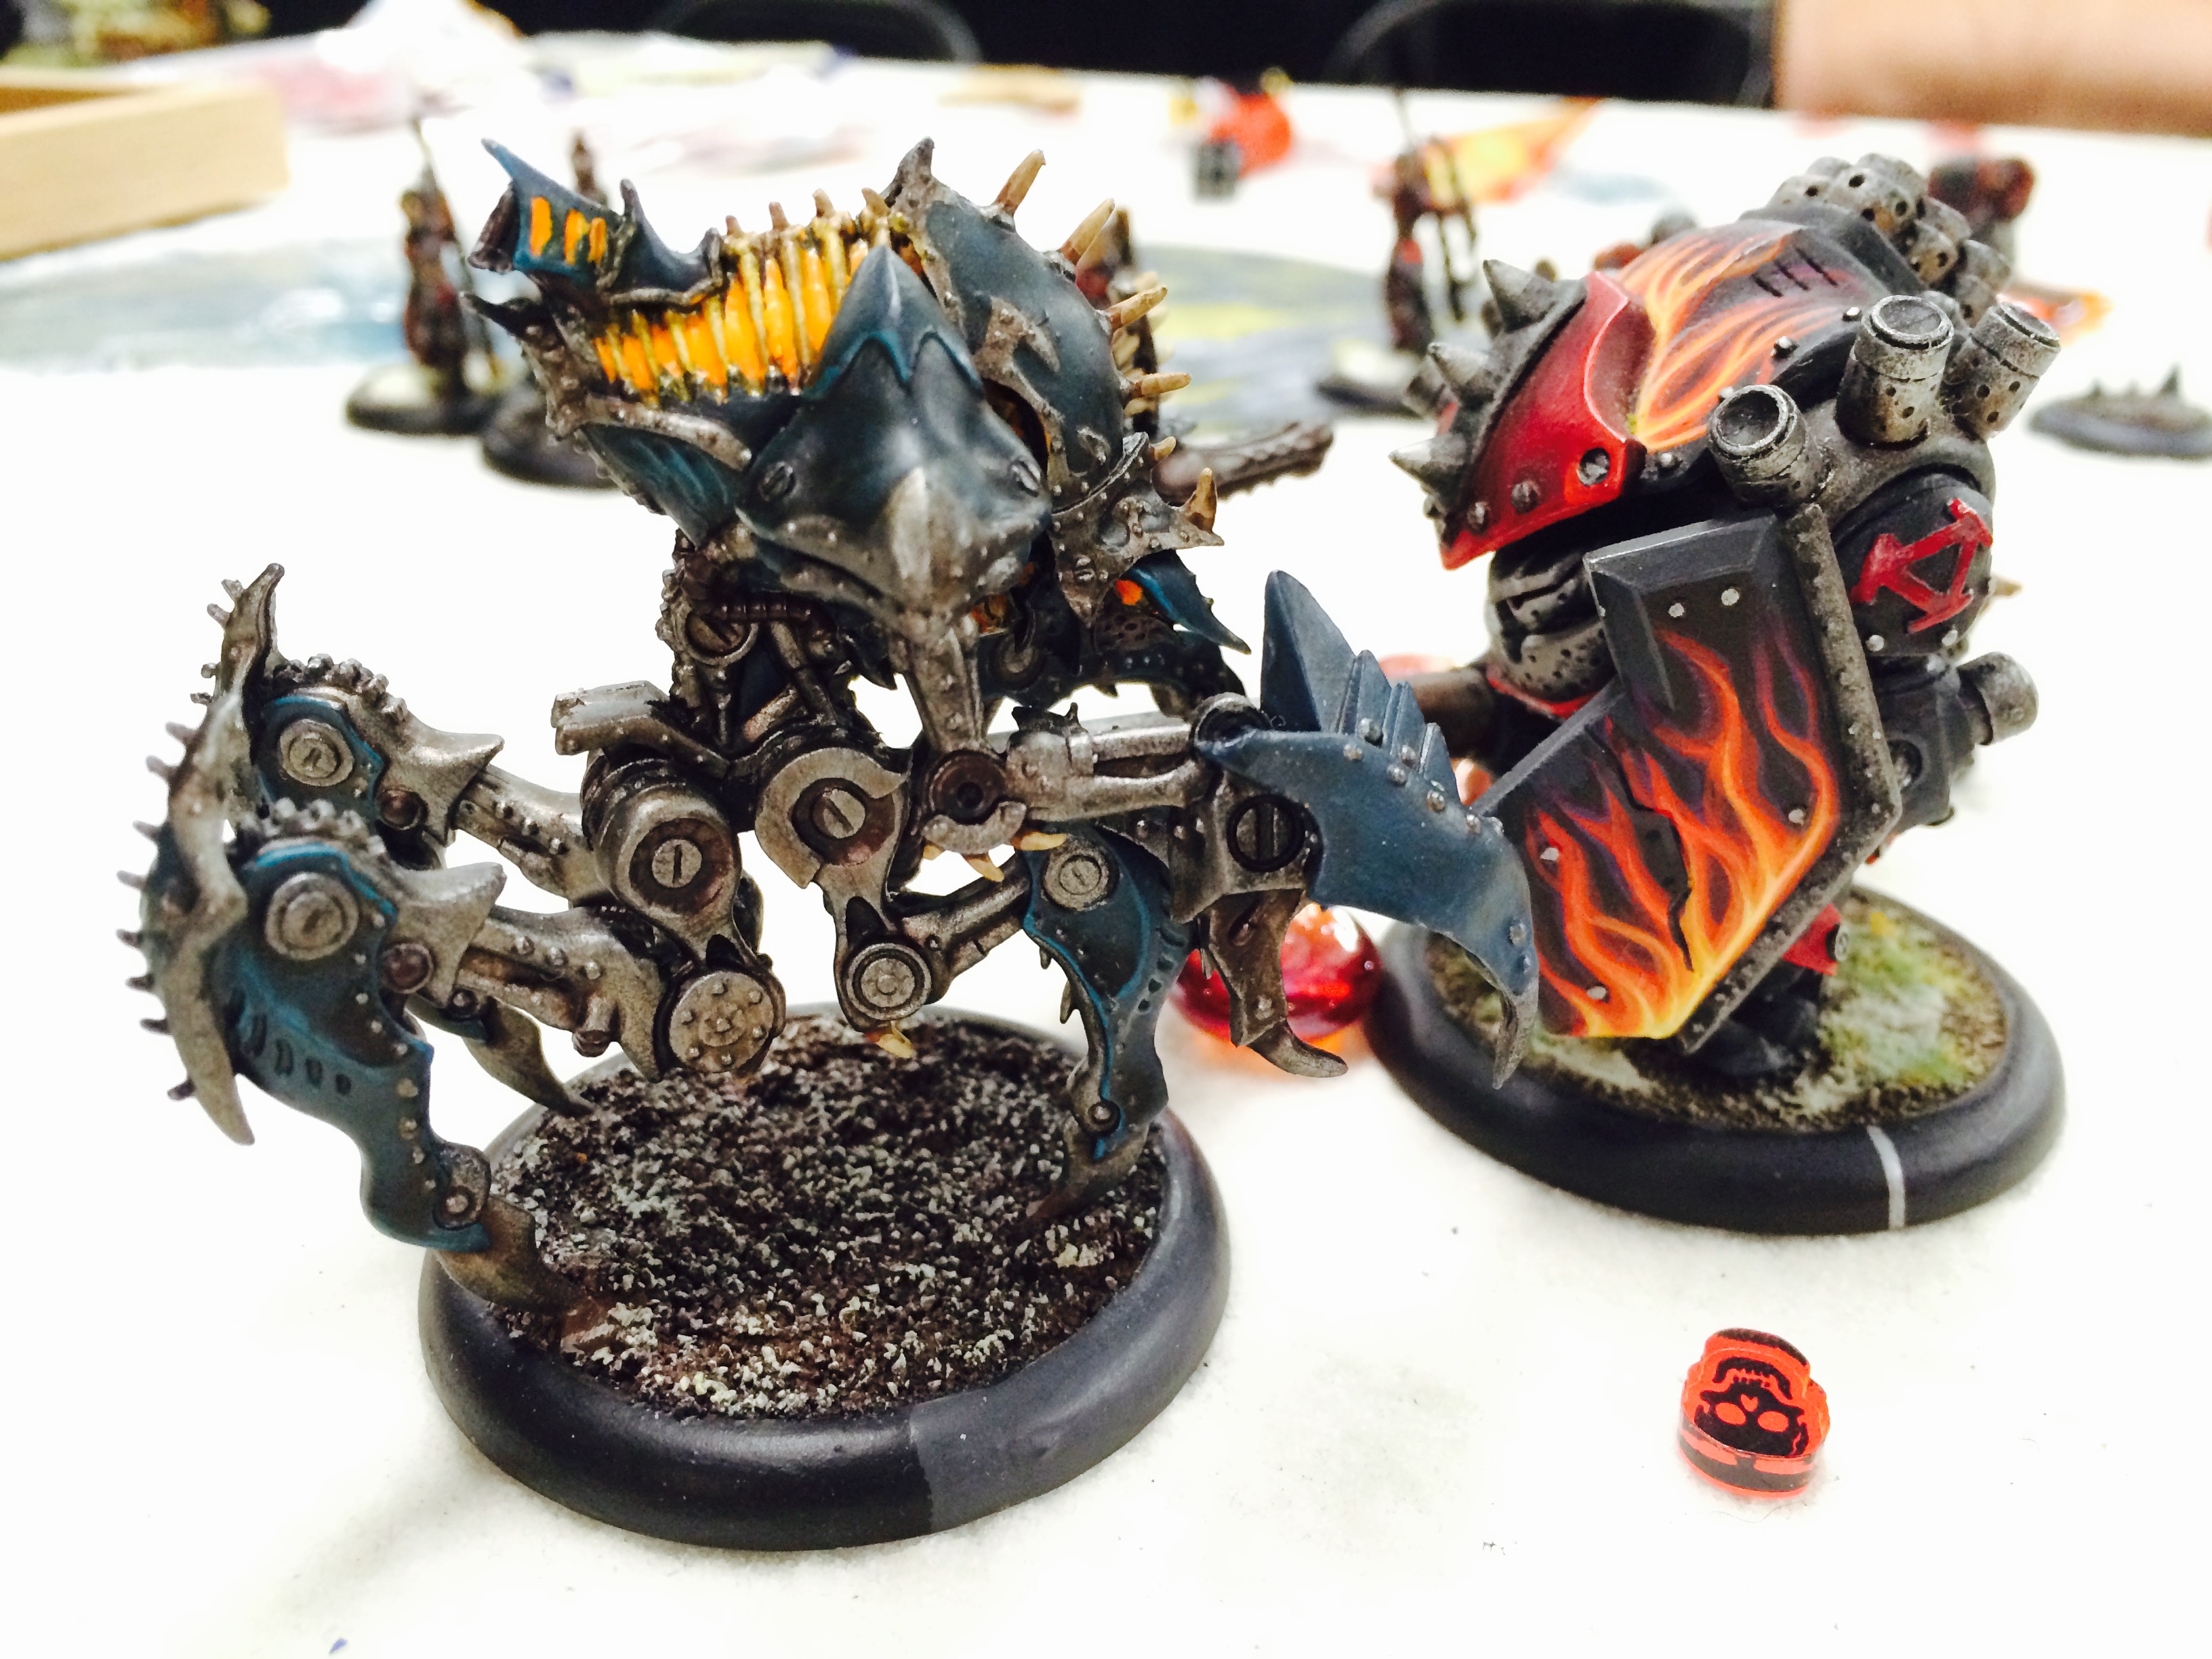 I ended up winning thanks to the death clock–Justin timed out for the round. It was a lucky thing too, as I was definitely losing the attrition game. My jacks were intact, and I was deciding whether I could try to scenario or simply had to nudge an arc node up and hope for a Hail Mary assassination through spells. Thank goodness for the Revenant crew in this game–I think a lot of time was spent dealing with them. Though I never got any back from their unit’s ability (only through Captain Rengrave adding models), the question they ask of “can you kill enough and then get the job done on the unit leader?” is a time sink for the opponent. Overall a great game, as Justin was a really fun player to face and his army was wonderfully painted.
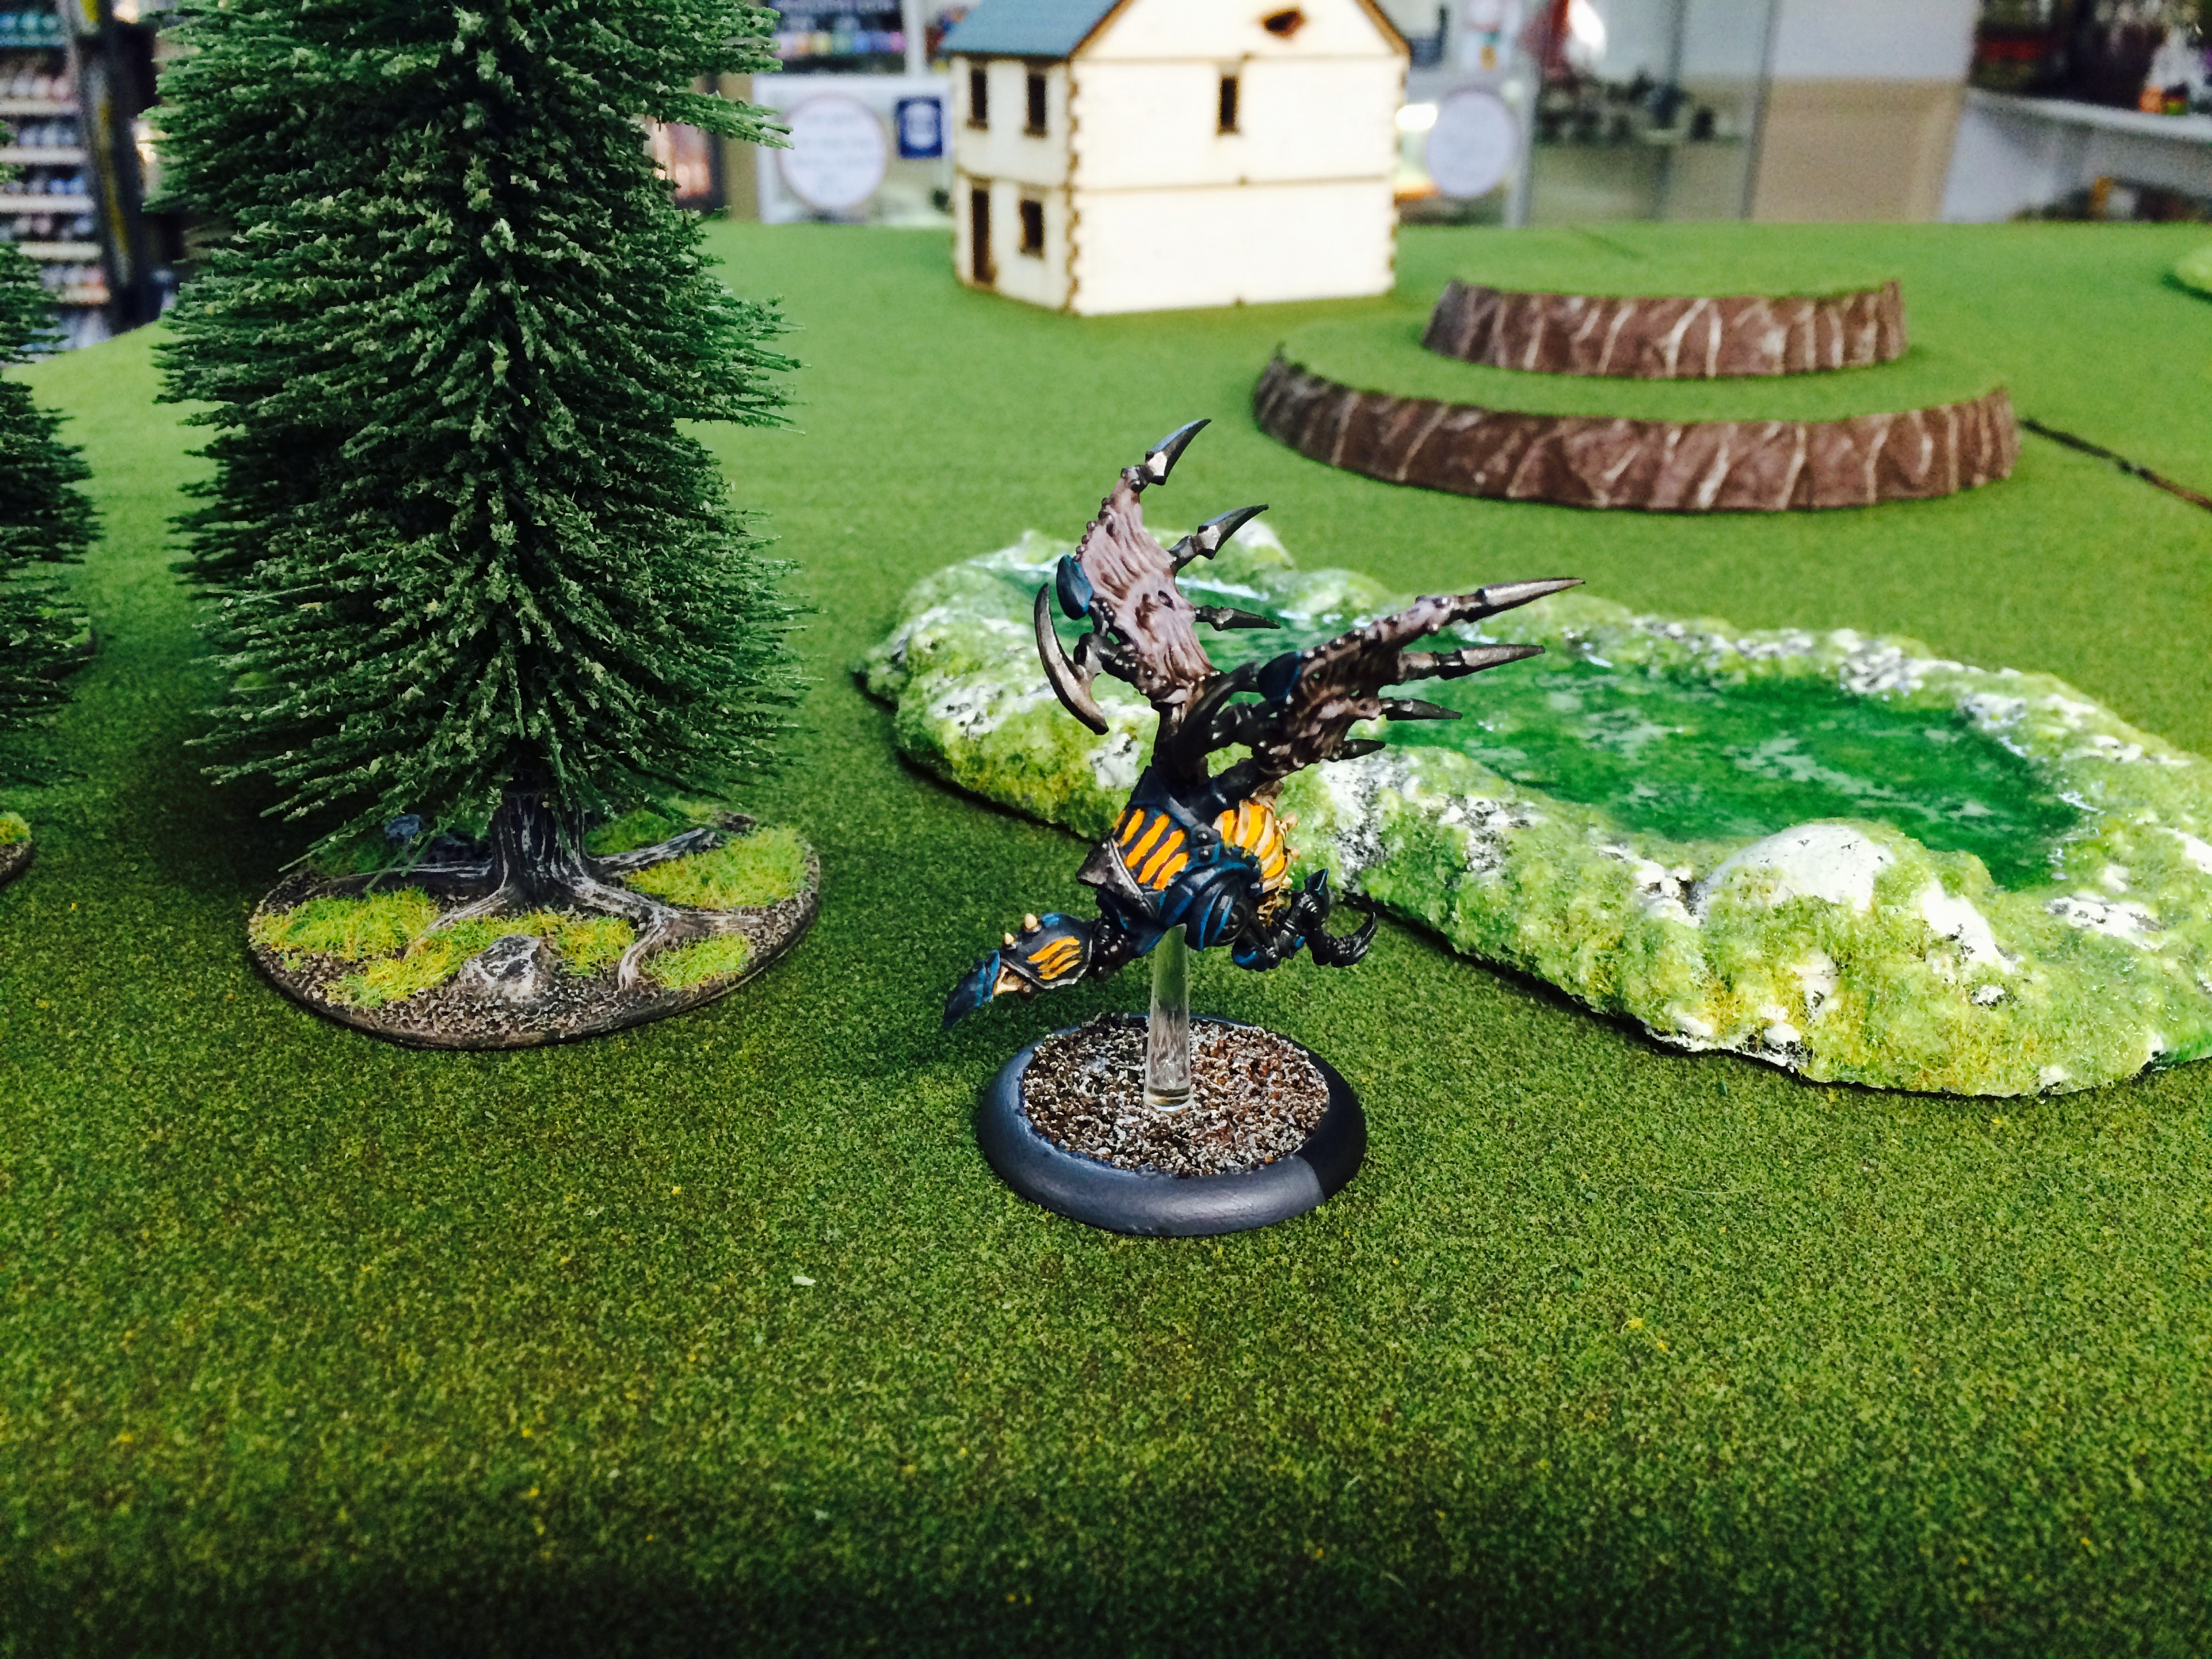 Completed my Shrike bonejack. Modified slightly to be flying, rather than taking off. Takes me to 34 points painted for the year!
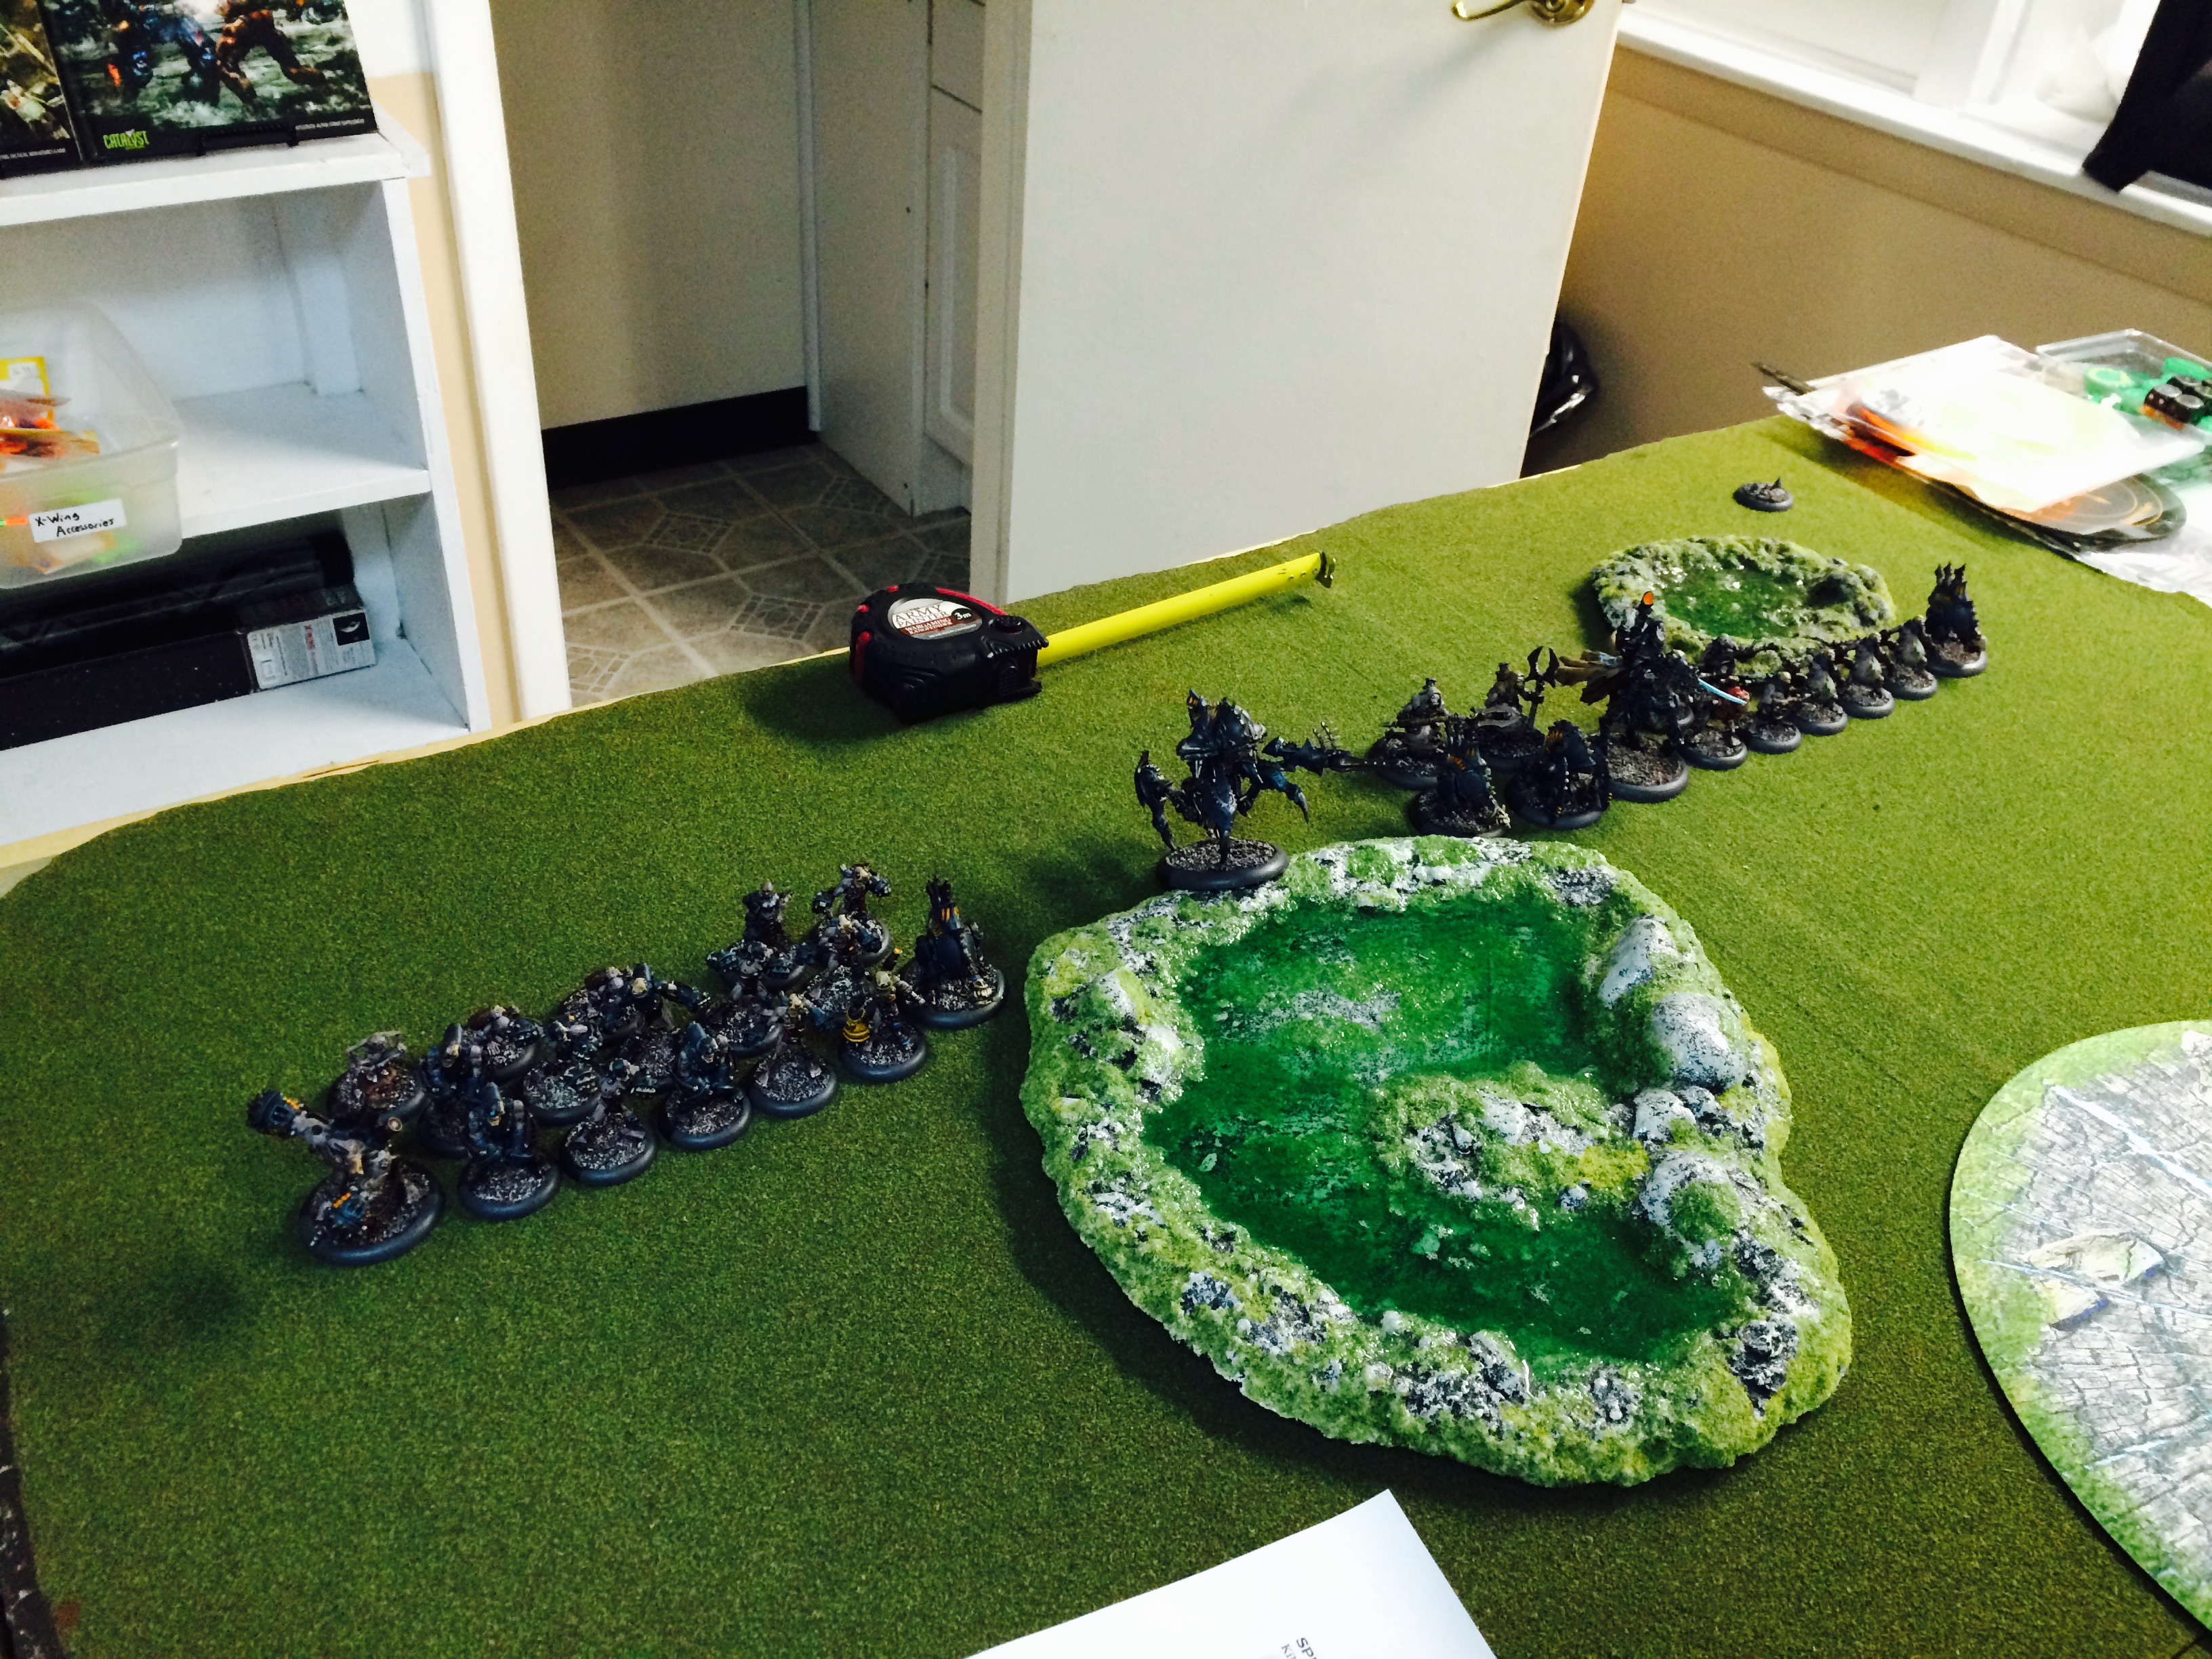 My army arrayed for battle. Even at 35 points, Cryx makes for a fearsome large battle line.
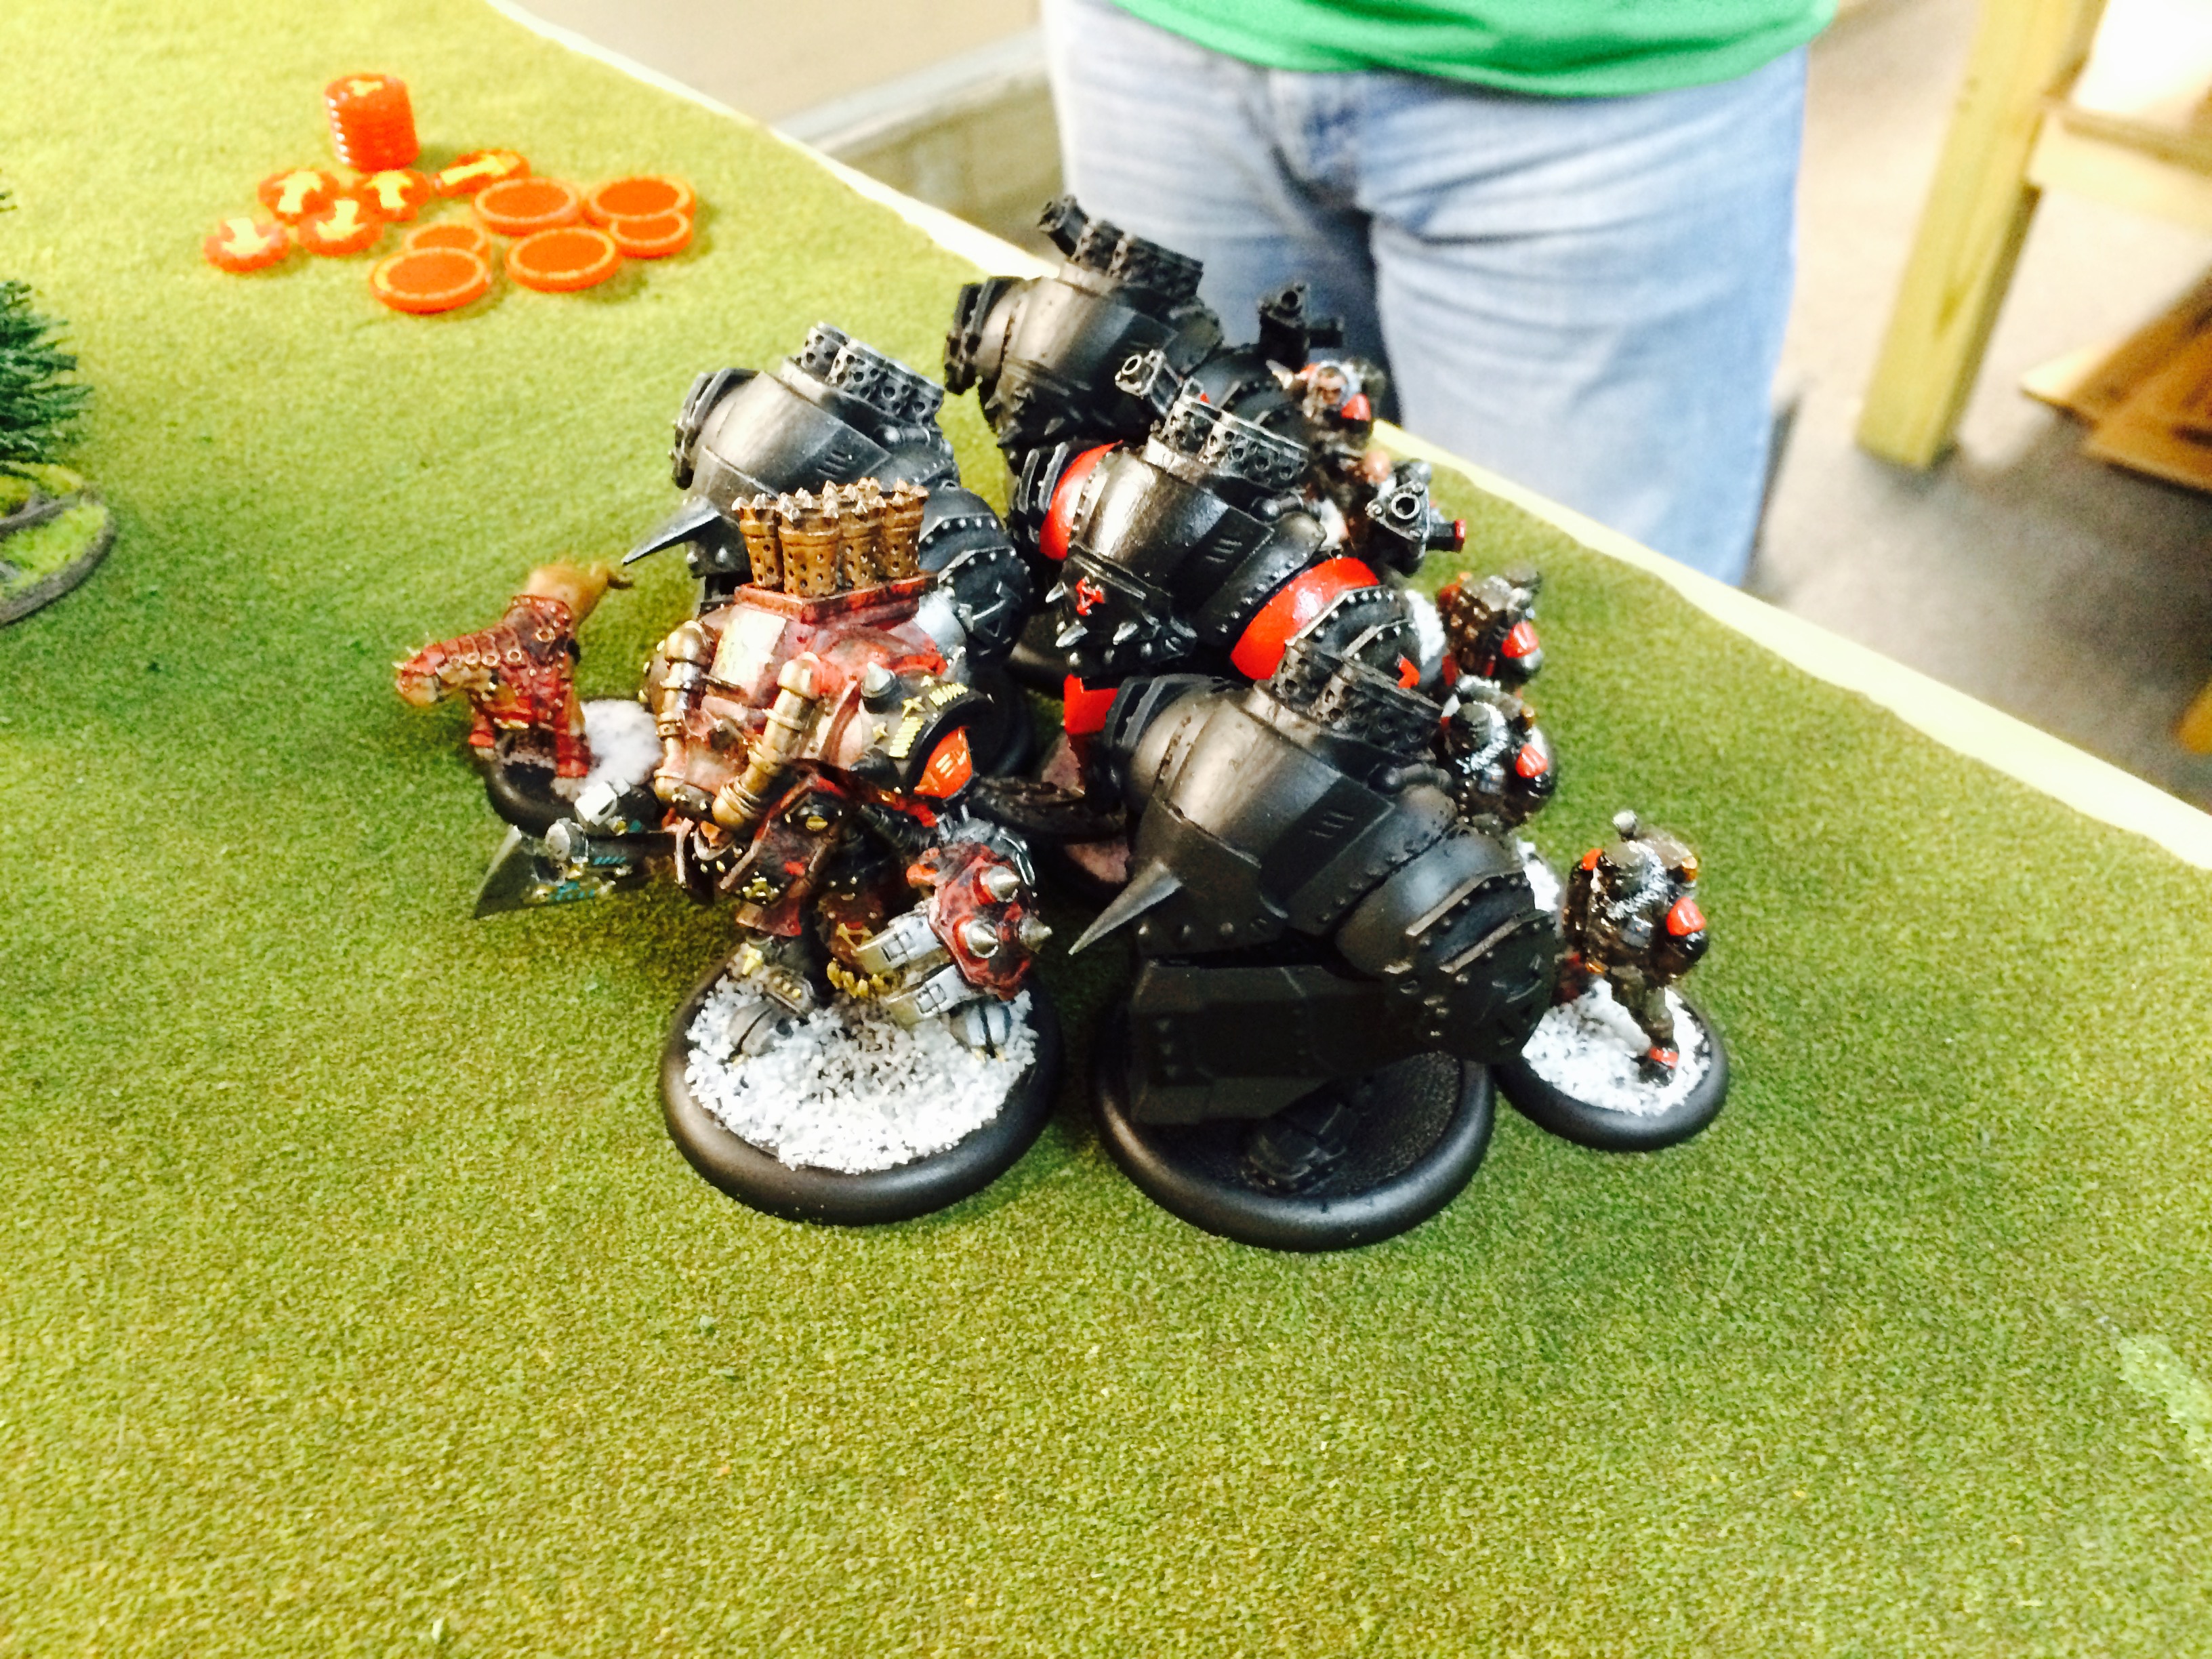 Colton’s Khador line of battle, led by Karchev the Terrible at the front. Less widespread, certainly, but equally imposing as the Cryx line. I had my work cut out for me.
  The battle was joined, and Karchev led the way all across the board to the flag on my side. My poor Defiler was no match for the armored destruction.
  Goreshade3 followed suit, and rode across to the opposite flag himself. To win the game, I merely needed to defeat one destroyer. It took me a full turn of Goreshade3 and the Mechanithralls, then surviving the return attacks from the crippled warjack, and finishing it off the next round. Man, those crabjacks are tough! I managed to pull off the win, but only just.
 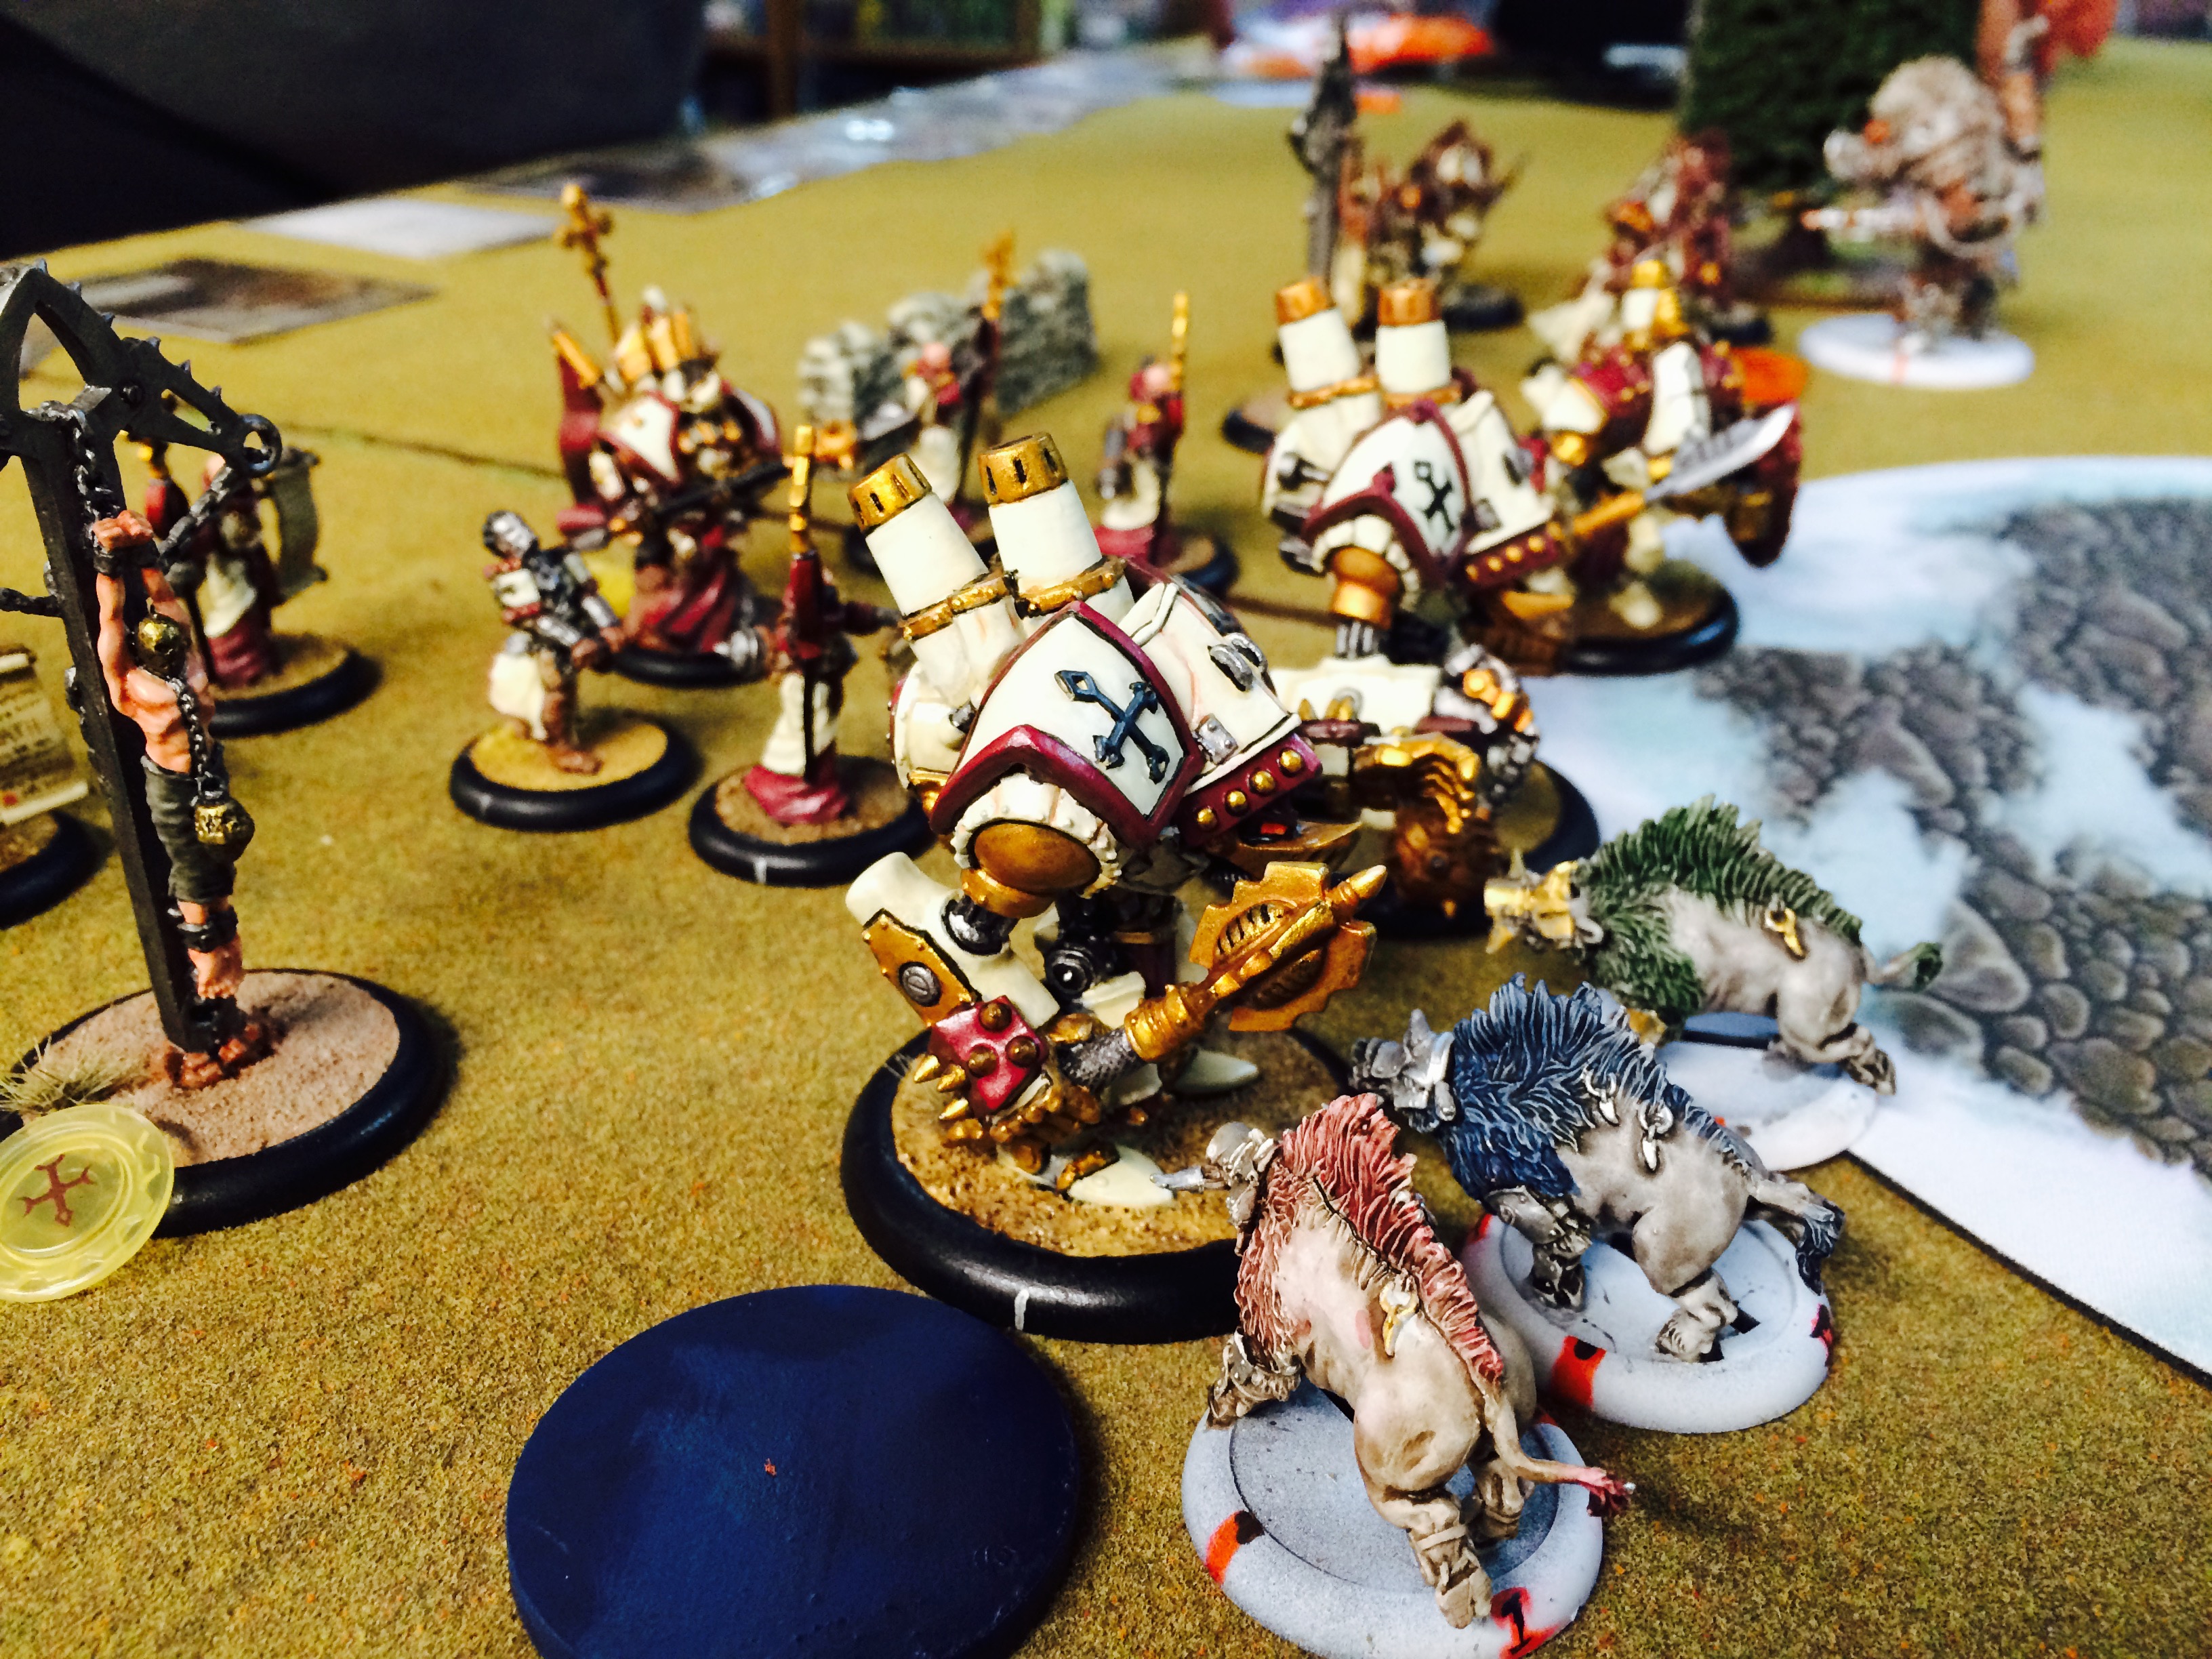 Other games from the evening. Andy’s Thornfall Alliance hog squad against Terry’s Protectorate of Menoth–the smell of bacon grilled on the flames of the righteous!
 Brandon’s Trenchers dig into the zone, firing madly at Dan’s advancing Khador line.
  Another game for Brandon’s Trenchers, this time facing fellow Cygnarian compatriots in Tony’s force.
 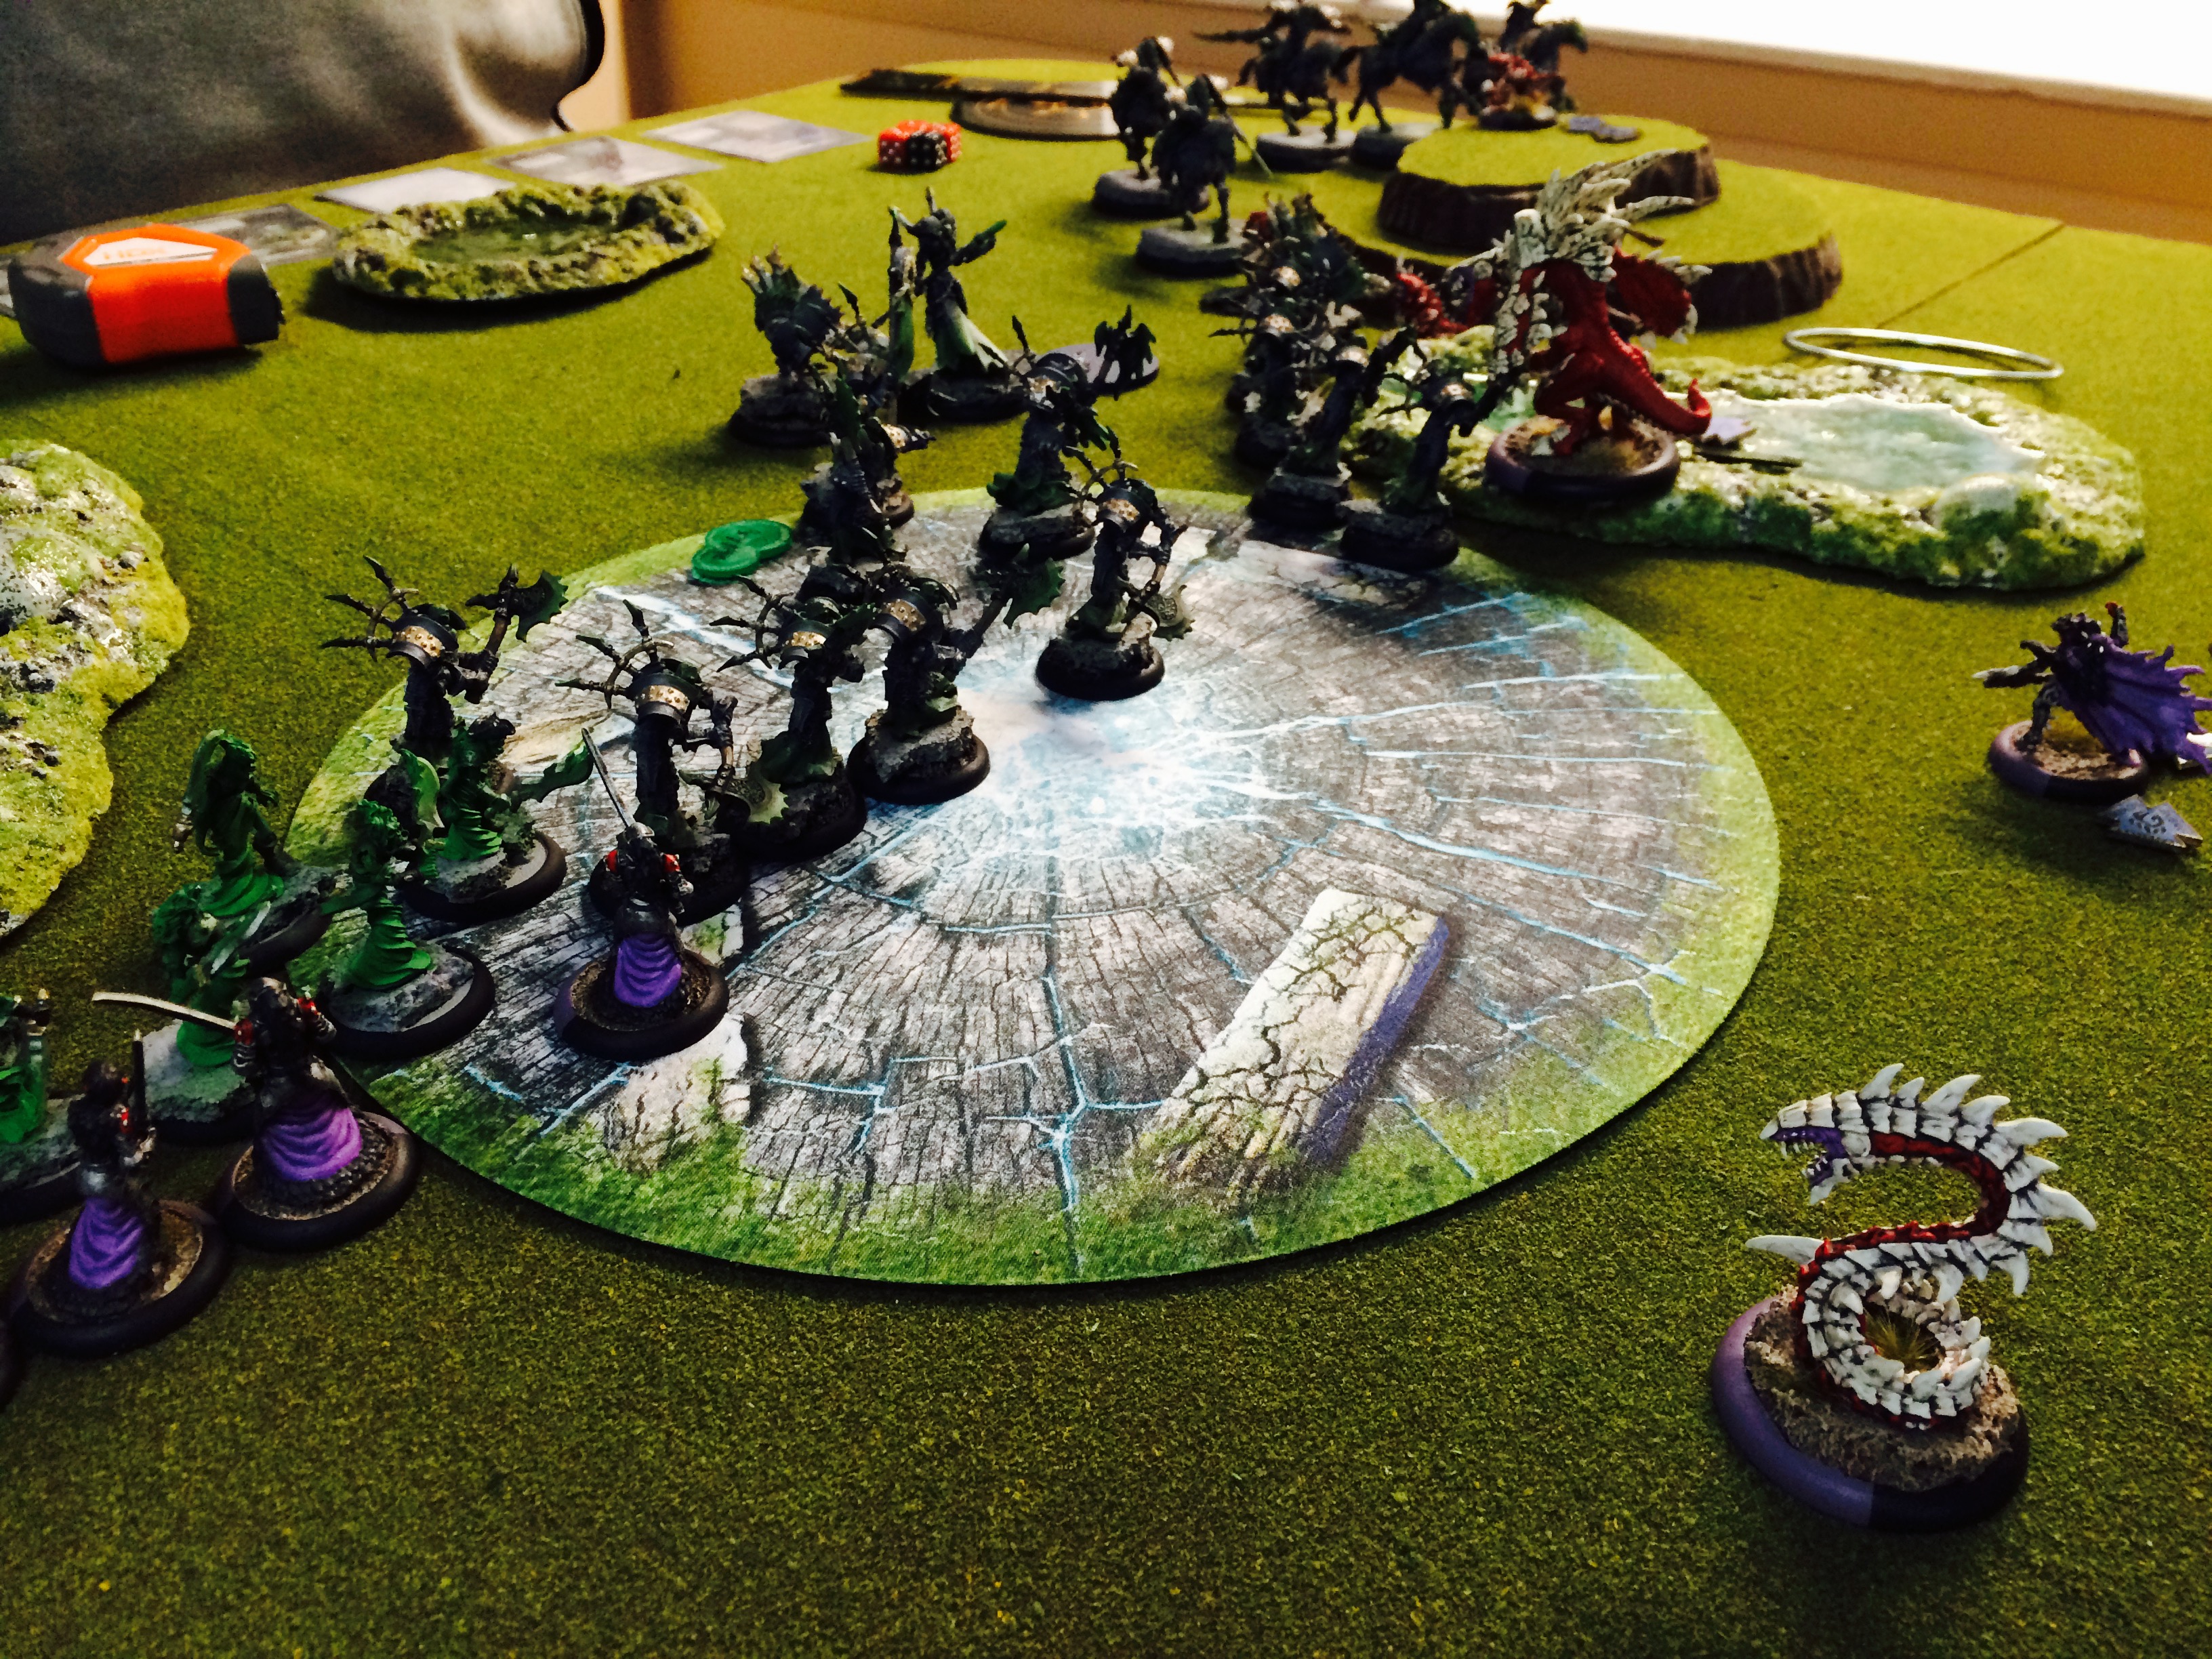 Careful application of force can sometimes trump raw numbers. Ryan’s Cryx had been the most successful faction at racking up caster kills through the league, but this time the kill went to Rico’s Legion of Everblight. A bow shot and Parasite from Lylyth onto Asphyxious made him quick work when the Carnivean trampled in.
 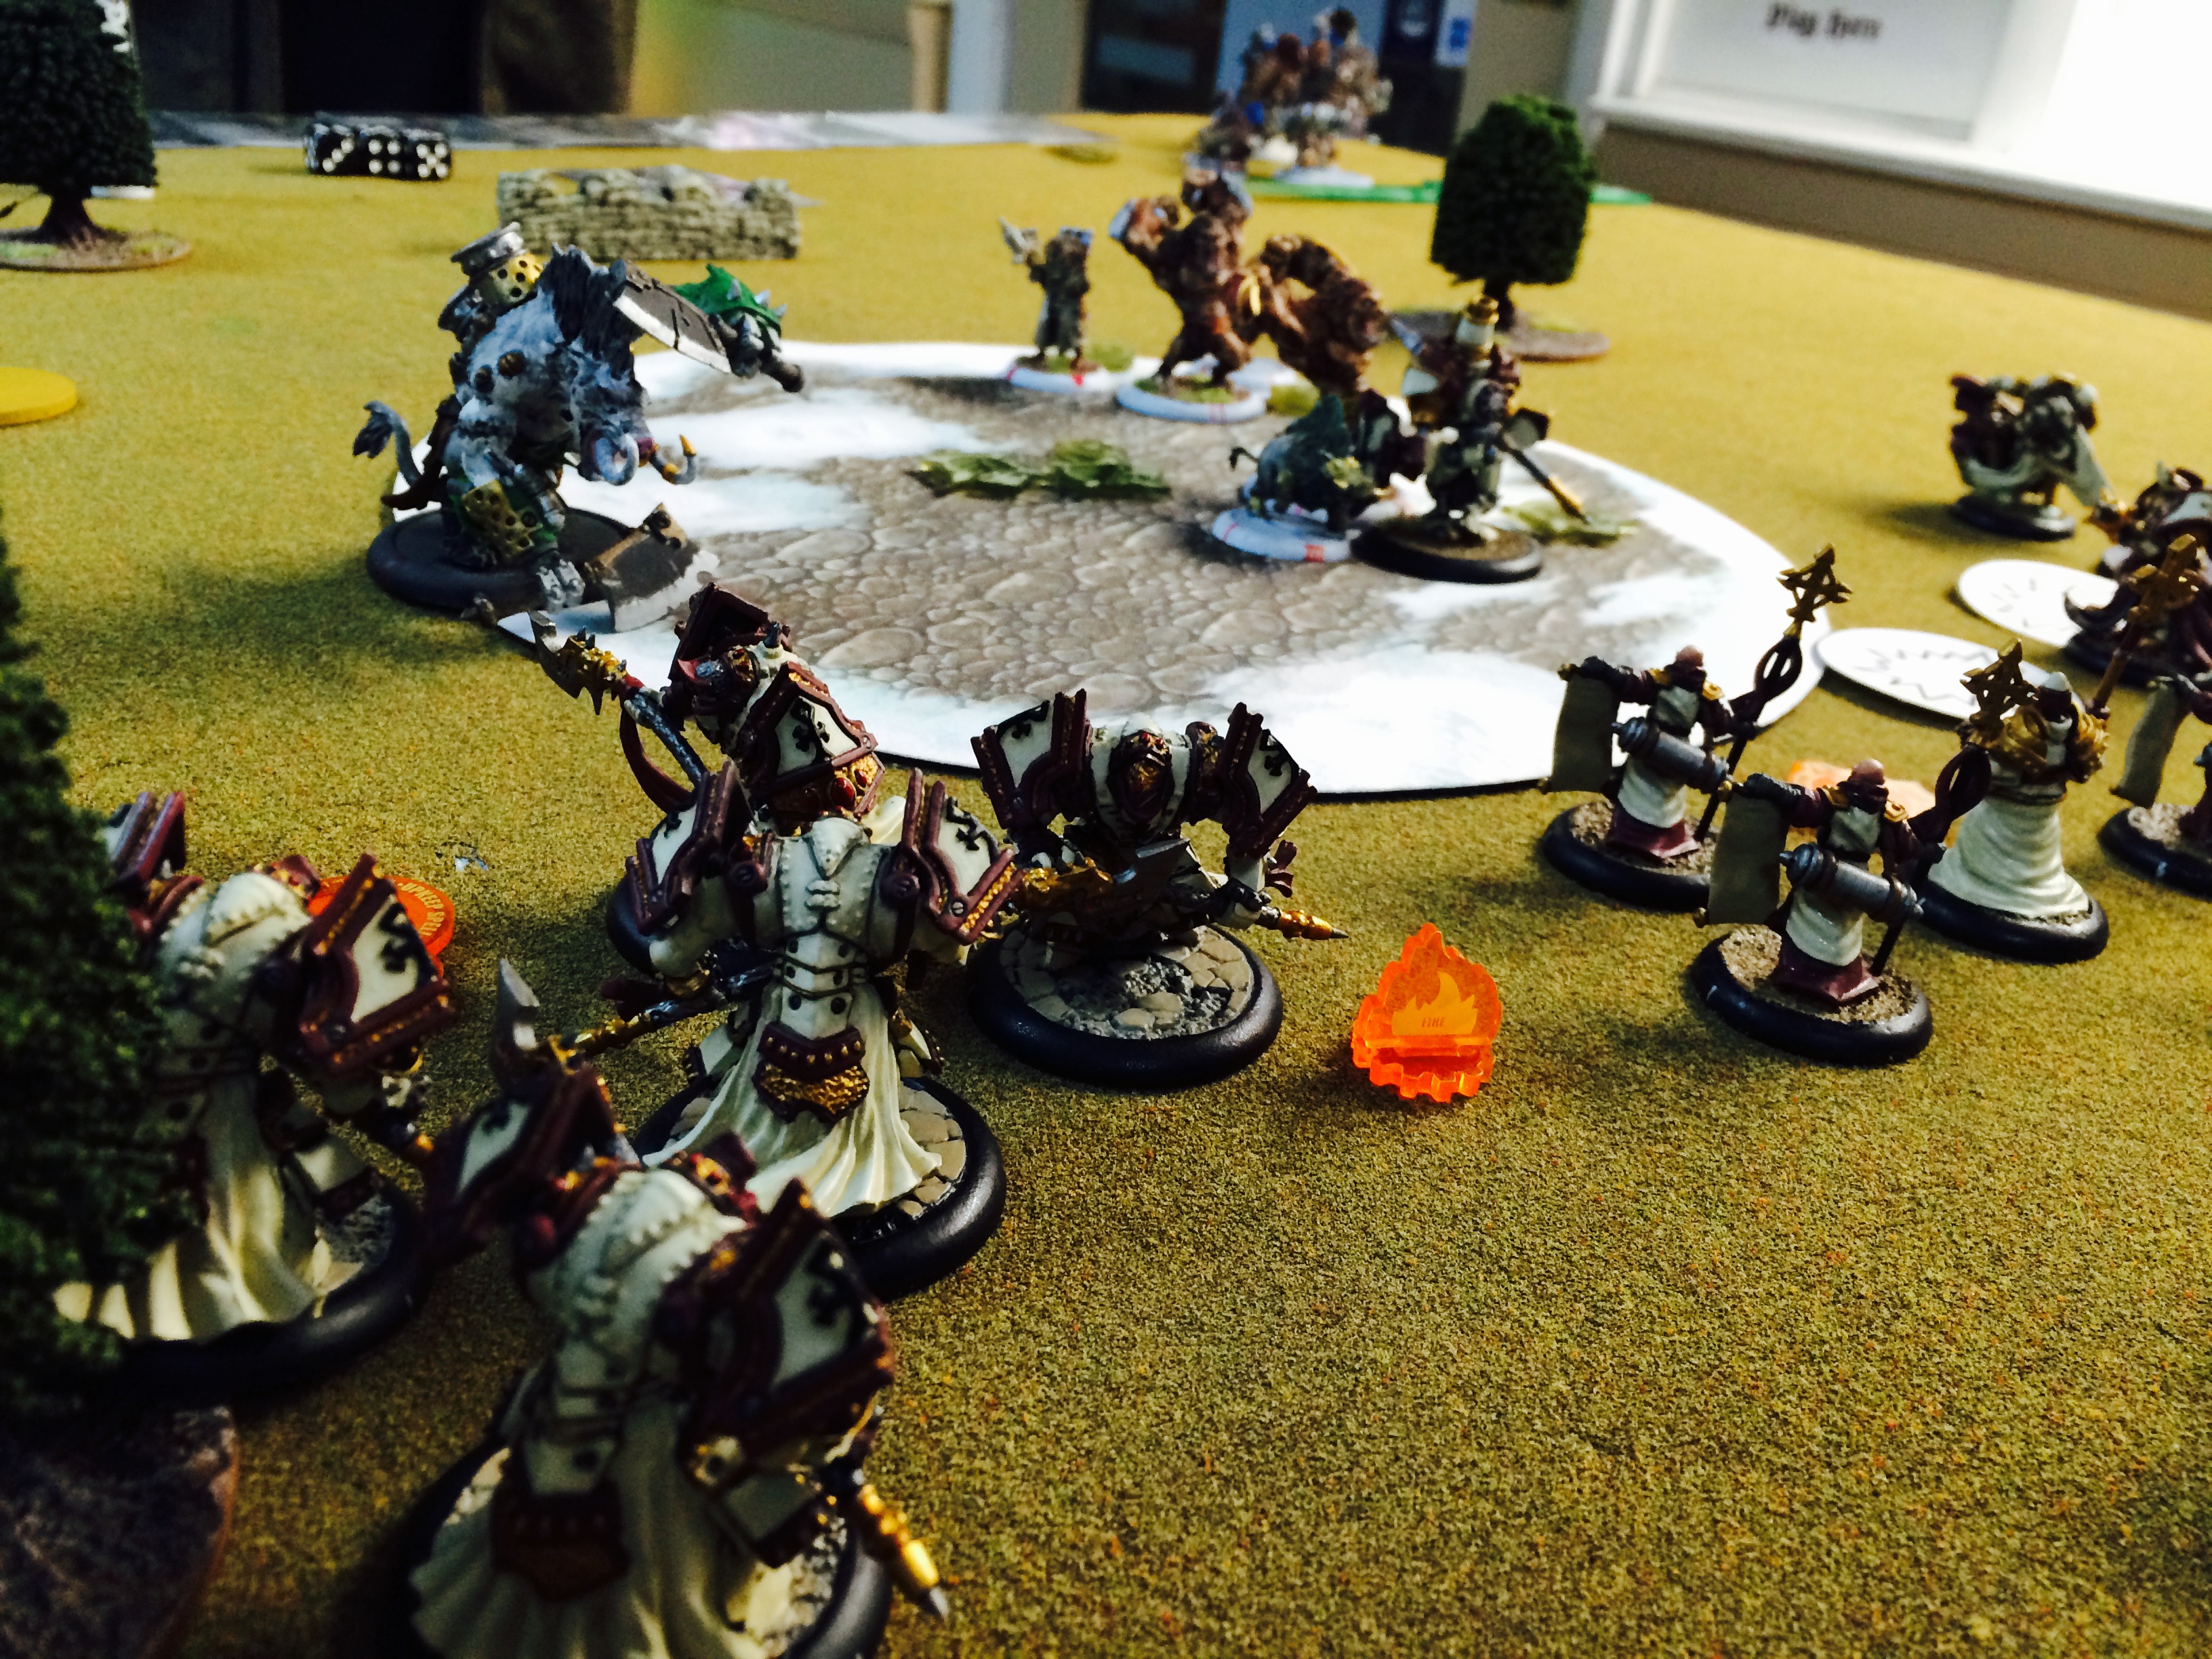 The conclusion of the Protectorate/Thornfall match between Andy and Terry. Beautiful models on both sides lured me to get an extra shot of the action.
 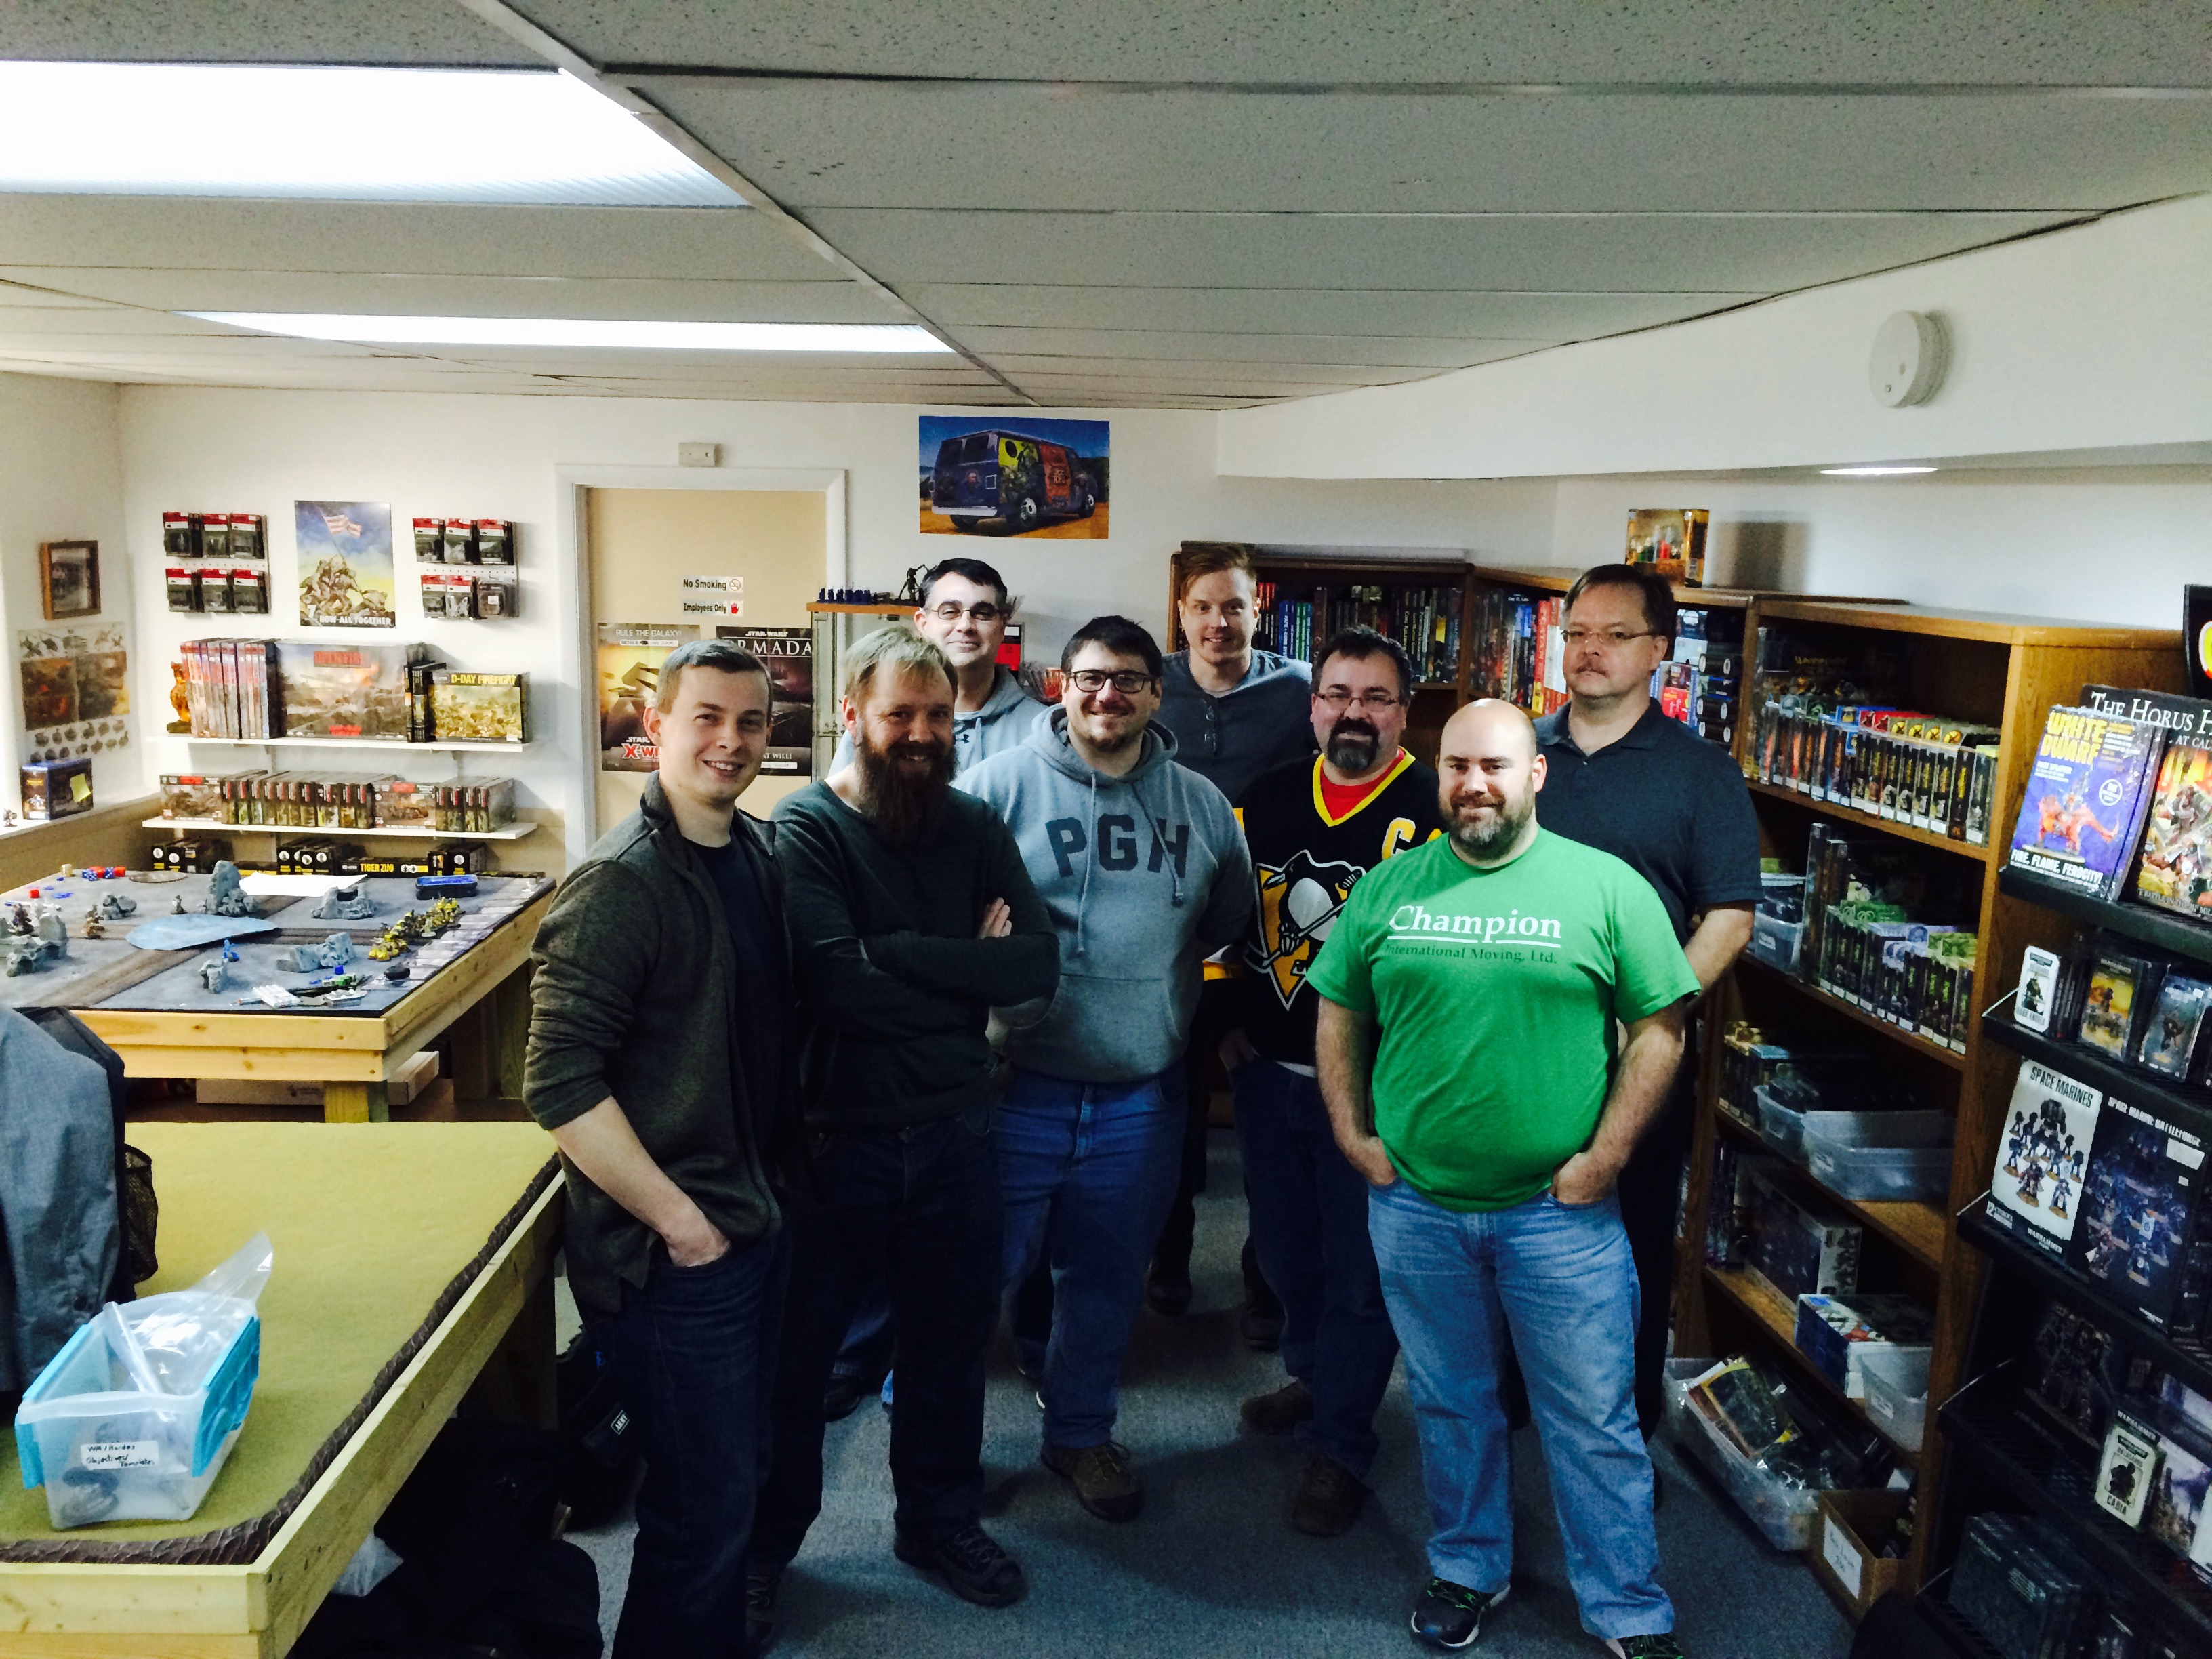 Most of the Journeyman crew. From left to right: Andy, Tony, Ryan, Rico, Dan, Brandon, Colton, and Terry (I took the photo). We had a grand total of 13 players who participated in more than one evening of the event, with 11 who participated in all but 1-2 nights.